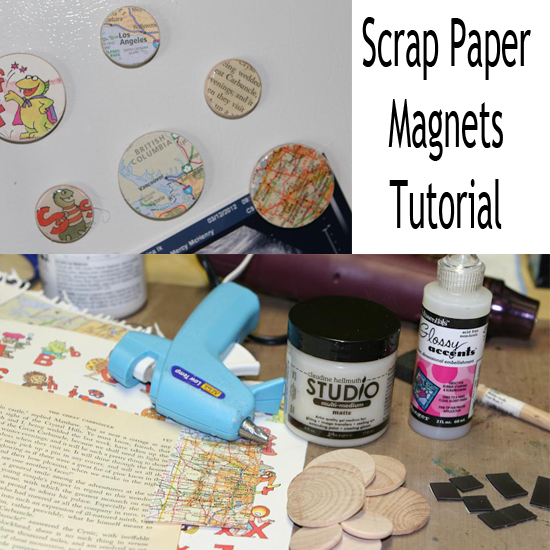
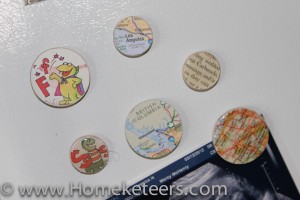
These little magnets are so much fun to make and they are a great way to use up bits of left over paper. Depending on how many you want to make, you can do this project in less than 15 minutes.
What you need:
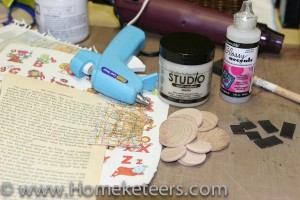
– Wooden discs (I found these in 2 different sizes at both Michaels and Hobby Lobby)
– Glue gun
– Magnets
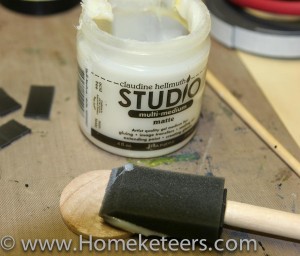
– Gel medium (I use the Claudine Hellmuth Studio Multi-Medium – works great!)
– Foam brush
– Various paper bits (I love using map paper, book paper, etc)
– Optional: Glossy Accents
Step 1:
Using a foam brush, brush a layer of the multi medium onto one entire side of a wooden disc. Be careful not to put too much on, you’ll just want a nice even coating.
Step 2:
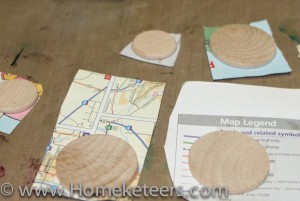
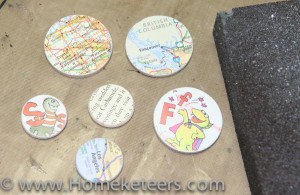
As soon as the multi medium is brushed on, cover the disc with the paper and make sure there are no air bubbles. Flip over to dry.
Step 3:
Once the medium is dry and the paper is firmly glued onto the disc, trim the excess paper off from the edges, then sand all around the edges until smooth.
Step 4:
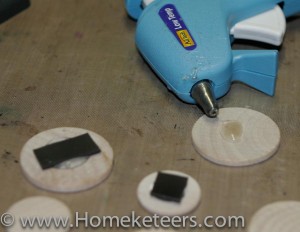
Flip the disc over to the plain wood side and using your glue gun, squeeze a dab of glue onto the back of it, immediately pushing a magnet firmly into the glue. Let dry.
Step 5: (optional)
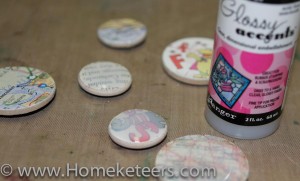
Now you are done! You can leave the magnets as is, or you can cover them with a coat of glossy accents to give them a shiny dimensional look. If you are covering them with glossy accents, its best to leave them overnight to dry.
WHAT A GREAT IDEA…THANK YOU
Love this. Simple, quick, easy and FUN RESULTS! I am gonna try to set this up to do with the kids (all 5 of ’em) as a family craft night….thanks for sharing!
:O)
Jessica
Thanks! I hope you have fun making them 🙂
quick,simple,easy …
I really enjoyed making it.
Thank you very much 😀
Thank you very much.
I loved it while I was making it.Simple, quick, easy and enjoyable.
Very nice article.