Snapshot 30: Learn how to take better photos with your smartphone.
Included in this class:
– Fun daily photo challenges for 30 days.
– Tons of app reviews so you know what is worth your time and what isn’t
– Tips and tricks for how to take sensational photos with your smartphone
*If you don’t have a smartphone you can still participate in the challenges with a regular camera. The tips and tricks should be useful to you as well. 🙂
Sign up for this class here (if you haven’t already done so)
Each day for 30 days you will receive an email with that day’s challenge, tips & tricks and app reviews. Only the emails will have certain tips and tricks – so that is the bonus for signing up for them 🙂
Also I have decided to give away a couple prizes!
2 class participants will get a spot in my upcoming brand new techniques class: Techniques 104 – debuting in December! Also they will get access to my 3 other Technique classes (101, 102, and 103).
How to win:
All you need to do is participate in this class 🙂 Easy right? For every comment, question, or photo that you share with us you get one entry. So the more you participate, the better chance you have of winning! You can comment/post on our facebook page, the actual Snapshot 30 post of the day on the Homeketeers site, on a Snapshot 30 related post on my site, or through Instagram (each time you tag us).
Ready to get started? If you have any questions please comment below on this post, and chances are if you are wondering about something, then someone else is too 🙂
Today’s Lesson:
Today we are going to talk about lighting which is one of the key elements to getting a wonderful photo. My number one favorite place to take photos is outside during the day (late day when the sun is just starting to go down is a great time too). Natural lighting is perfect for a beautiful photo so I try to get outside as much as possible. If that’s not an option then open the blinds and take a photo in a well lit (by natural light if possible) room.
Now I realize that sometimes getting natural light is impossible as there comes a time when we all want to take a photo at night when it’s dark outside (or on a gloomy gray day). Then we must use a flash or turn on all the lights in the room. This is better than nothing of course but do realize that the colors of your subject will be a little different. You may get that red eye look on people in your photo as well. Good thing we have photo editing apps – right?
If you are taking photos of items – say you are listing something on ebay or esty – and you really want the best photo as far as bringing out the natural colors. I also prefer to take the item right outside and shoot the photos there but once again, that is not always an option. I recommend using one of those natural lights such as an OttLight lamp. These lights are amazing and they show the colors very accurately, they are also easier on your eyes and help prevent eye strain so they are great to use while you are doing any type of crafts. The bulbs last forever too – typically between 5,000-10,000 hours of use. Well worth it.
Also for those of you who are photographing items – you may want to make a light box. These can be made really simply using white foam board. There is a great tutorial here for making one.
So now I am going to show you some examples of the way different lighting affects your photography.
No flash, in a room with natural light coming in the windows:

Note: Anyone who has a black dog or cat knows how difficult it is to get a good photo of them!

Note: Anyone who has a toddler knows how difficult it is to get a good photo of them. 🙂 (Which is why I gave her a bottle – to get her to keep still for just a couple minutes!)
With the flash on, in a room with natural light coming in the windows:


In a room with artificial light (only floor lamps) and no flash:


In a room with artificial light (only floor lamps) and a flash on:


Outside during the day with no flash:

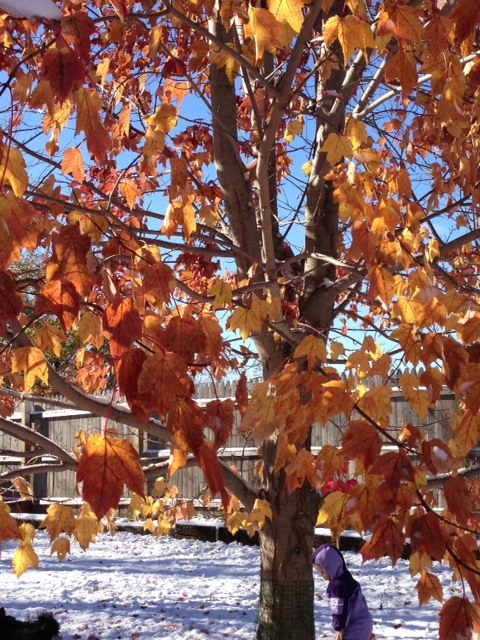

Outside during the day with flash on:

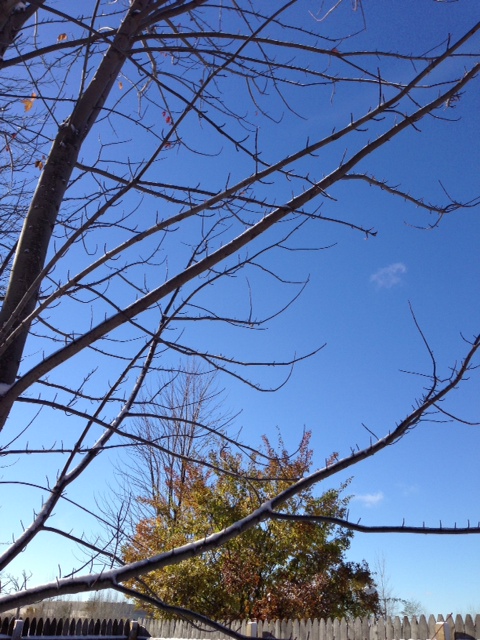

- It’s hard to tell the difference between the ones taken outside with the flash and without isn’t it? Sometimes shooting outdoors with the flash on helps give the photo more clarity.
Today’s Challenges
1. Take of photo of a flower. (This might be hard for some of us who now have snow outside. However I didn’t say it had to be a real live flower…)
Remember there are bonus challenges in the daily emails. Be sure to tag us (#snapshot30 , @jessacs & @homeketeers) so we can see your photo. You can also post your photo on our facebook page for everyone to see. (and you’ll get bonus entries into the contest!). I’ll also be playing along so you can see my daily challenge photos on my blog and also my Instagram account.
Please leave any comments or questions below and I will be sure to answer right away 🙂