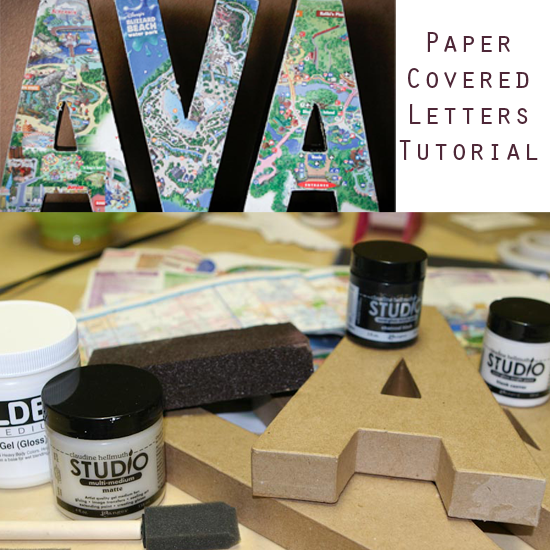
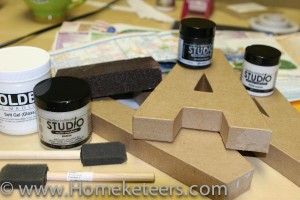
While shopping a couple days ago at Hobby Lobby, I found these great paper mache letters that I knew would look fabulous covered in paper for my future daughter’s nursery. All you need are the letters, whatever paper you want to cover them with (you could also cover them with fabric), some acrylic paint, medium and a sanding sponge. Easy project and they look very cool when completed!
Some background behind the paper I chose:
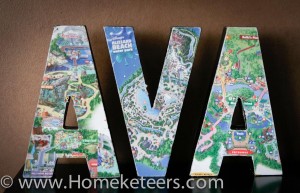
I double sided my letters with 2 different map type papers. I just love maps and I wanted to choose paper with meaning to us. Since her name is going to be Ava, it looks the same front and backwards so that made it so easy to double side them! So on one side, I used maps that we brought home with us from Disneyland and Disney World. The first “A” is covered with a map from California Adventure Park in Anaheim. This is where my husband and I spent our first date, and then we went again on our first anniversary, the day after we got engaged, and the day after we got married. (haha, we are big Disney freaks). The “V” is covered with a map from Blizzard Beach Water Park in Orlanda (One of Disney’s awesome water parks!), we went there on our honeymoon and spent a very hot and humid afternoon floating around the lazy river. This is actually when we chose her name (we played the name game and tried to find both suitable boys and girls names for our future children that sounded good with our last name). Then the last “A” is covered with a map from Disney’s Animal Kingdom, another of the park that we visited on our honeymoon. All places that are very special to us.
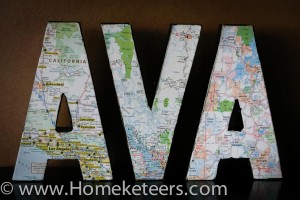
Now when you flip the letters around they are covered with other map paper. The first “A” is covered with a map of part of California. It shows the city we lived in and went to school in, where we met. As well it shows the cities where we got married, where we got engaged, where Disneyland is, and where LA Zoo is (where we did a ton of volunteer hours as part of our schooling). The “V” is covered with a map of my home: BC, Canada. Showing The 3 cities that I lived in there: Victoria, where I was born and raised, Vancouver, where I lived the last 3 years before moving to the USA, and Whistler, where I also got to live for a little while. The last “A” is covered with a map of part of Illinois. It shows the city that my husband was born and raised in, and it also shows the town where we live now, where Ava will be born. Once again, a lot of meaning to us. 🙂
What you need:
Paper Mache or Wood Letters
Paper or Fabric to cover them
Acrylic paint (to paint the sides of the letters)
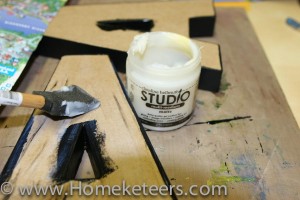
Gel Medium (I used Claudine Hellmuth Studio Multi Medium – love this stuff!)
Sanding sponge/ narrow sanding tools (or nail file works too)
Exacto Knife
Step 1
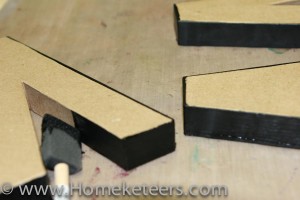
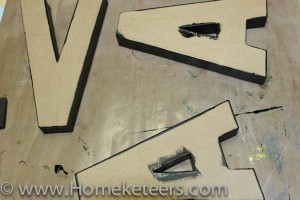
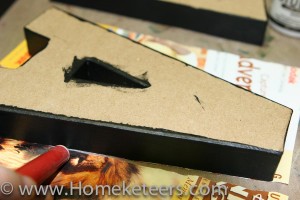
Choose the color paint you’d like to use and paint all the edges of each of your letters. Overlap a little on the front and back, this will be covered by paper anyways.
Step 2:
Once the paint is dry, cover the entire front side of each letter with the multi medium and immediately stick your paper on top. Be sure to smooth it out really well to get rid of any air bubbles. Set aside to dry.
Step 3:
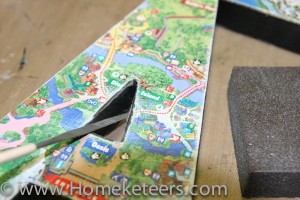
Once the medium has dried, using an exacto knife, trim all the paper as close to the edge of the letters as you can.
Step 4:
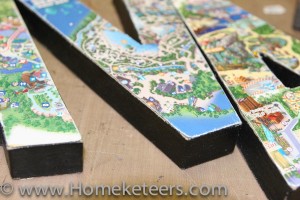
Flip the letters over and sand them all over. Use narrow sanding tool or a nail file to get into any small grooves.
If you’d like to, sand some of the edges as well. I like the look of them being more “worn” looking, and how the kraft color shows through in edges. Just gives it a more distressed look.
Step 5:
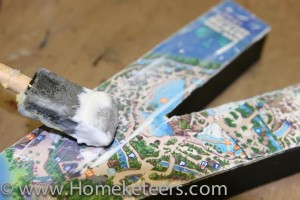
Once you have finished all the sanding (I sanded mine a ton!), and you have the look you want, go ahead and seal the entire letter with a coat of the medium. You can use gloss or matte, whichever you prefer. Try not to use a thick layer of the medium, you just want to use enough to seal it, so a nice thin coat works best.
Loving all these map prints you are using. I just purchased a map stamp from Unity…adorable! TFS!
:O)
Jessica S
LOVE these.