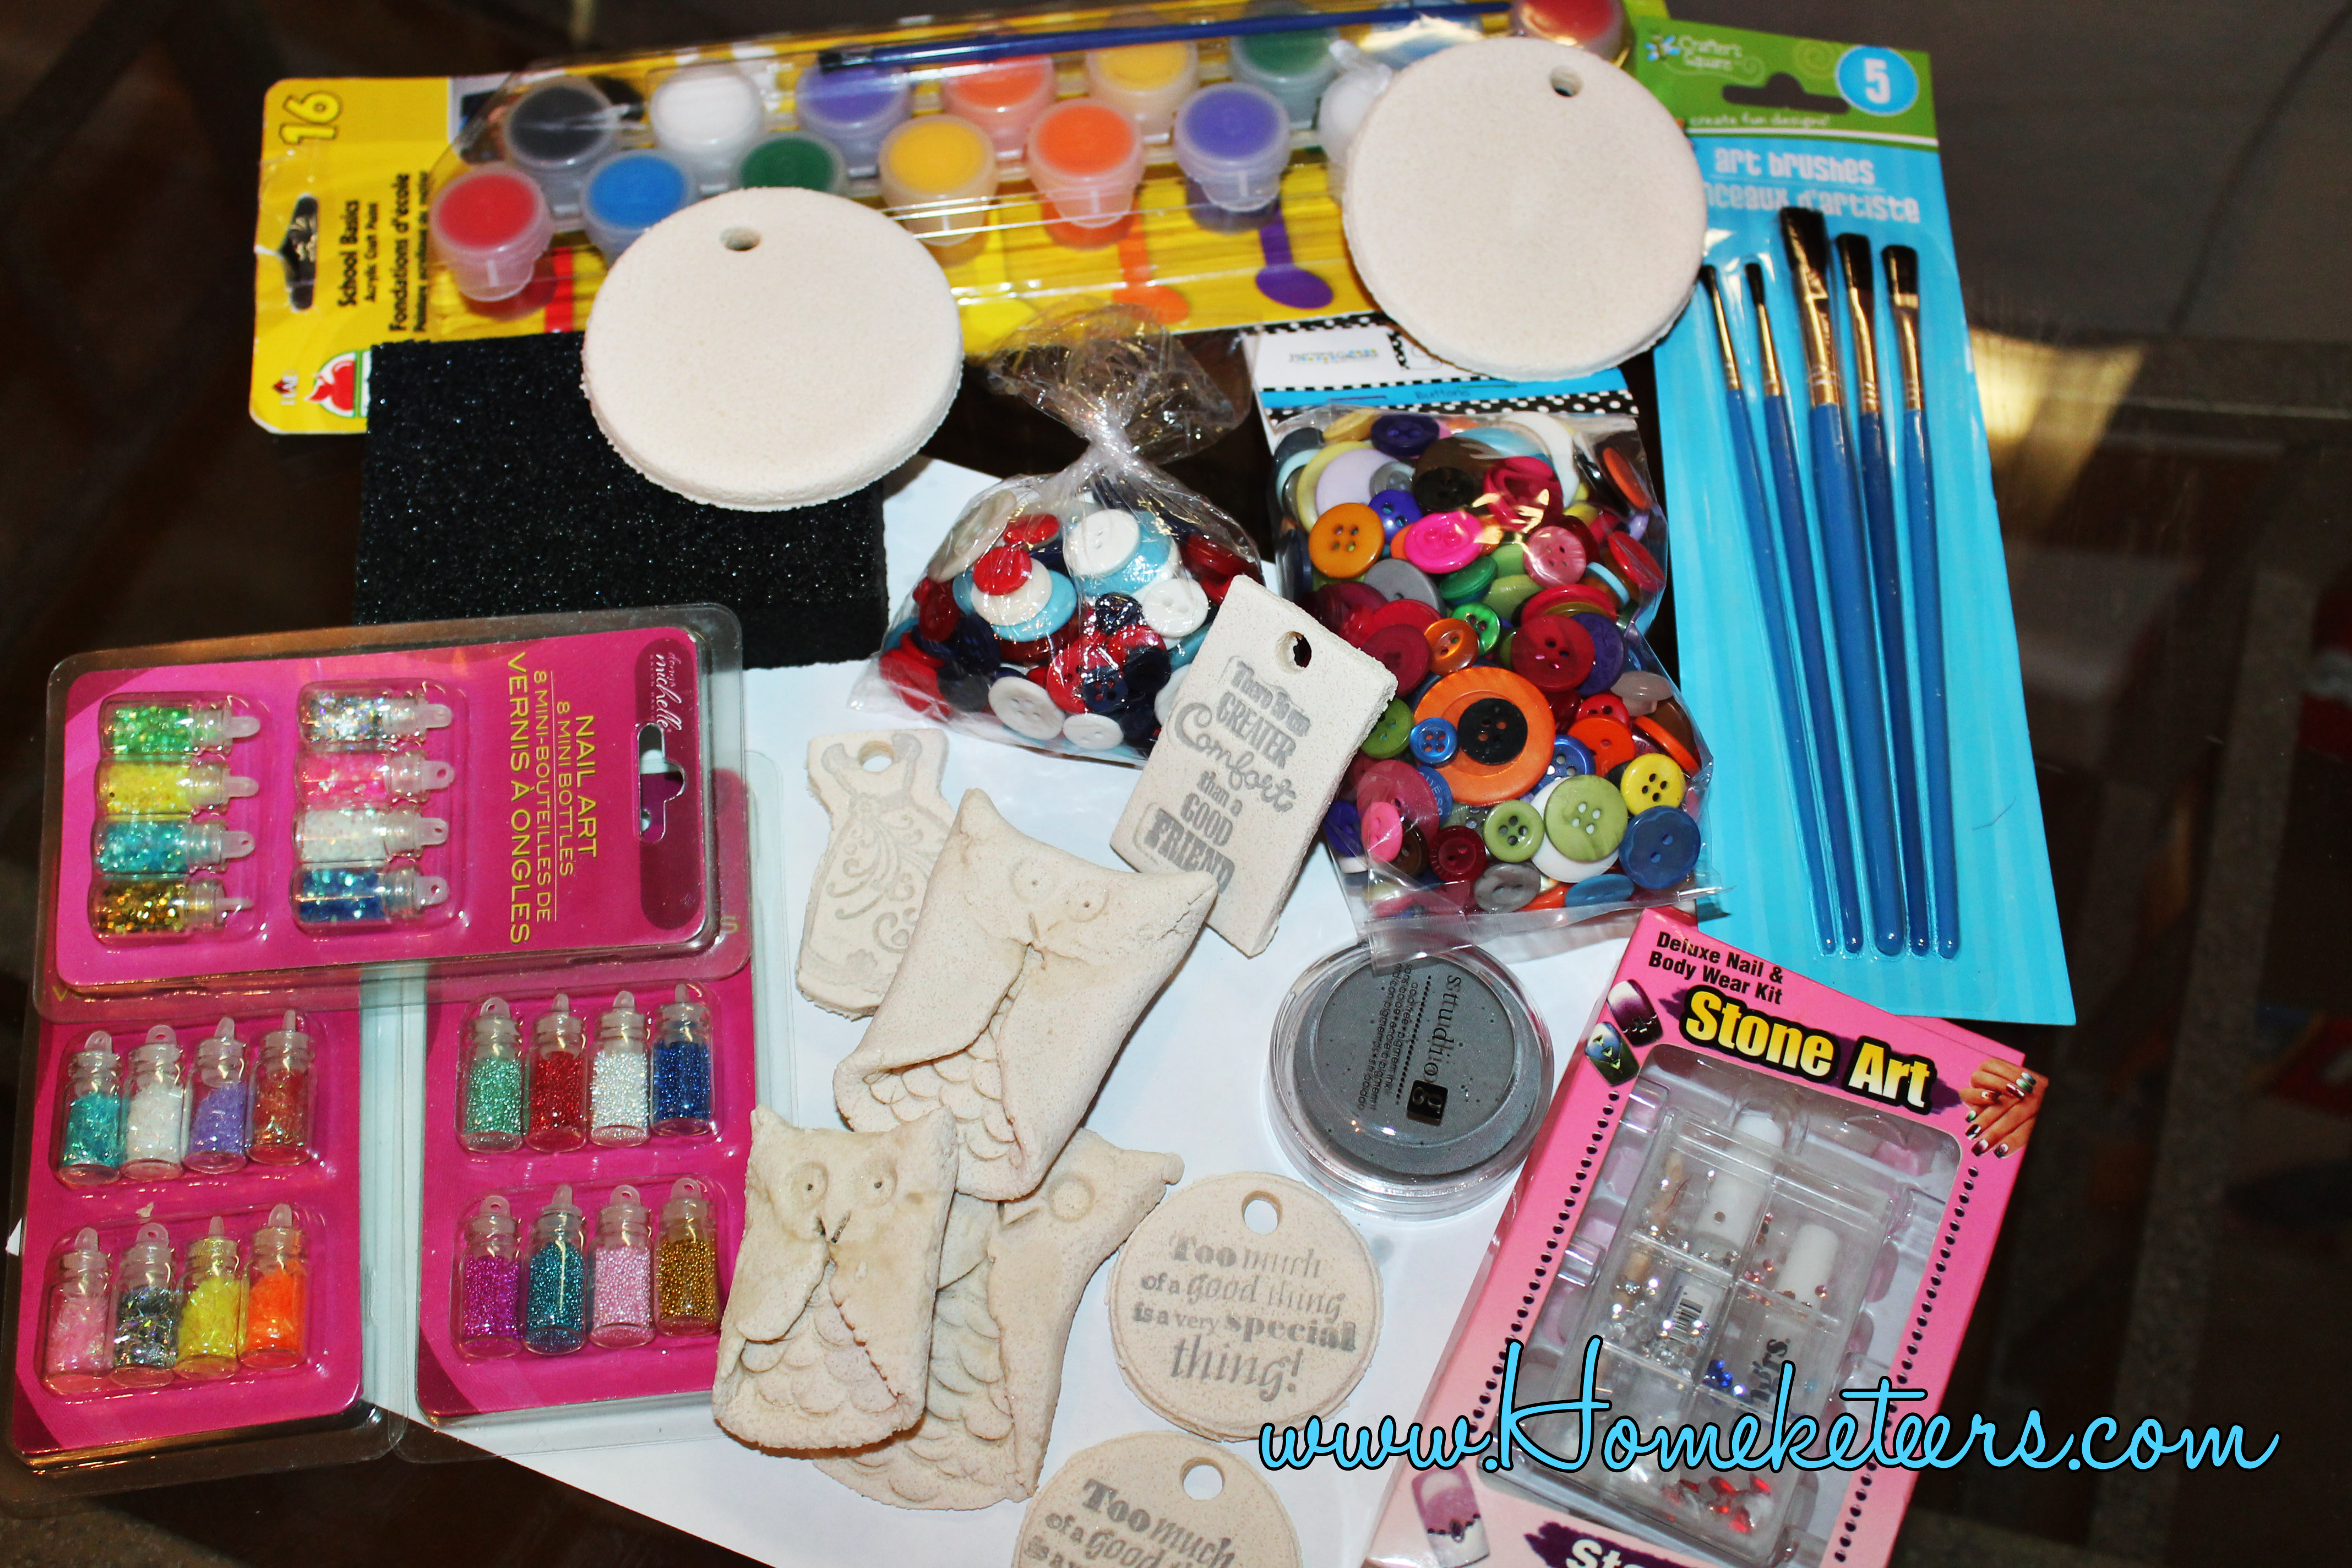
Since all of our belongings are still in two storage units in Omaha, NE, I don’t have all our Christmas decorations. Last year we had plain pre lit fake tree that came in our condo. It literally had NO ornaments on it. This year though, I want to have ornaments, but I don’t want to go spend money on an entire trees worth, being how I all ready have way too many in storage. So Becca and I sat down the other night and decided to make some “free” ornaments for Christmas.
On top of these Simple Salt Dough Ornaments, I am also getting a few Personalized Christmas Ornaments from Dixie Midwest to go on our tree this year. But for now, this is what we are starting with to get ready for the upcoming Holiday season.

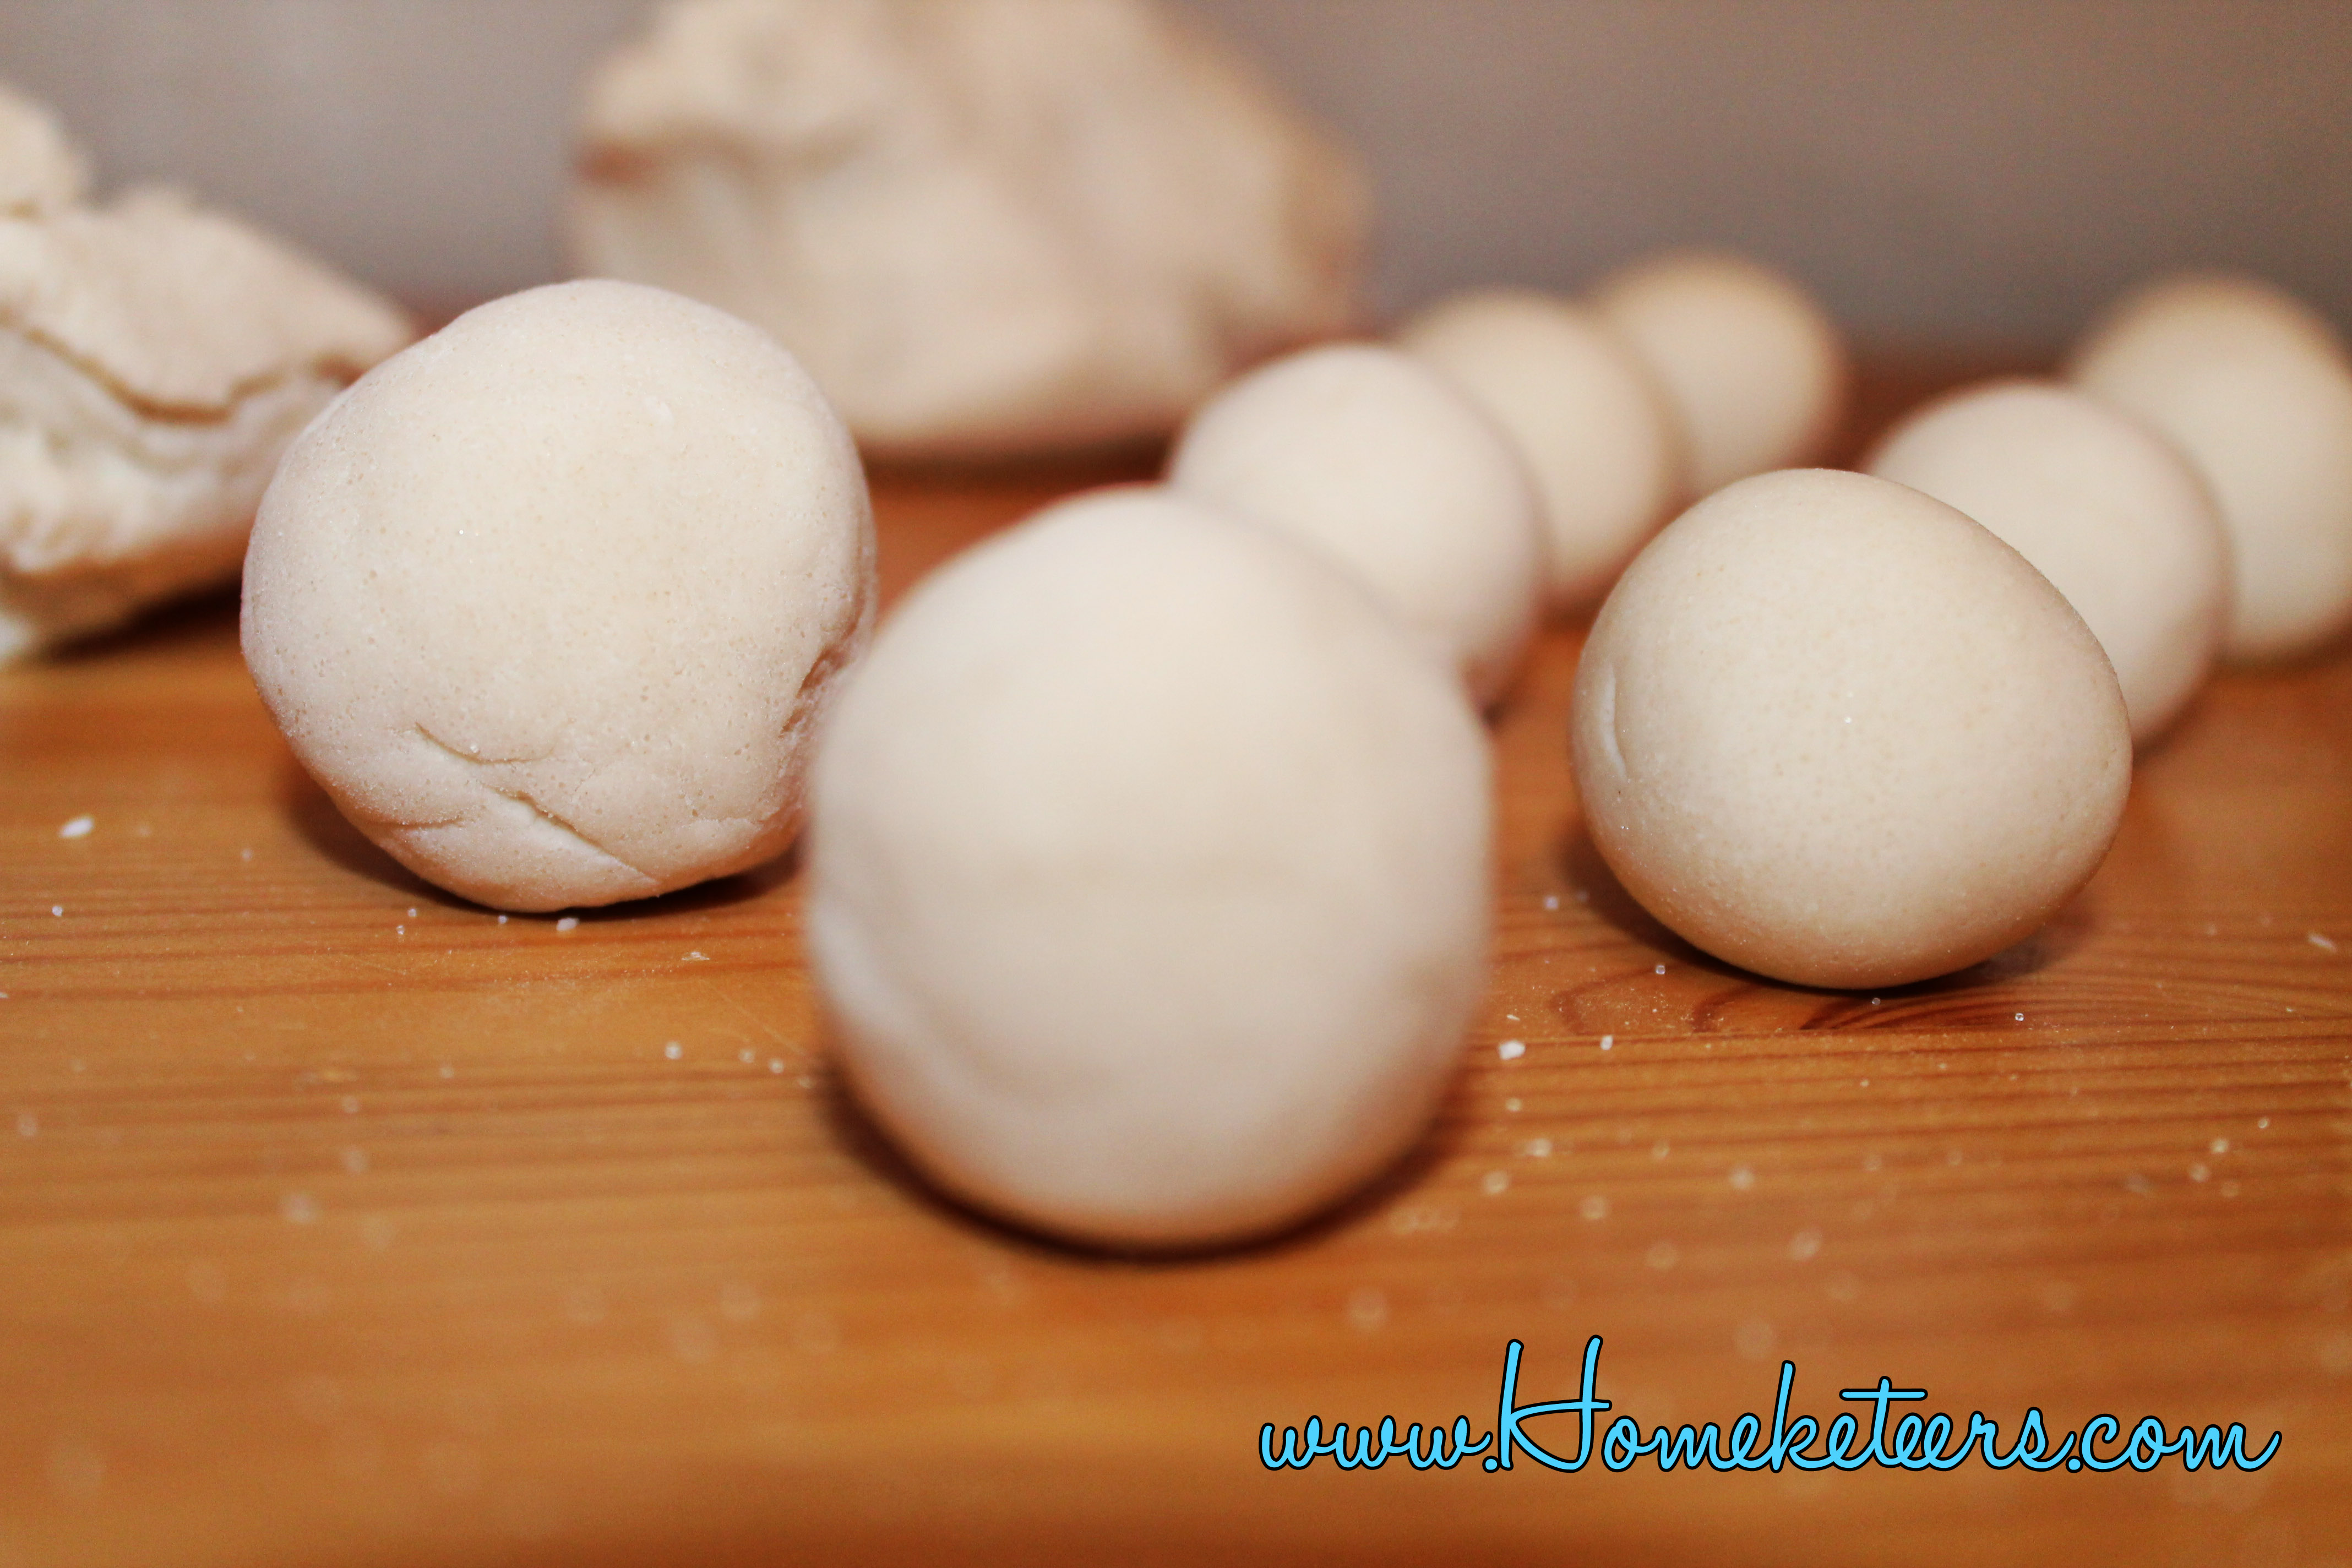
Salt Dough Recipe
This is literally the easiest recipe. One part Flour, Half part Salt, Water. Example: 1 cup flour, 1/2 cup salt, 1/4 cup water (more or less as needed)- – So you mix the flour and salt in a bowl, and sift it around to make sure it is mixed evenly. After you have it mixed together, slowly add the water to your mix and get it to a consistency where it almost feels like play dough. If it is too dry it will crack when you are shaping it, if it is too wet it will be very sticky. Now since my KitchenAid is in Omaha still, we had to mix and knead ours by hand. Which we did for about ten minutes. You want to knead it A LOT, makes a smoother dough. If you have a KitchenAid, then put everything in and let it run with a dough hook for about 8 minutes.
Making Simple Salt Dough Ornaments
After your salt dough is ready, you can start making your ornaments. With so many different ideas for things to make, I thought I would share with you some of the easier techniques to get you going.
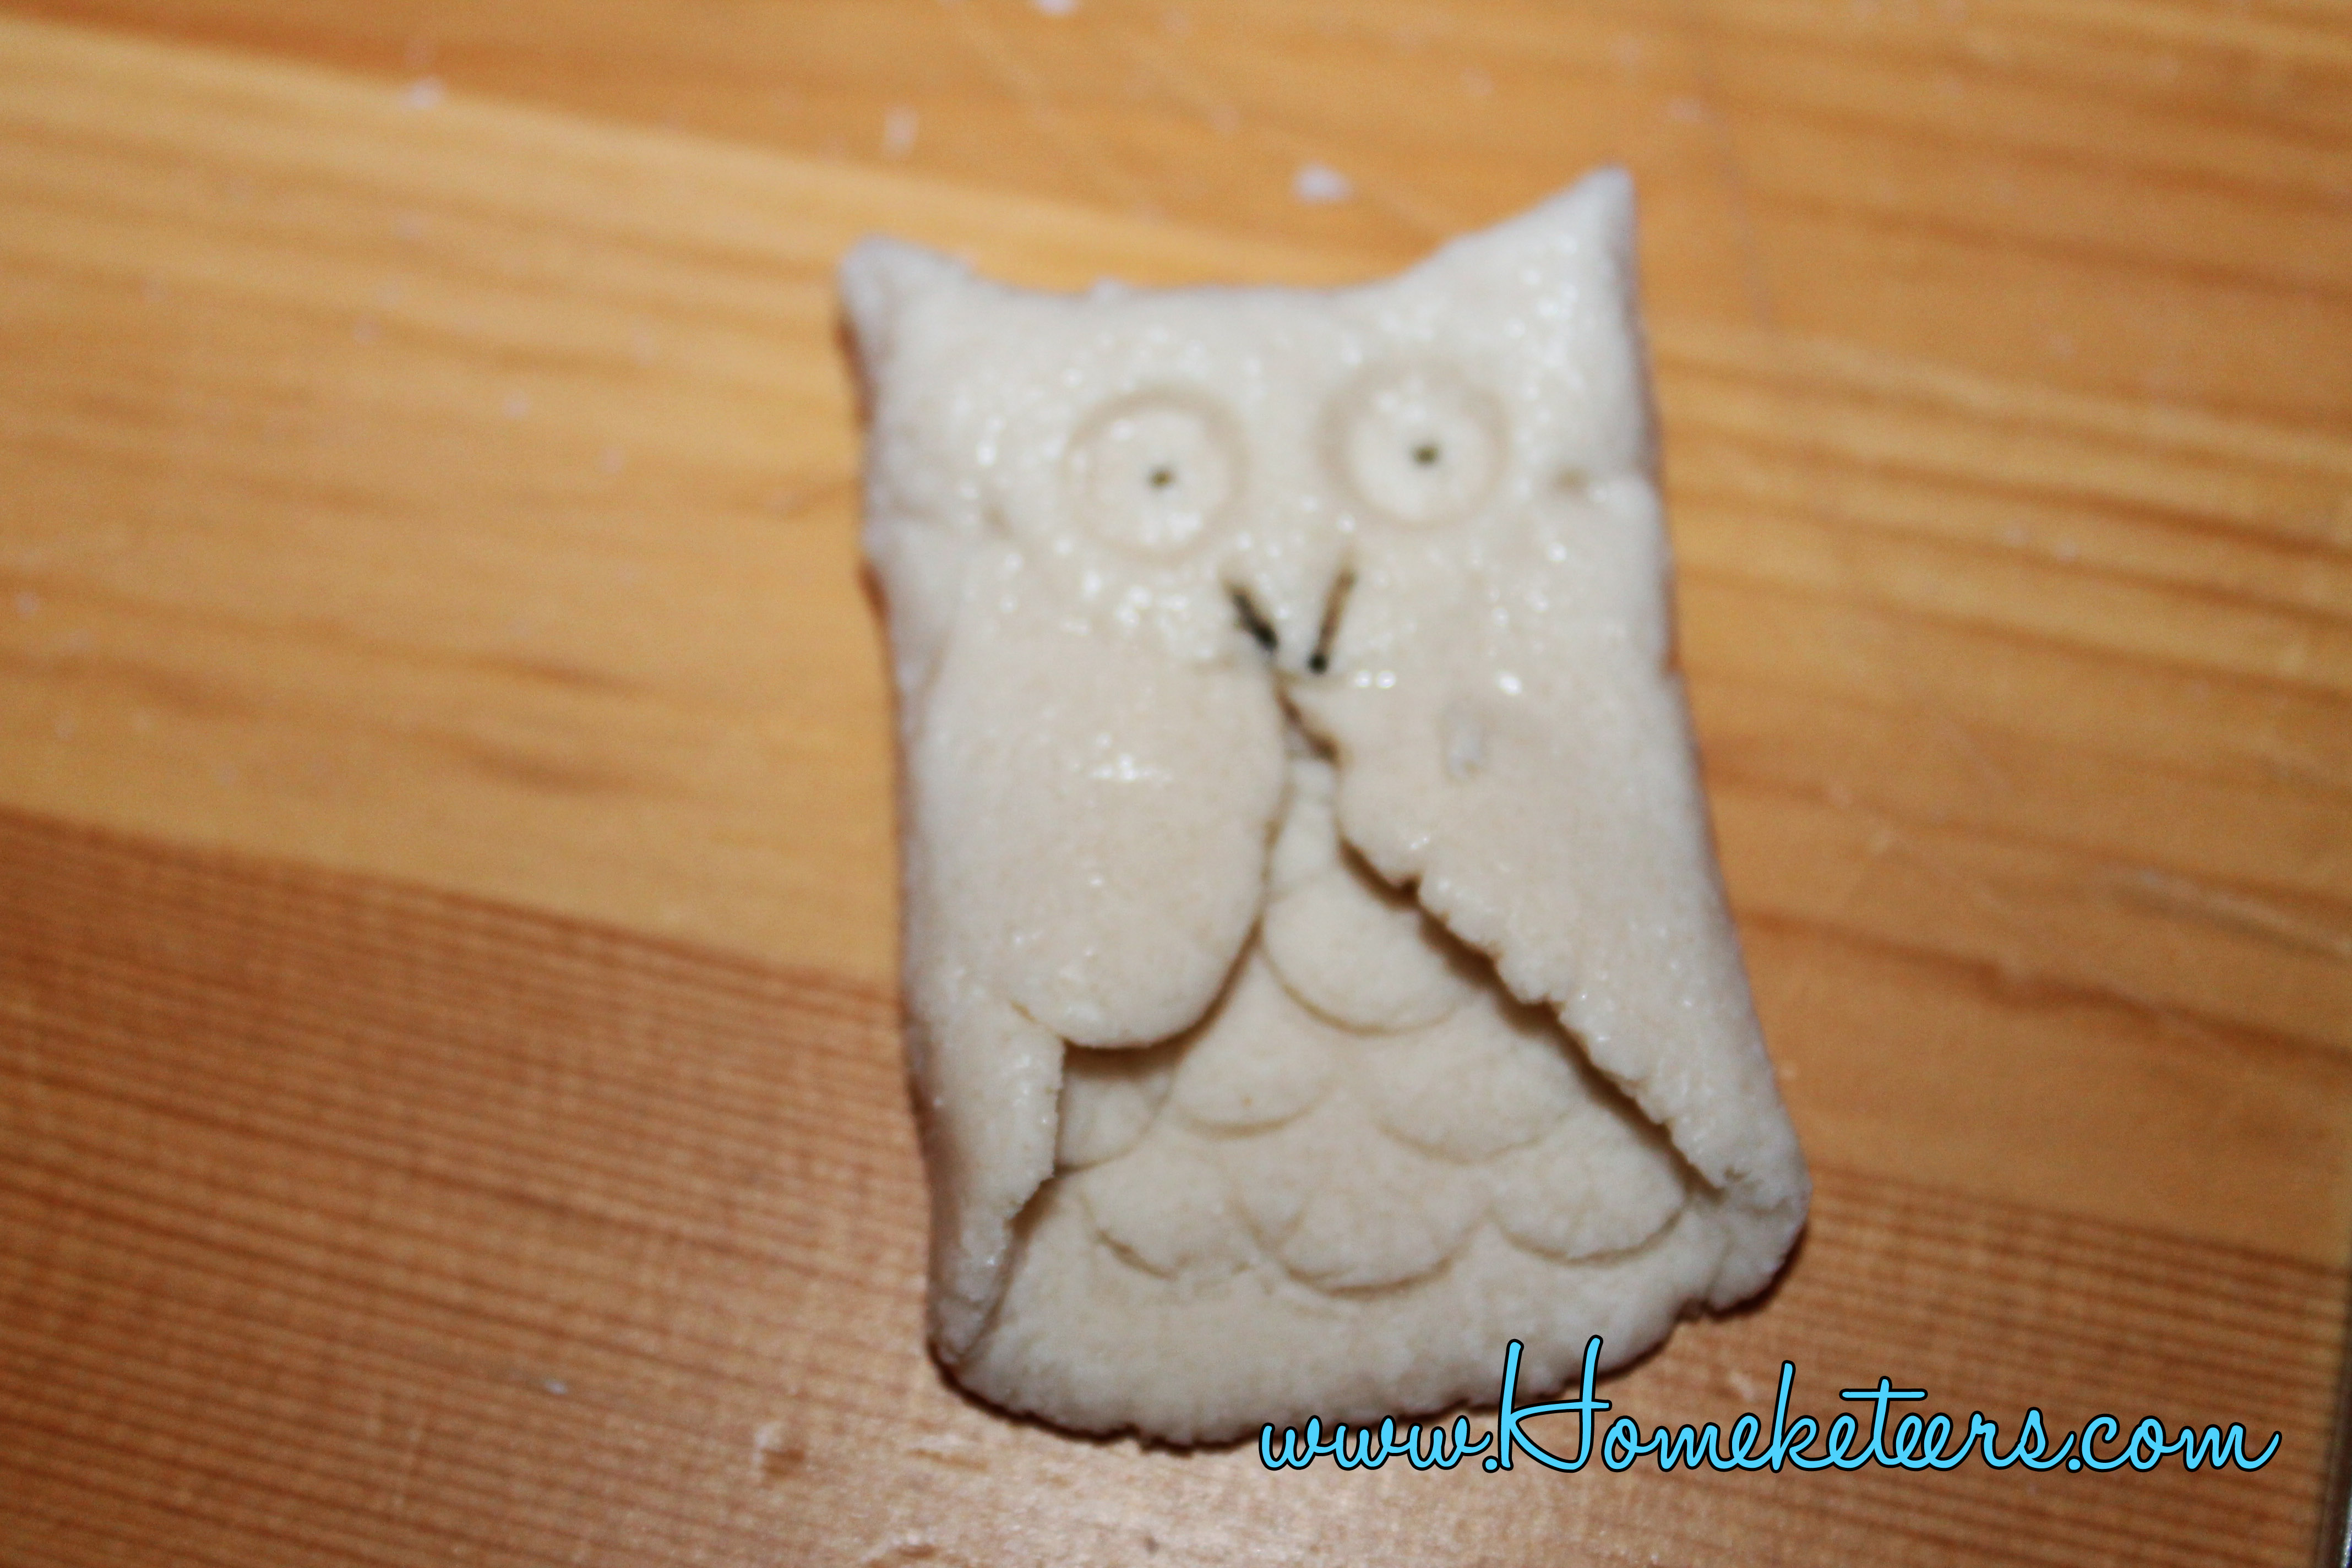
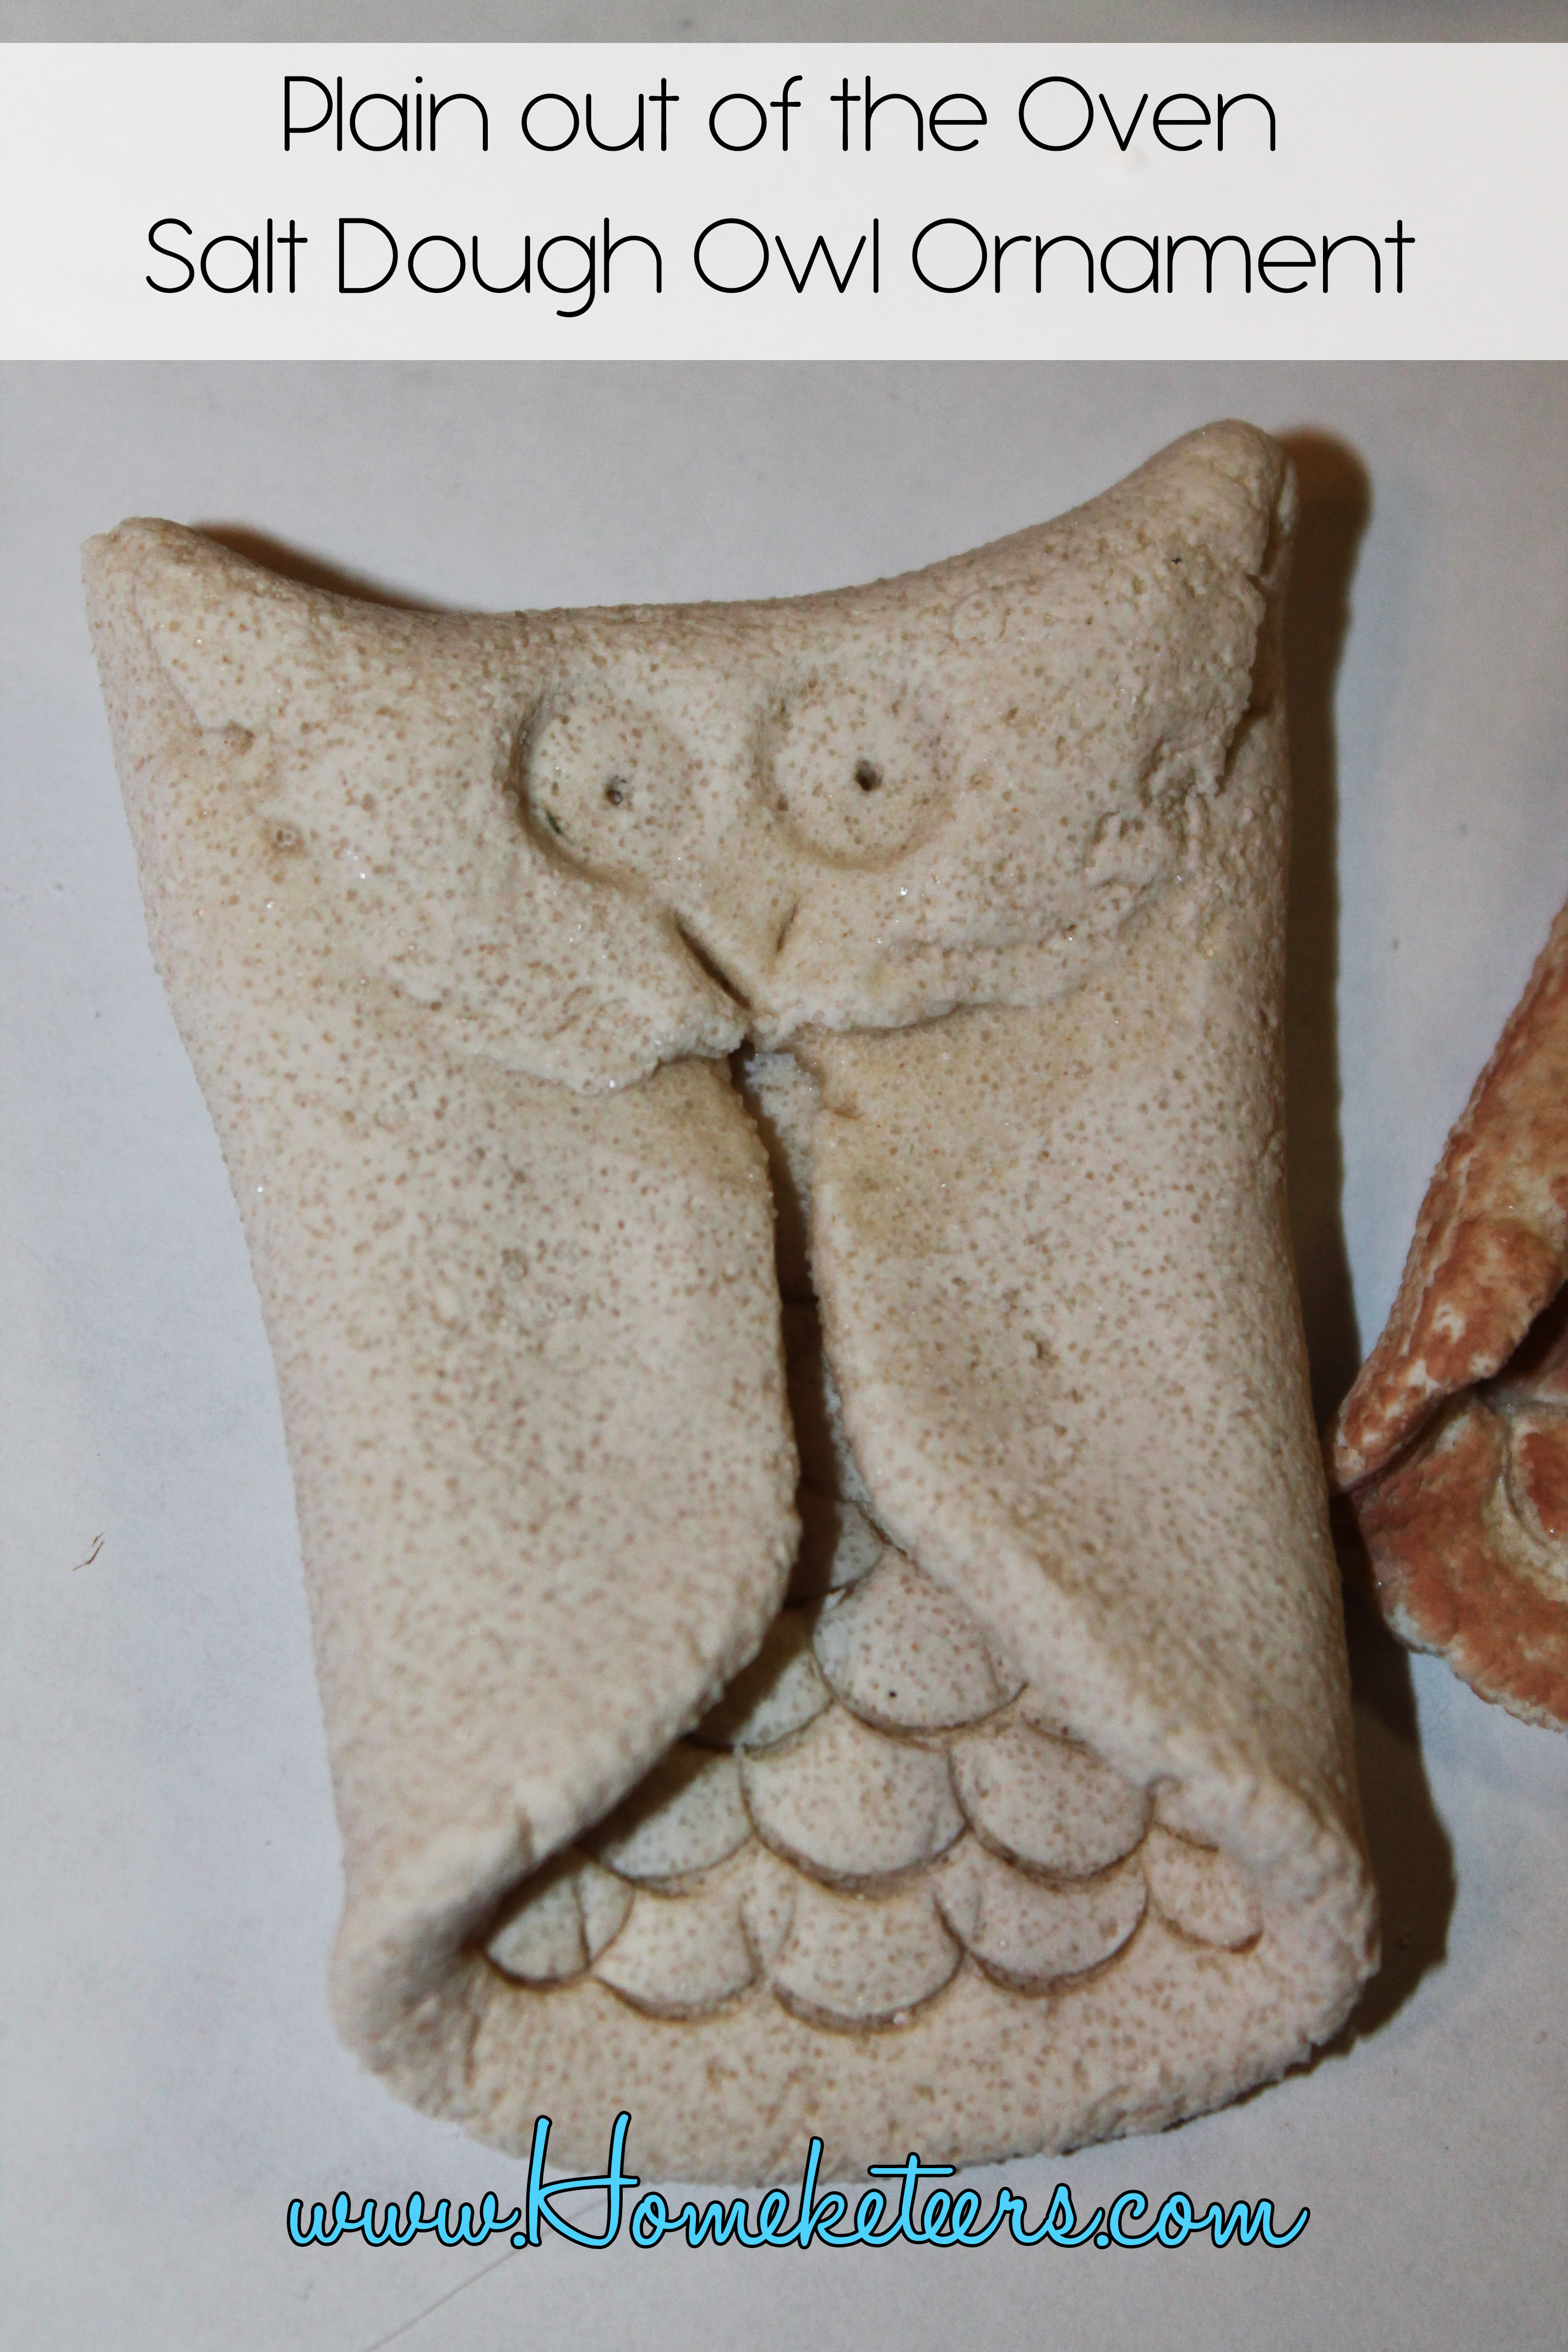
Making an Owl out of Salt Dough
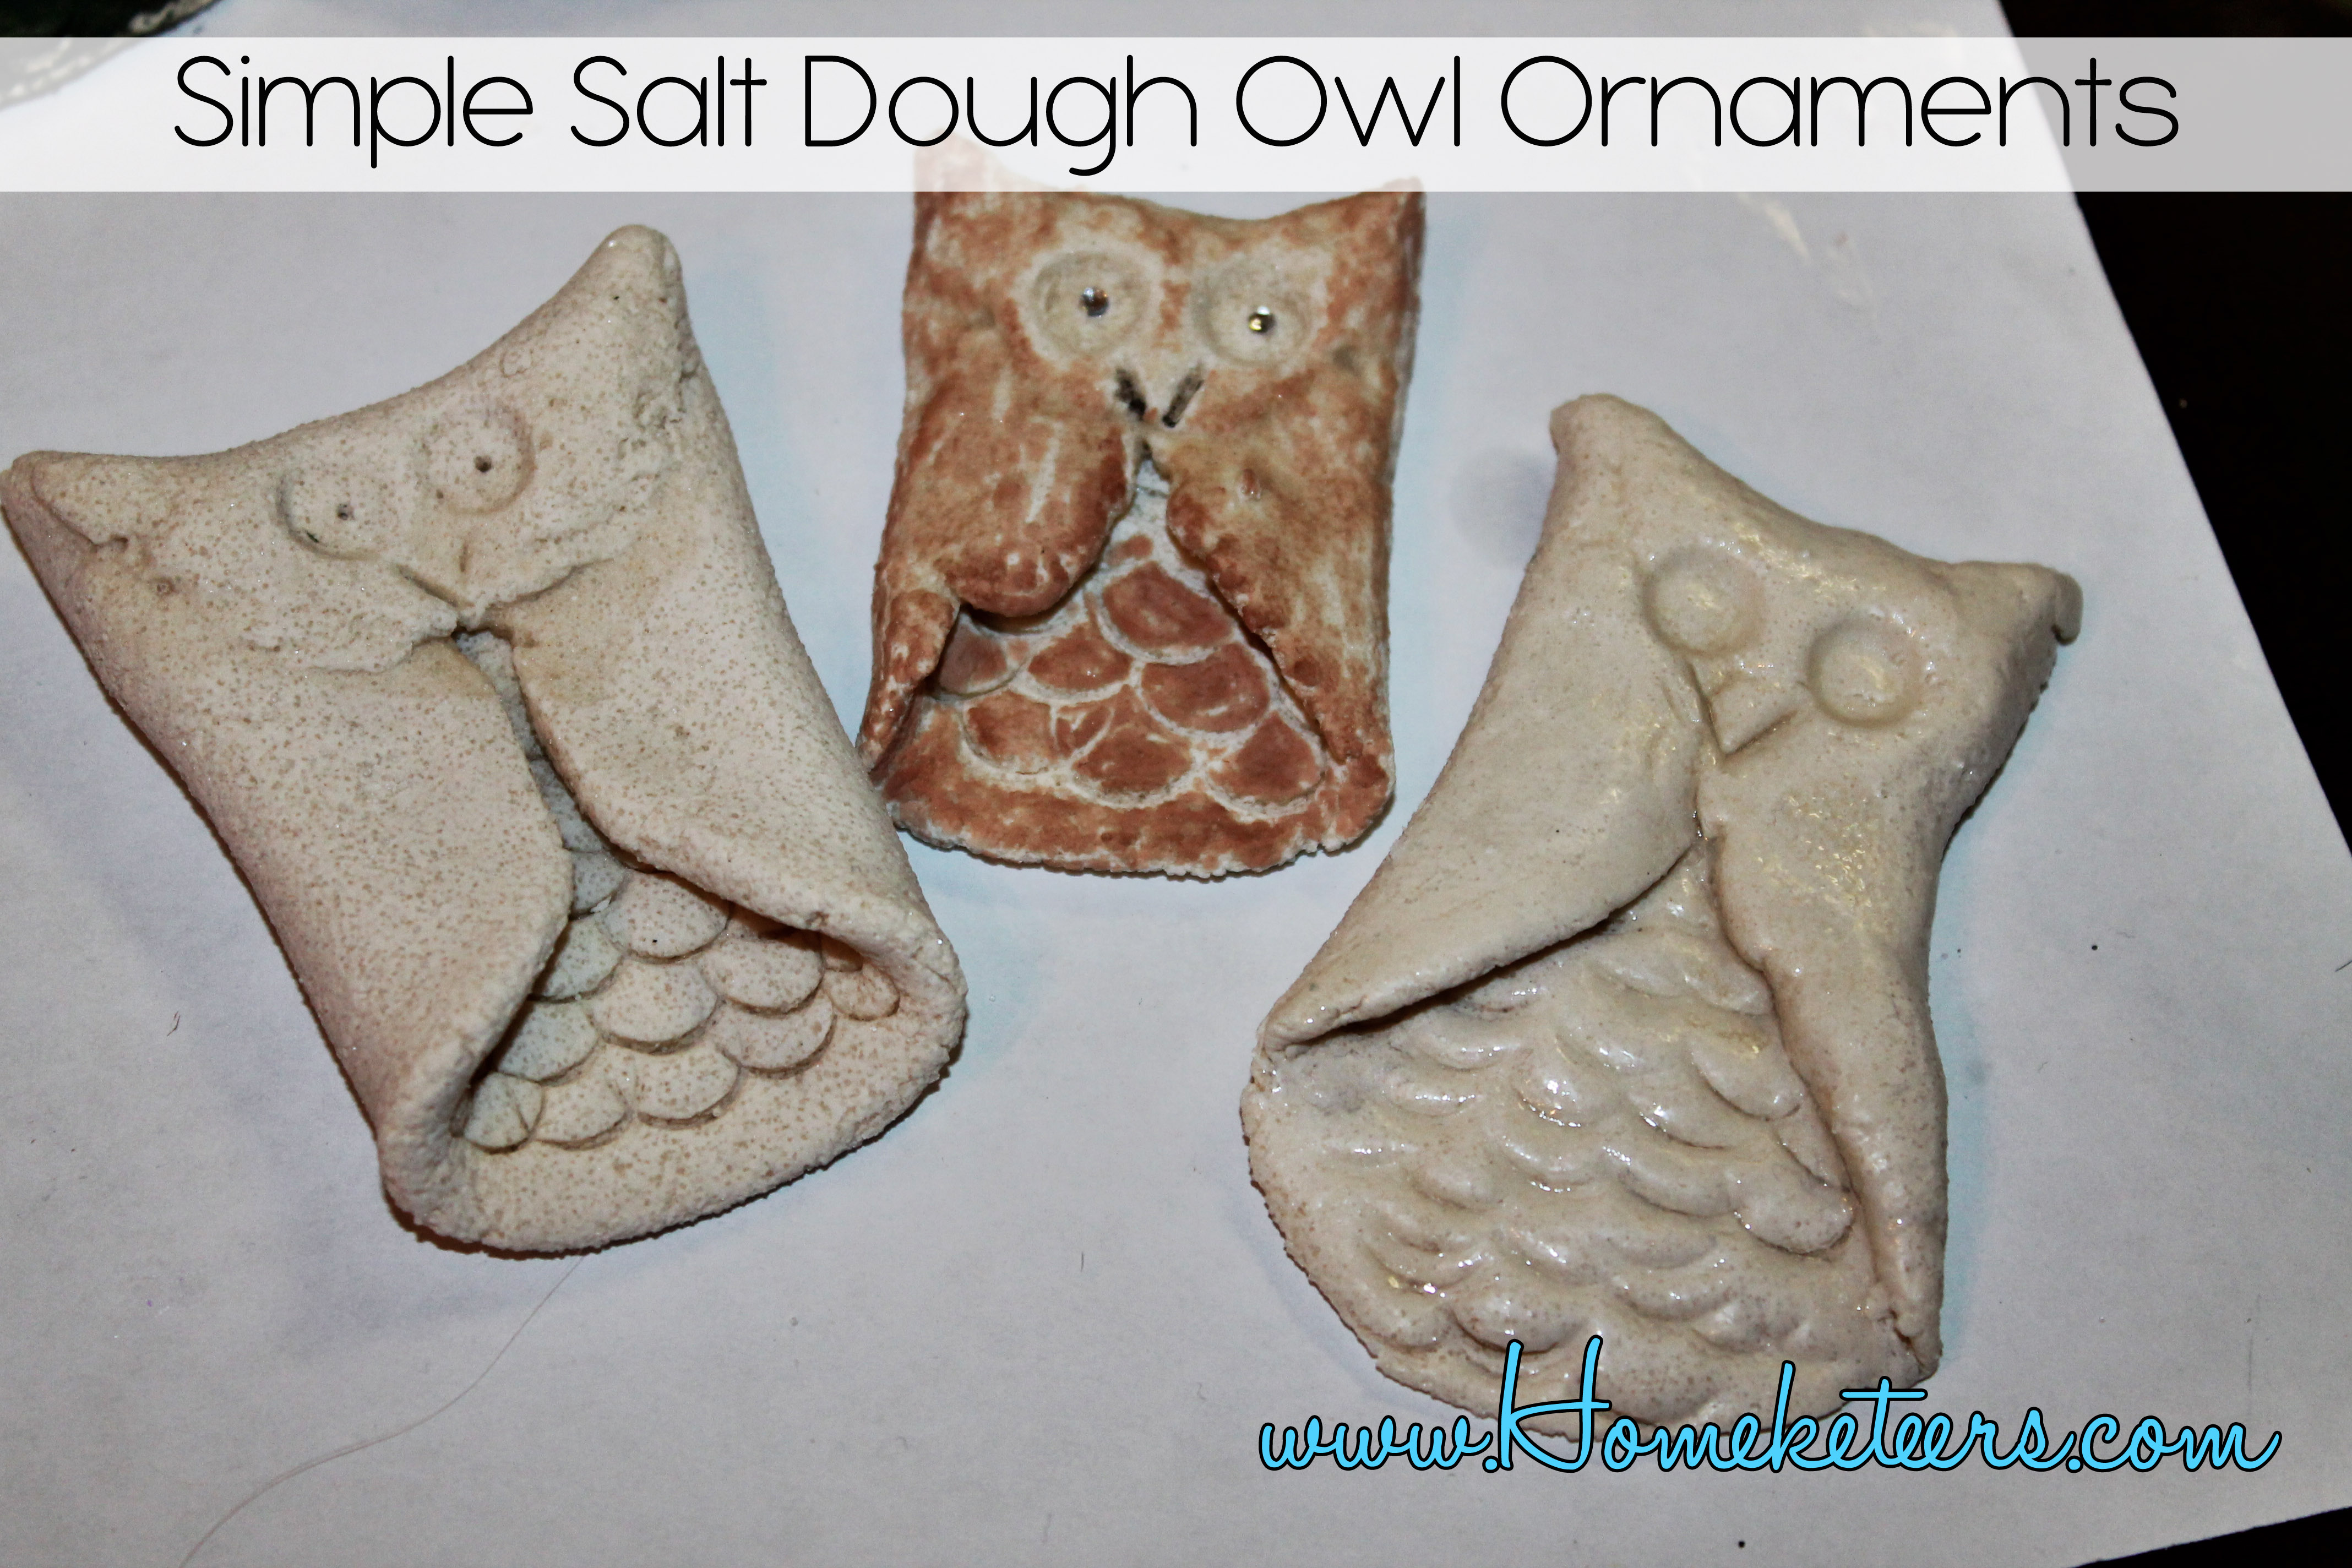
These little owls are so easy to make and absolutely adorable! For finishing them off after they dry, well you have many options as we will show you below. The one thing I wish I had done with these was insert a paper clip into the back of them so we could hang them on the Christmas Tree. Oh well, guess I will have to make more.
- Make a Ball out of your salt dough
- Flatten that ball into a circle – if the edges are not smooth, then your dough is too dry
- Using the cap or end of a pen, make half circle indentions in the middle bottom half (see photo below)
- Fold both sides in until edge touch
- Fold top of circle down, using a little water on your finger help “glue” it down and smooth the edges and points into ears
- Using the of the pen, make two circle indentions for eyes
- Using a butter knife, or other flat object, make a “v” for the beak
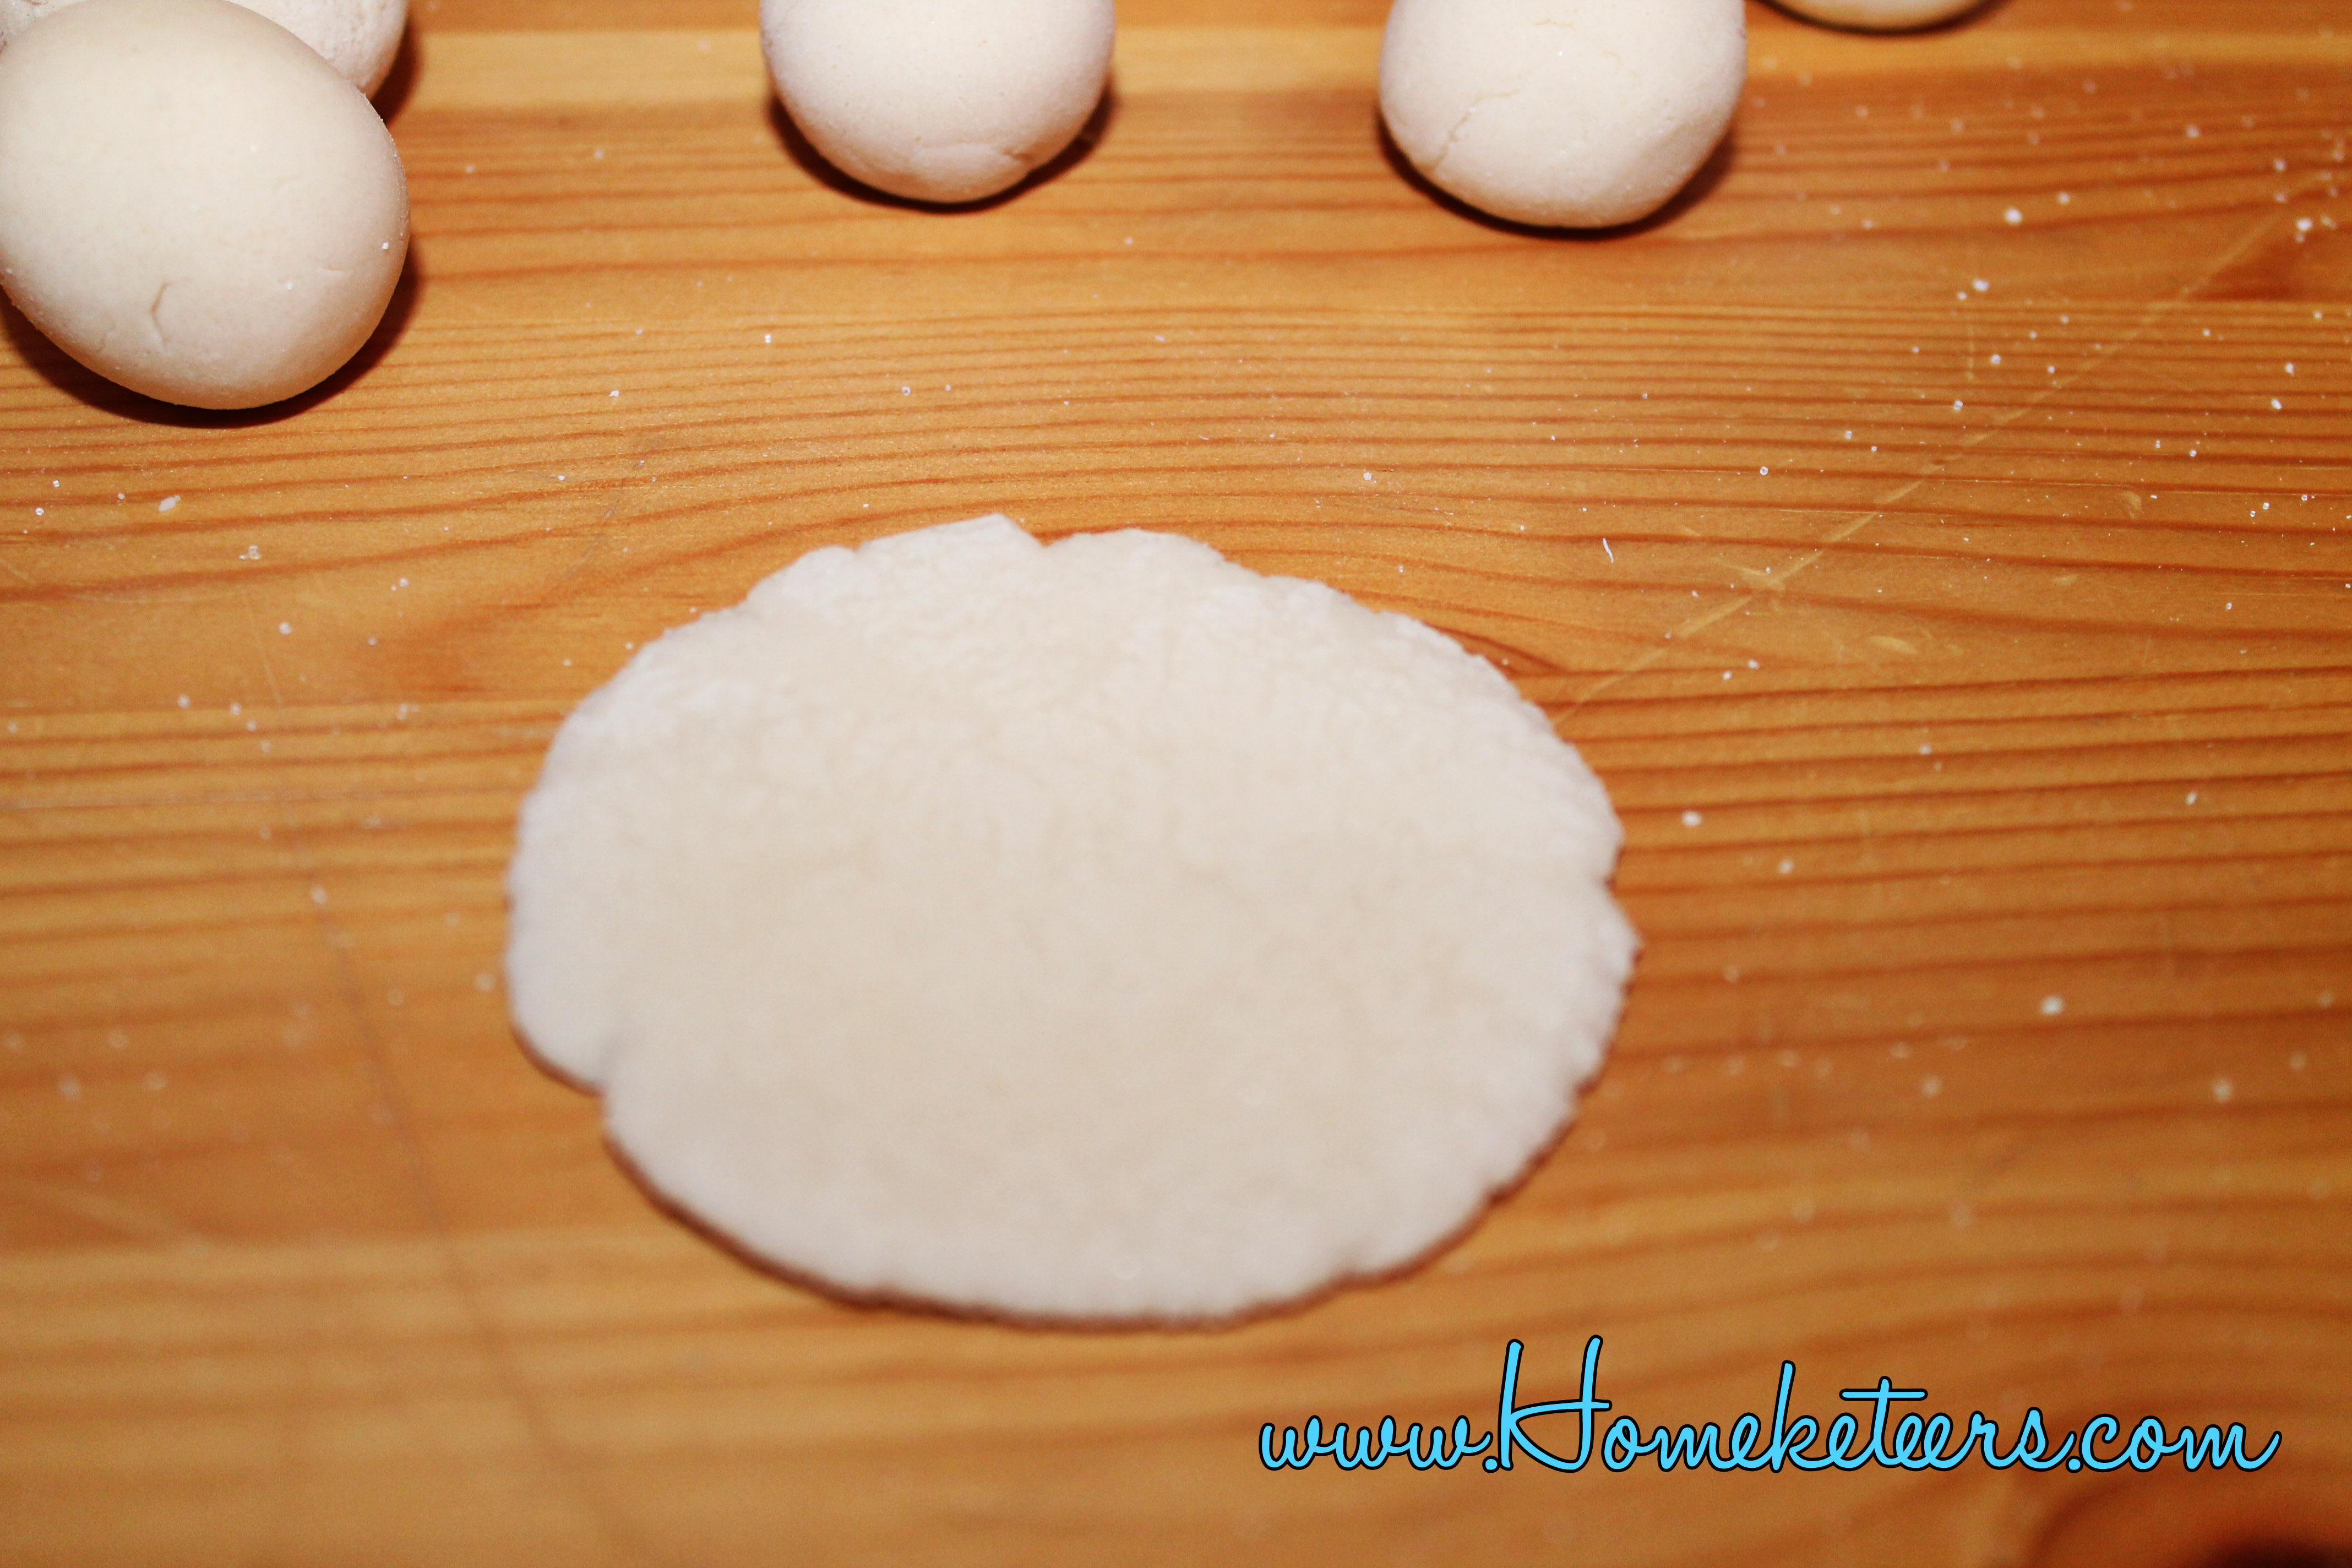
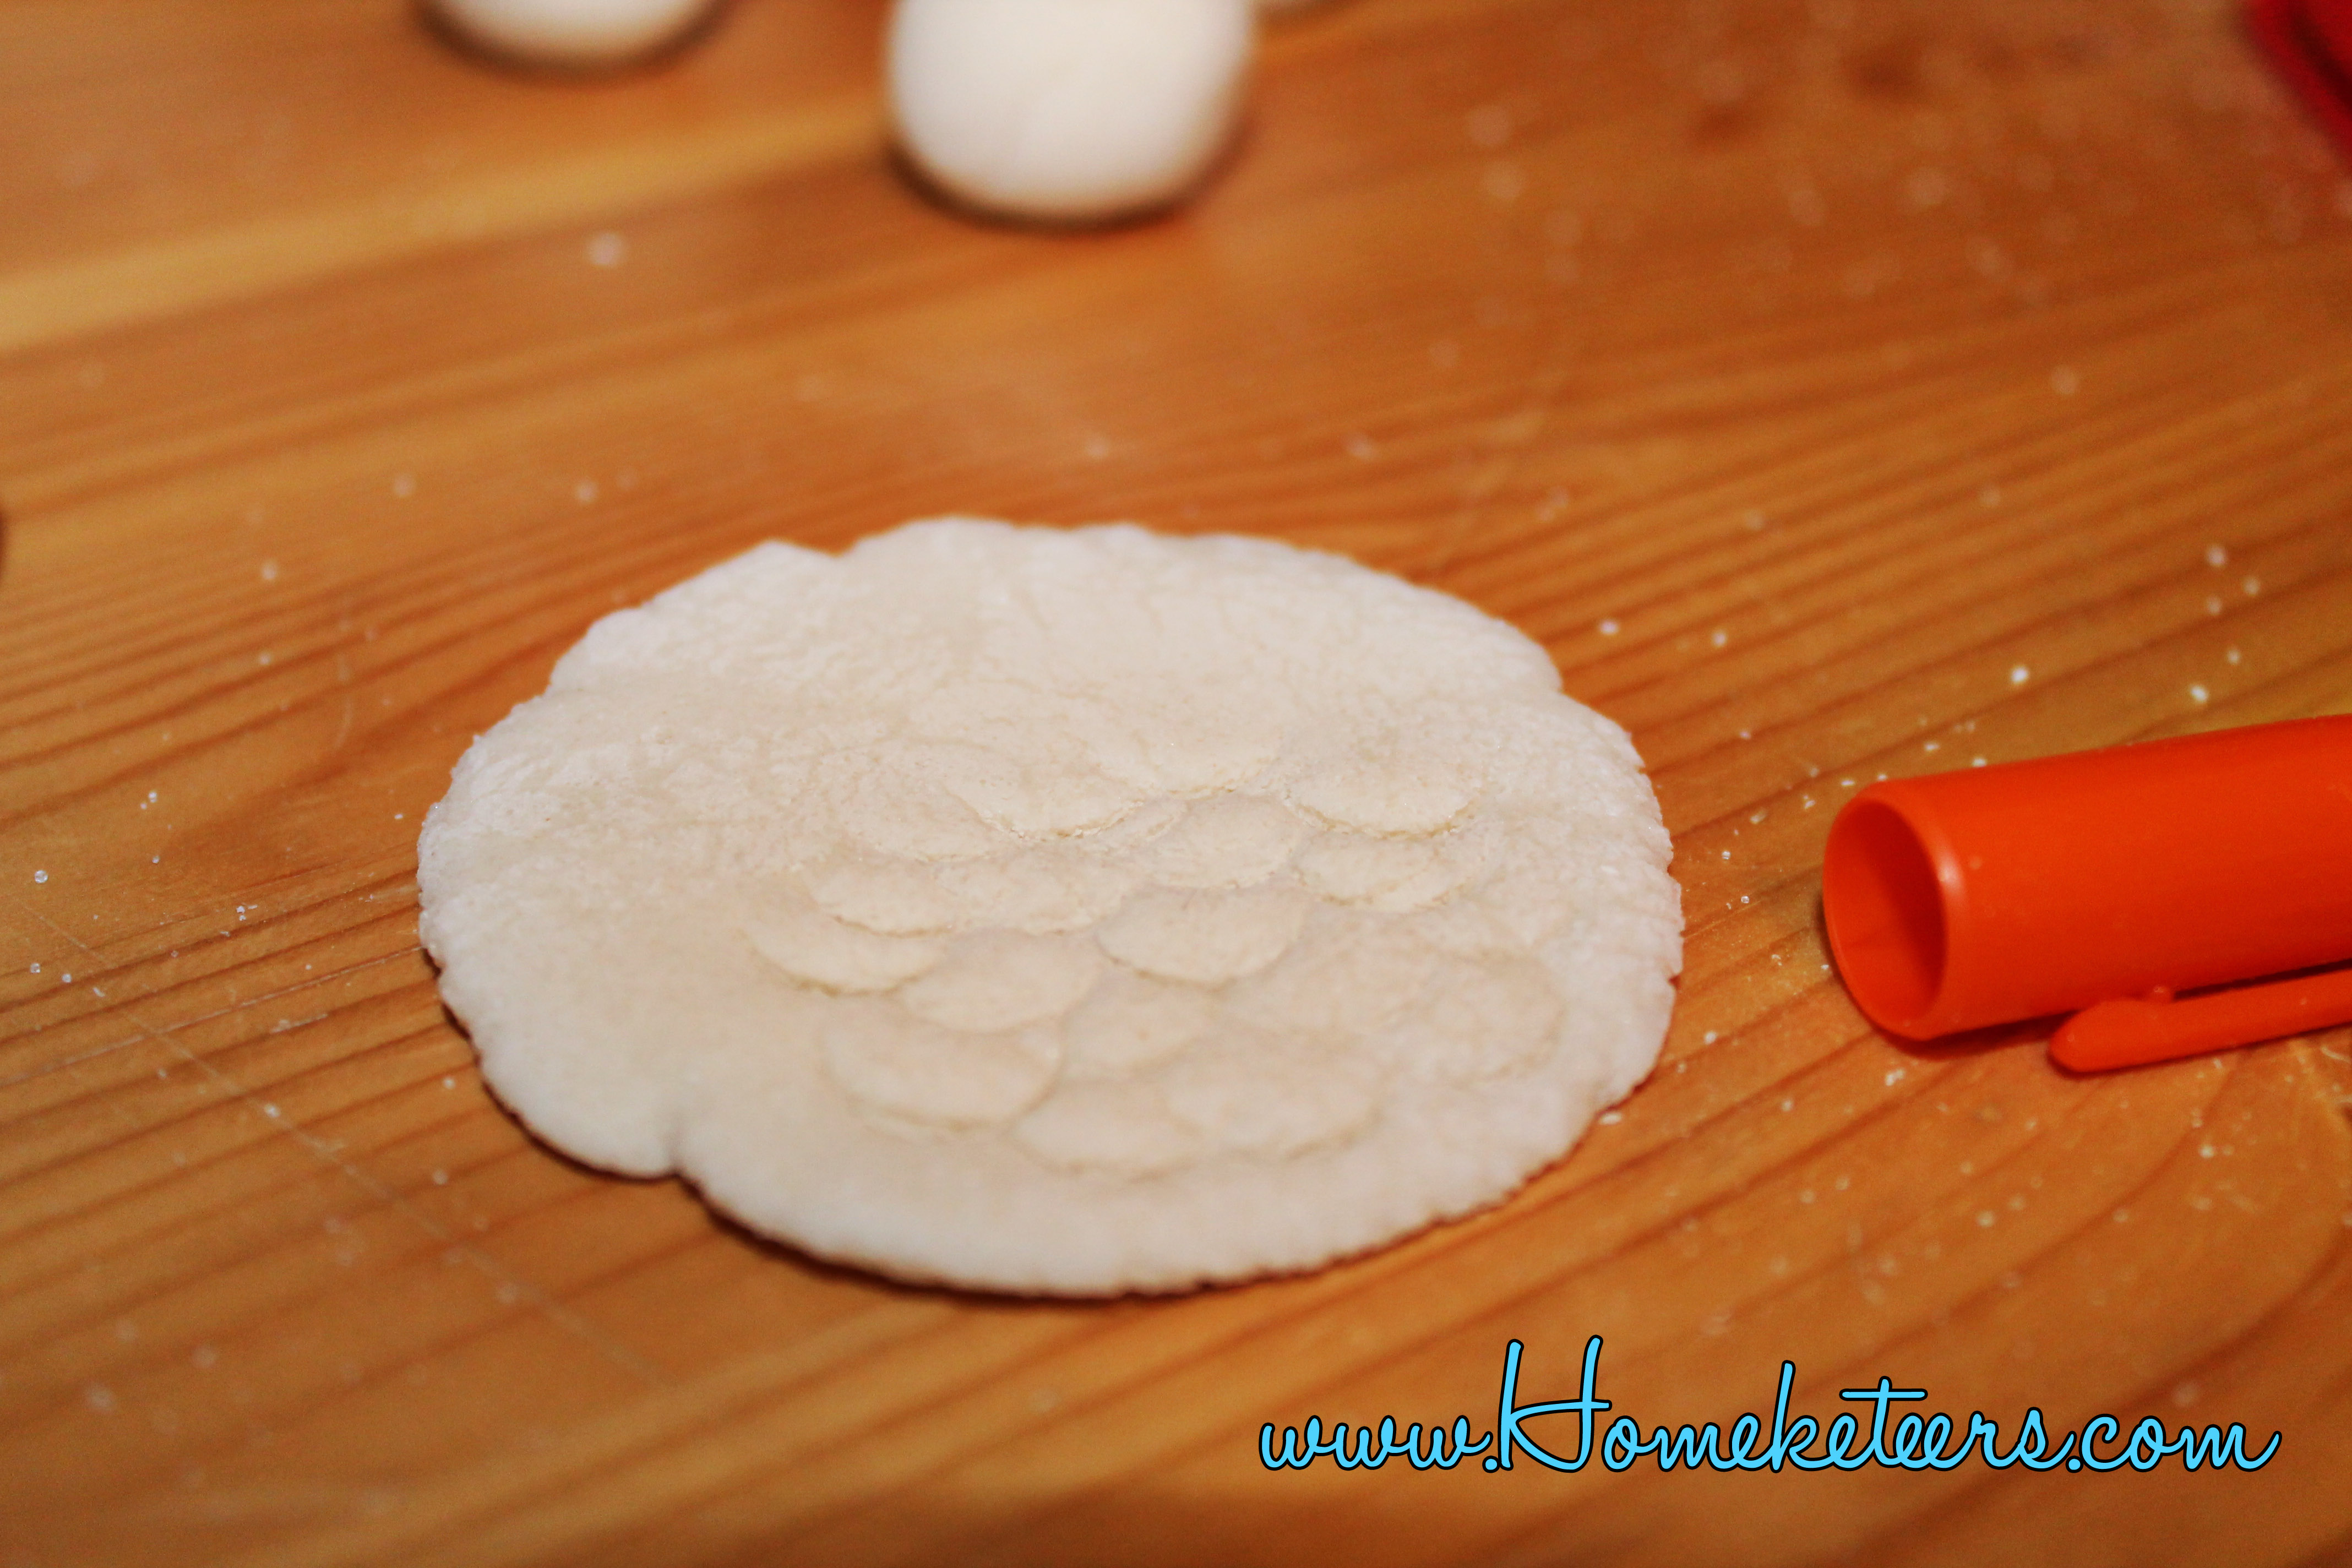
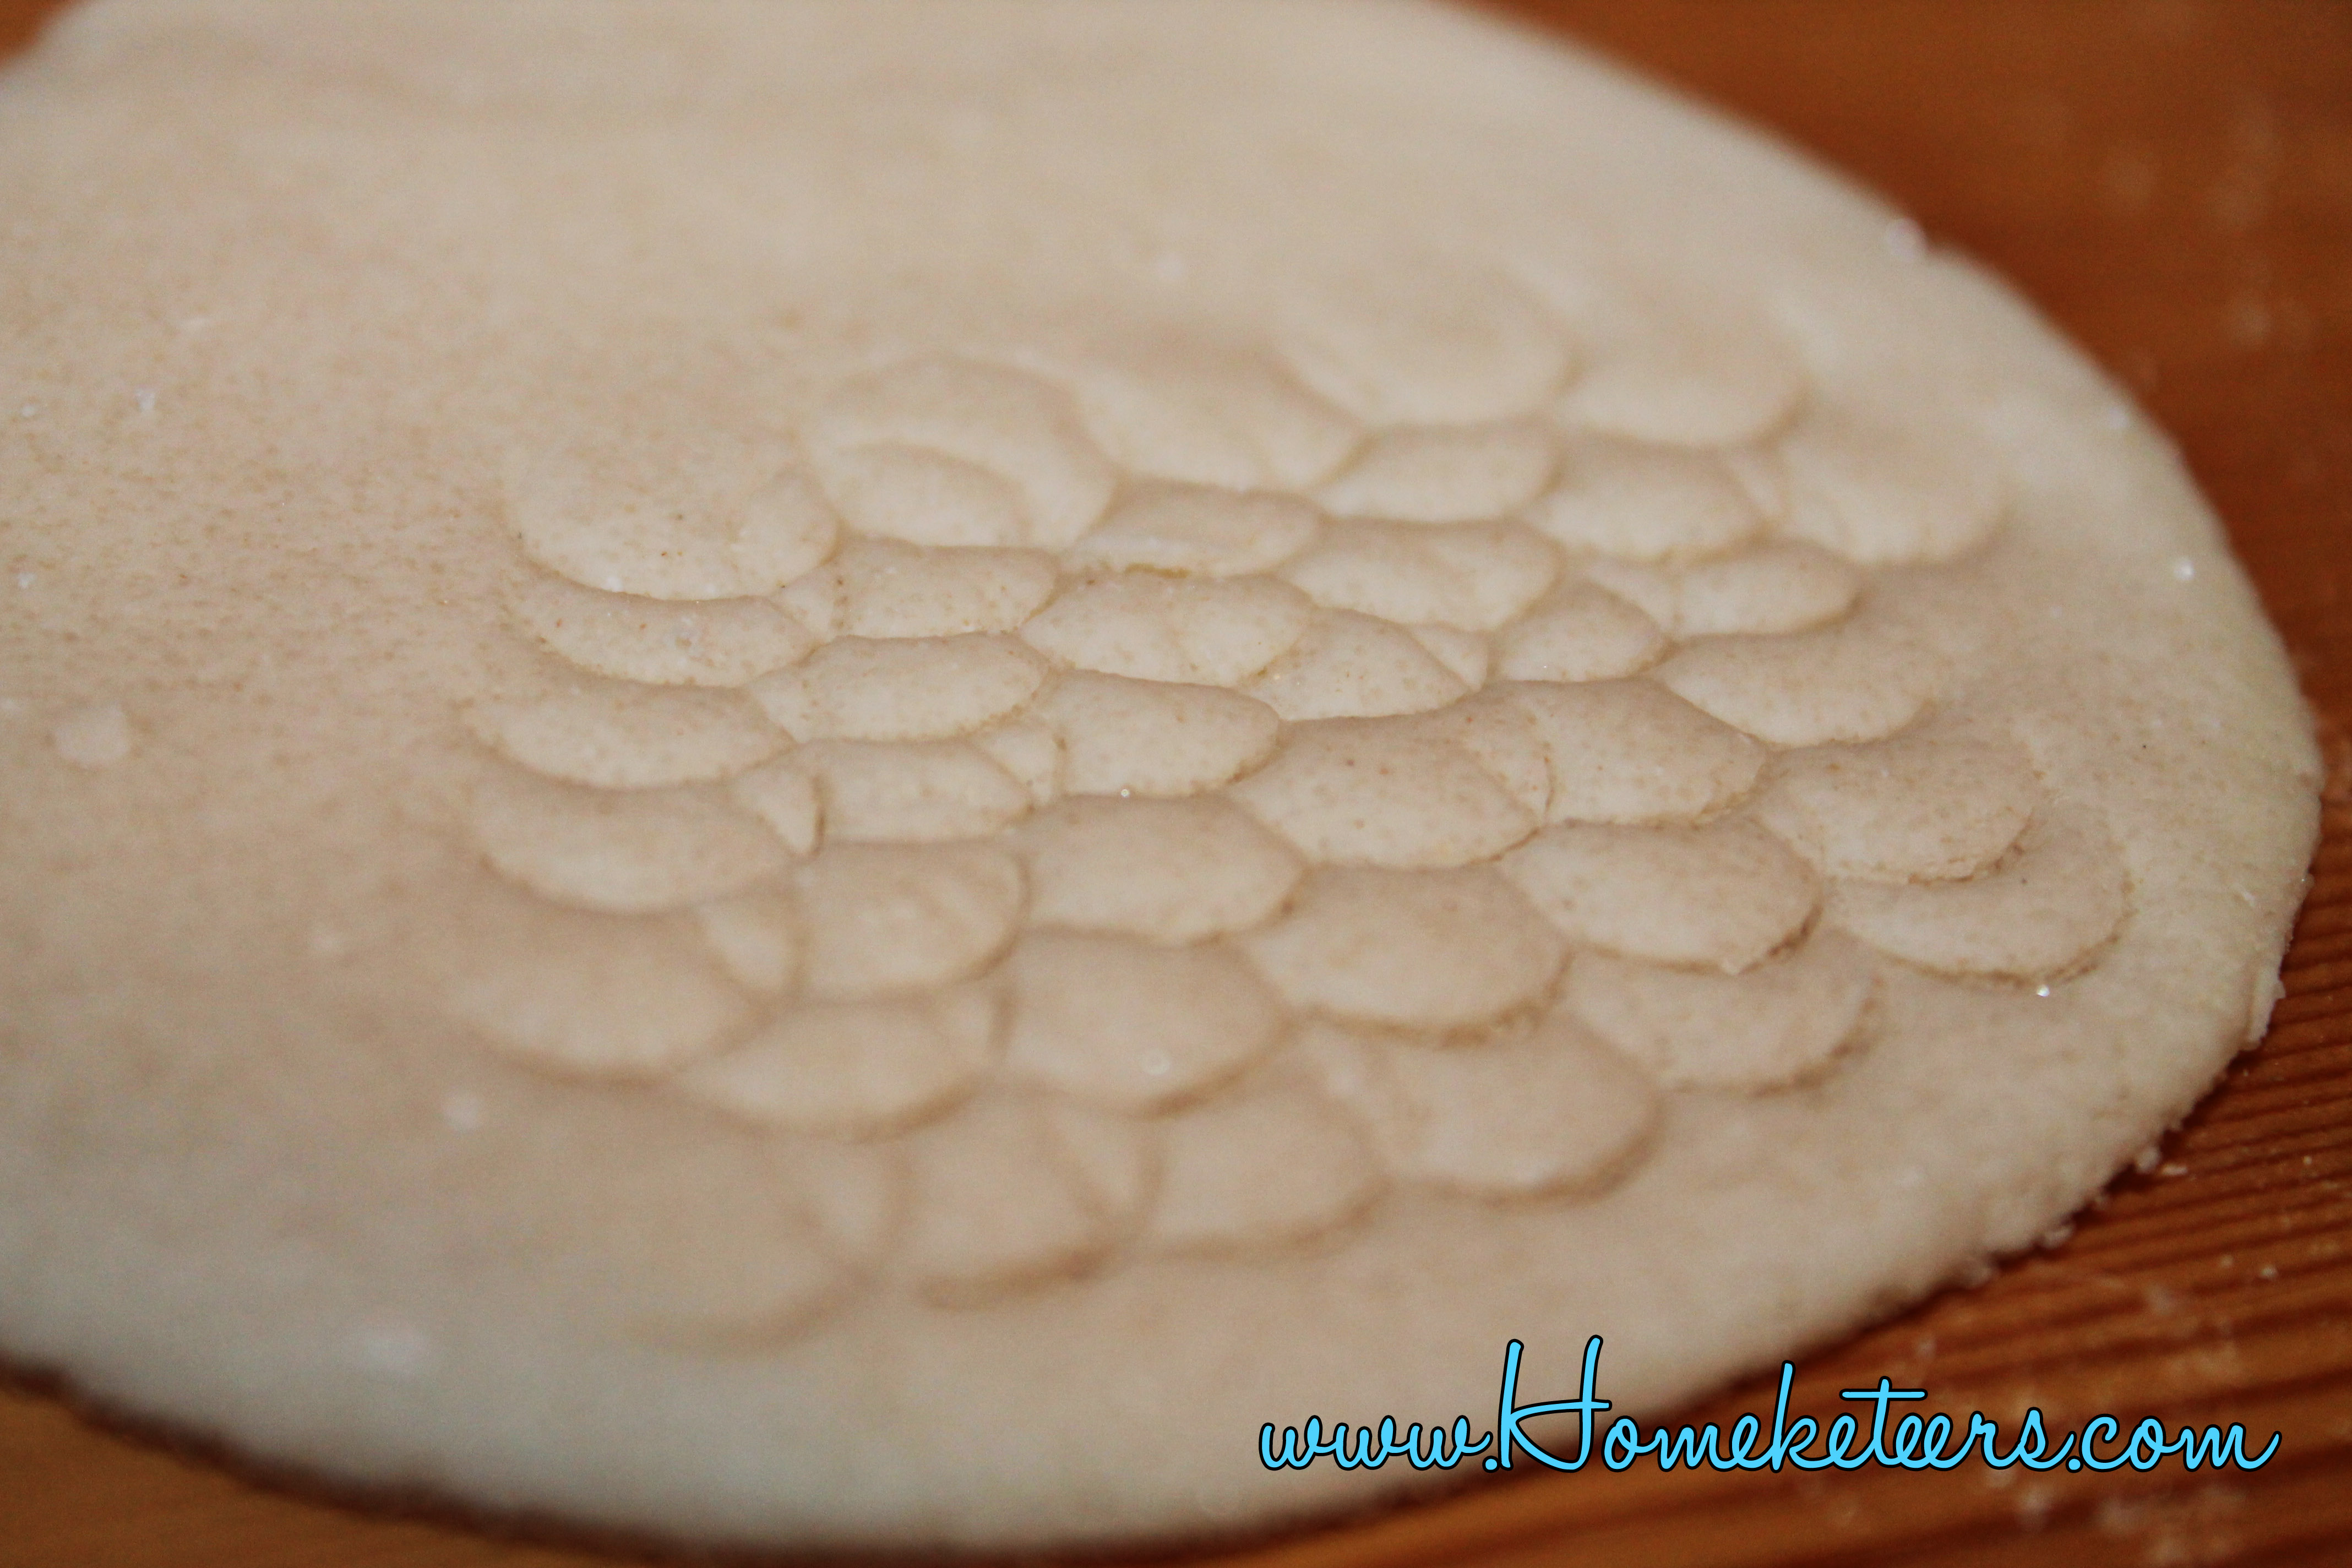

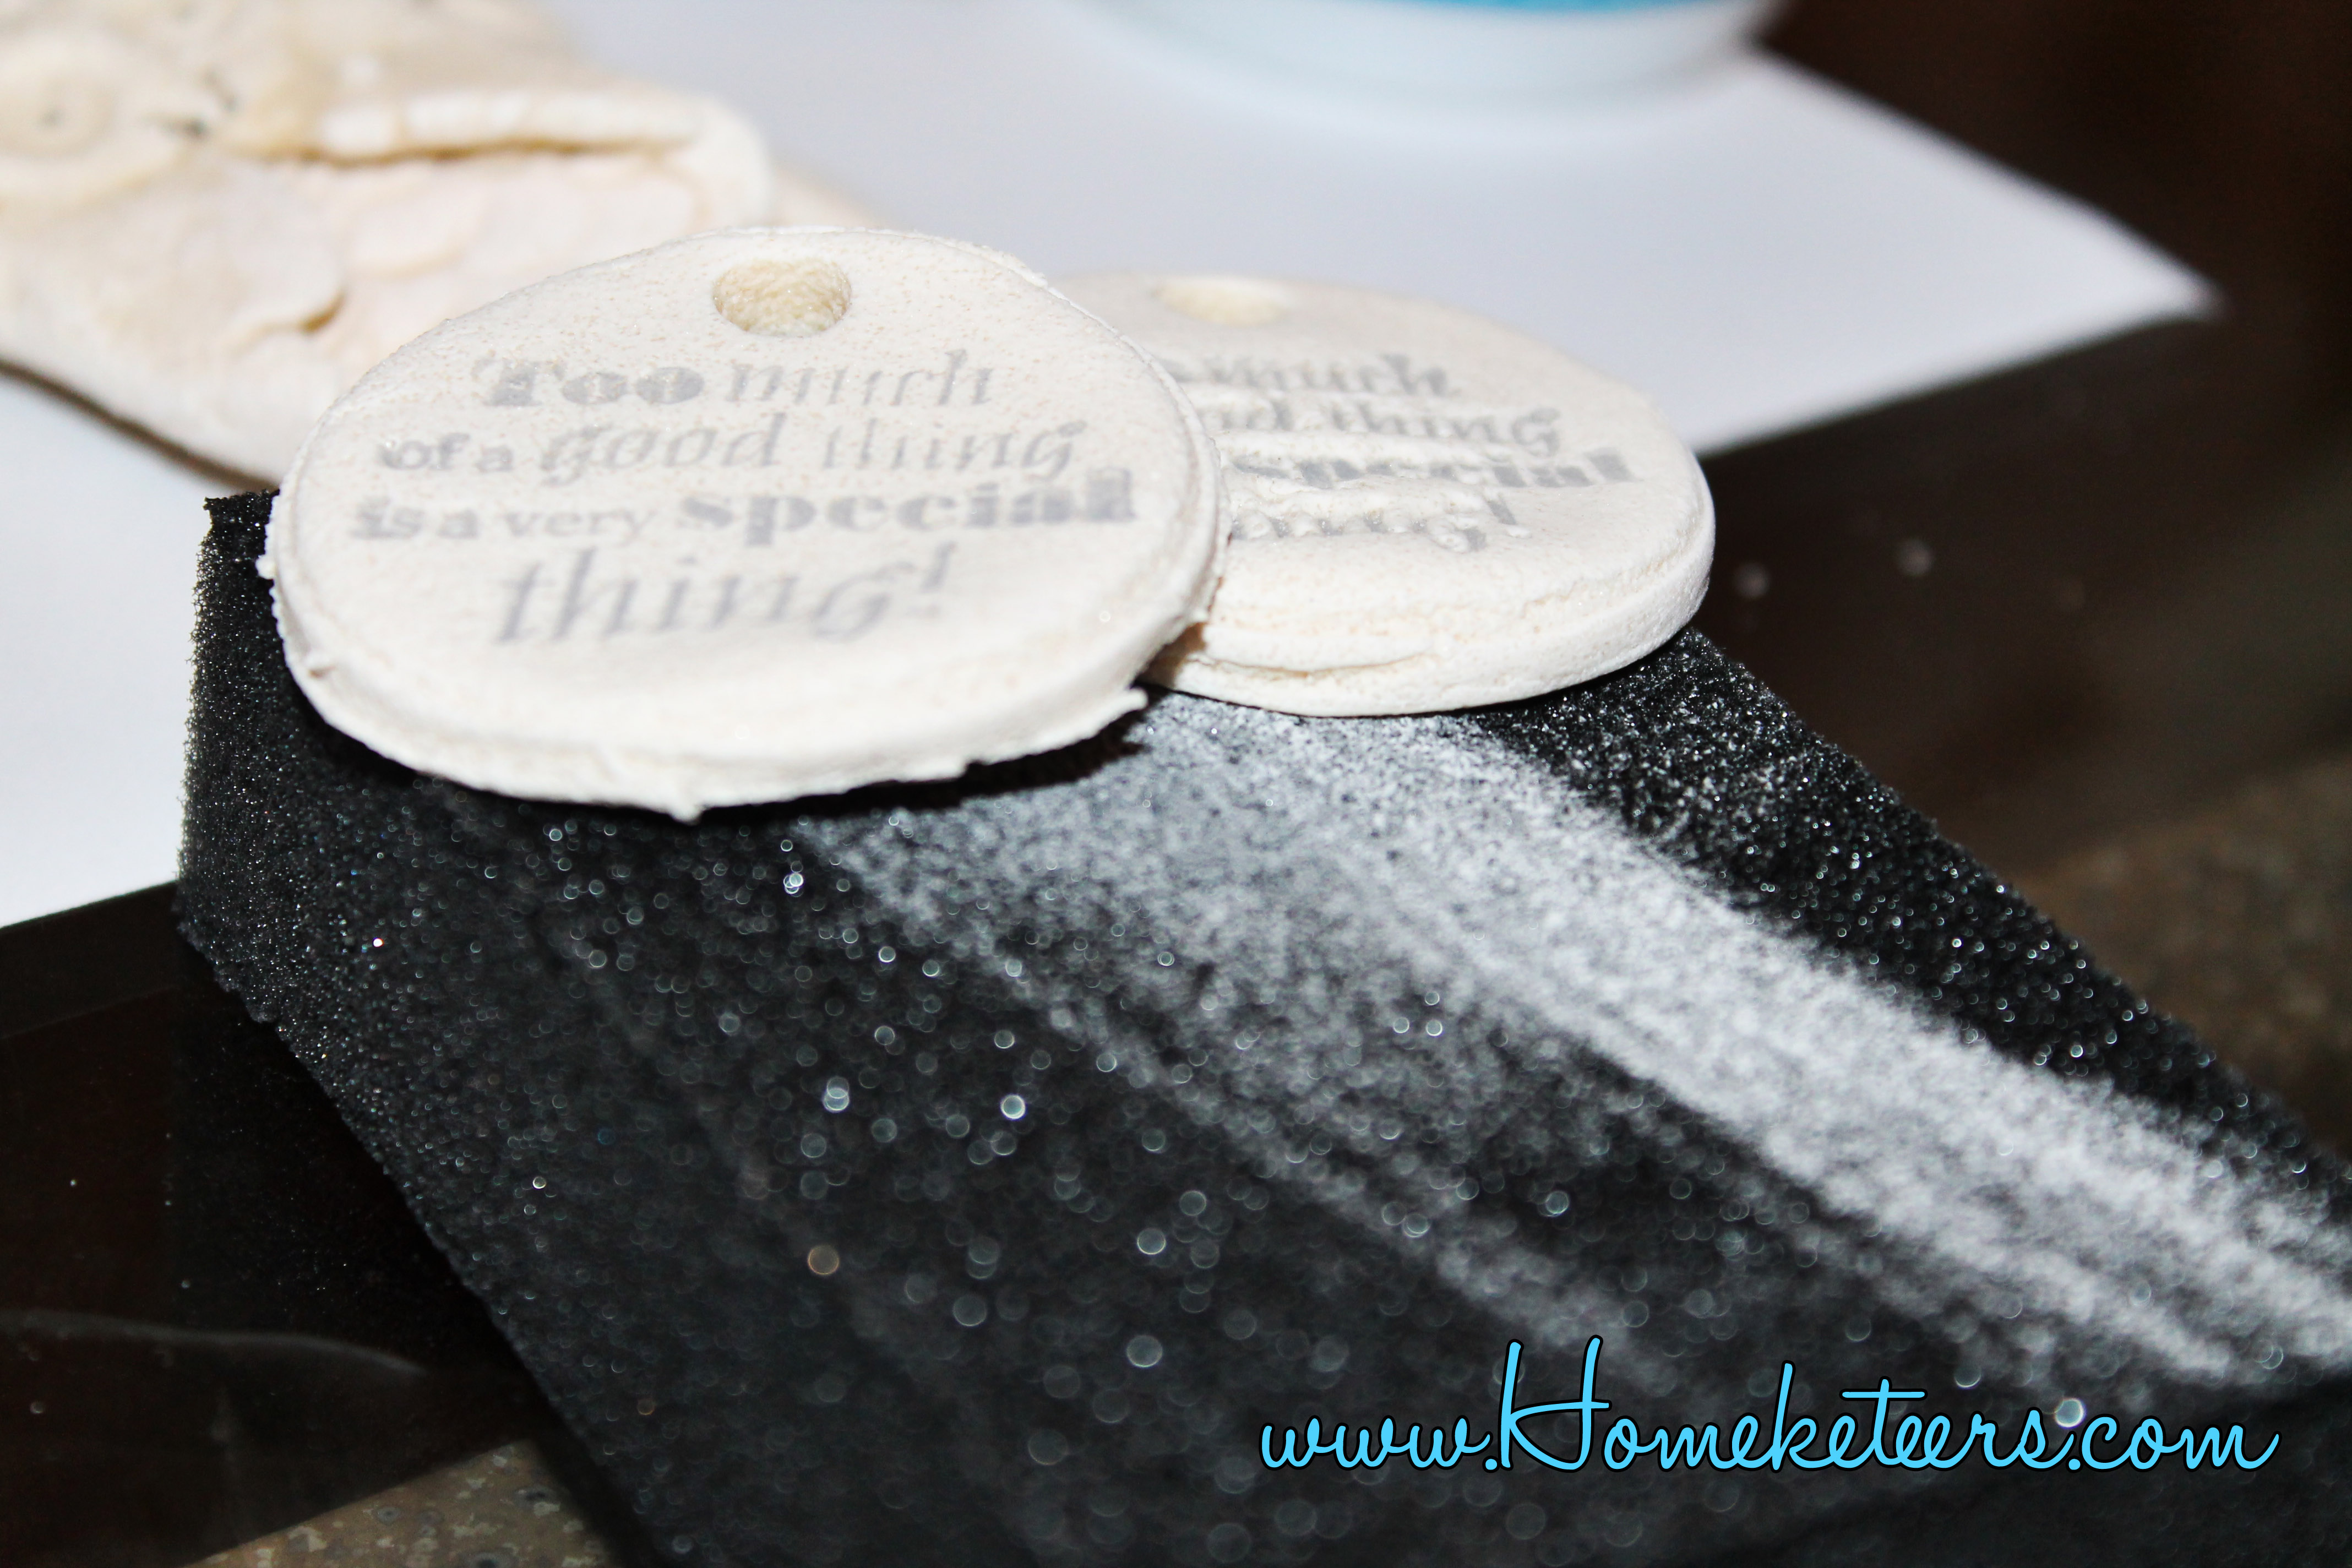
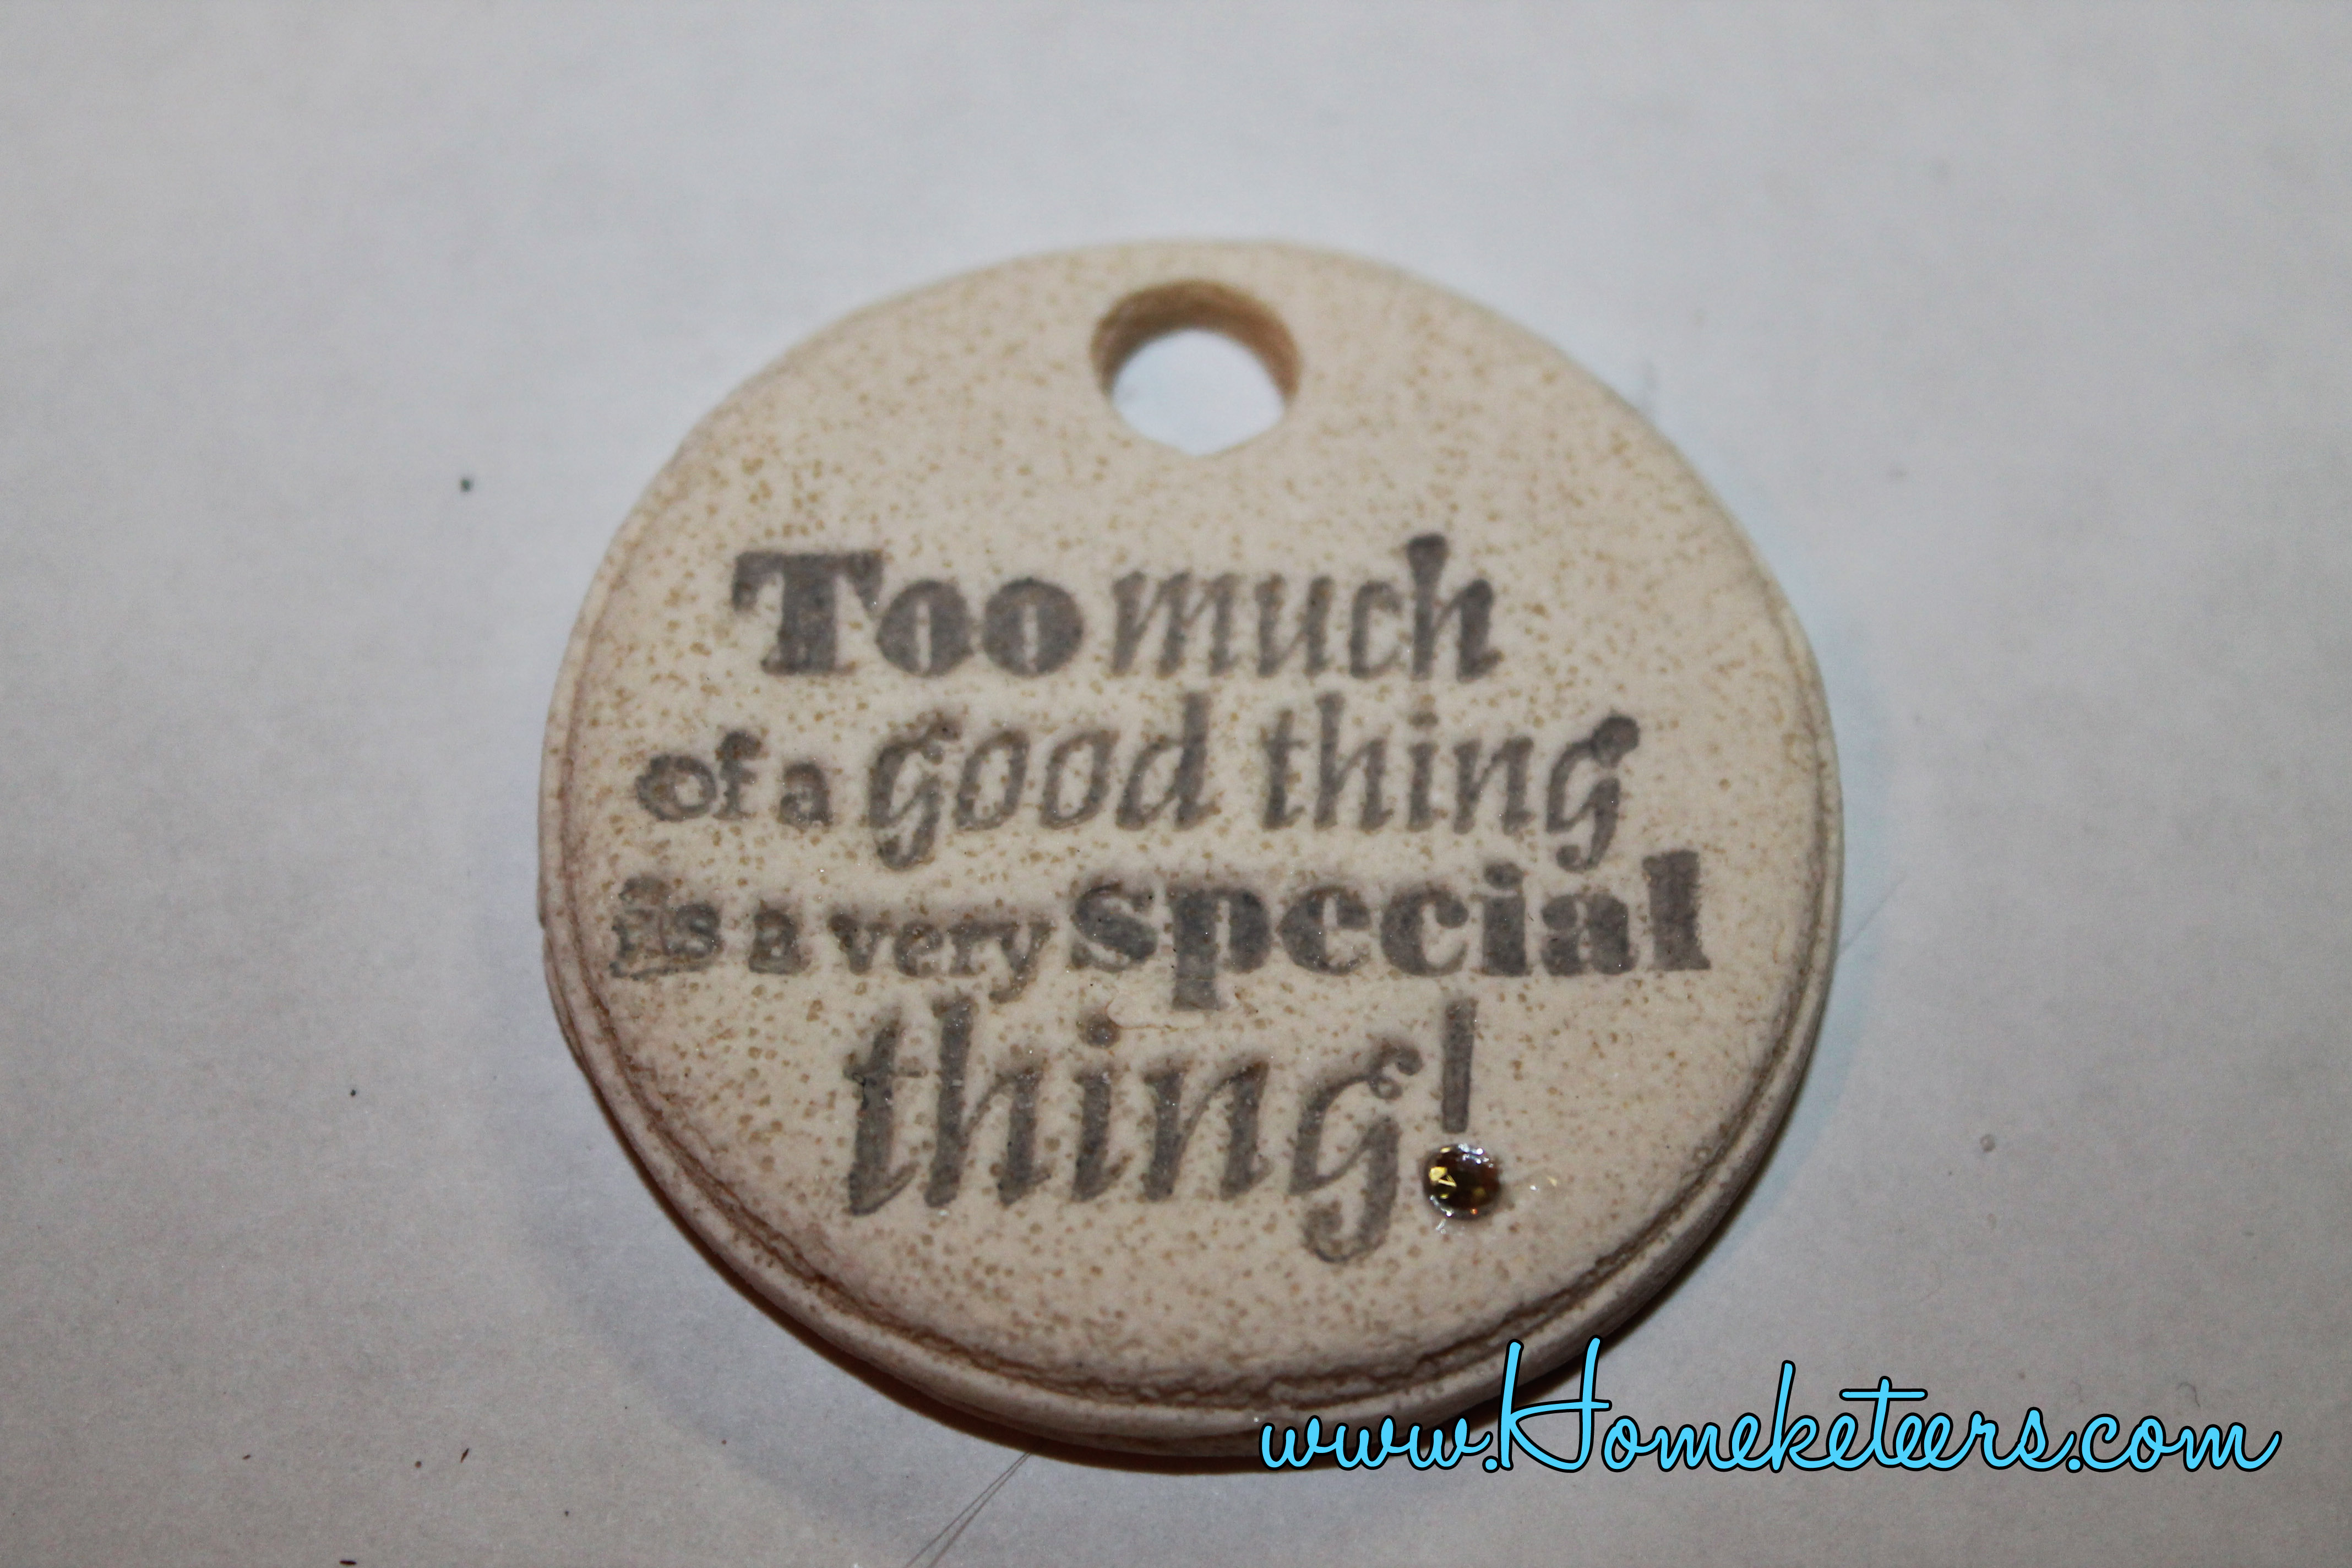
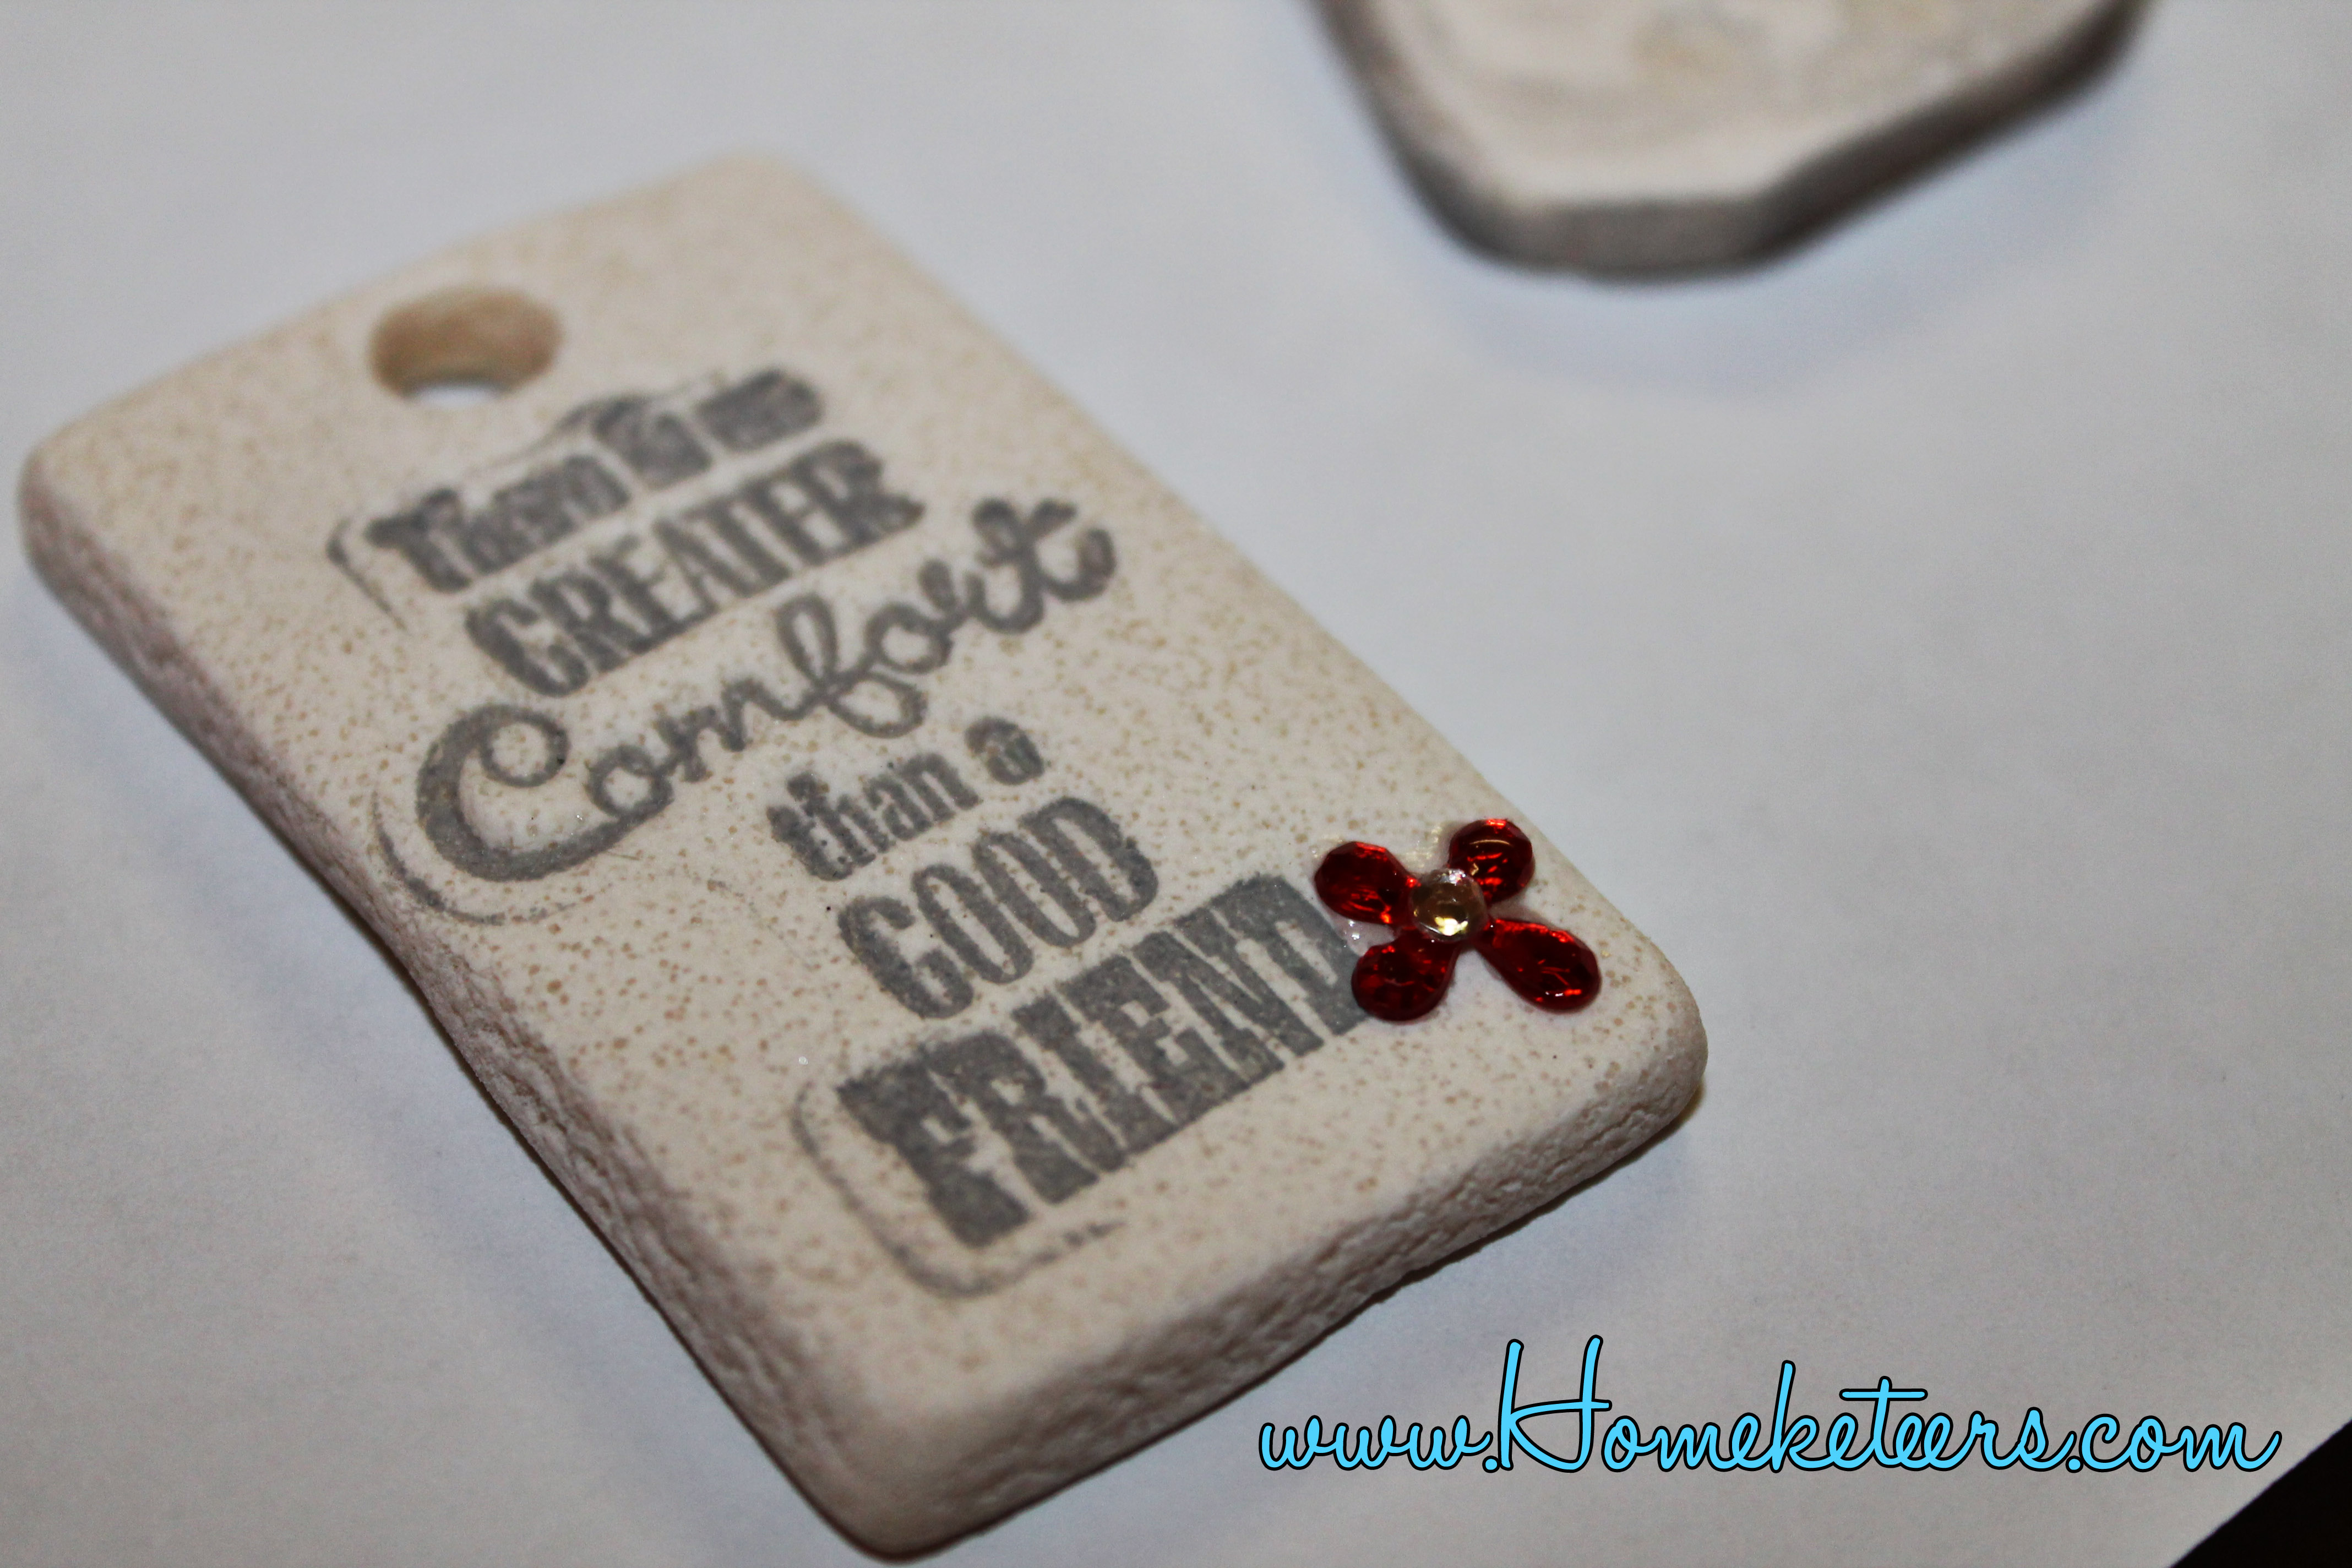
Stamping on Salt Dough
This technique shocks many people. Only because that you actually do it BEFORE you bake them. There are so many options with this technique, depending on the tools you have, stamp words, stamp outlines, stamp names…..
- Roll your Salt Dough to about 1/4″ thickness
- Choose your stamp, and apply your choice of ink
- Stamp your Salt Dough
- Cut out your designs using cookie cutters, or freehand it with a knife
- Use a straw and punch a hole in the top for hanging
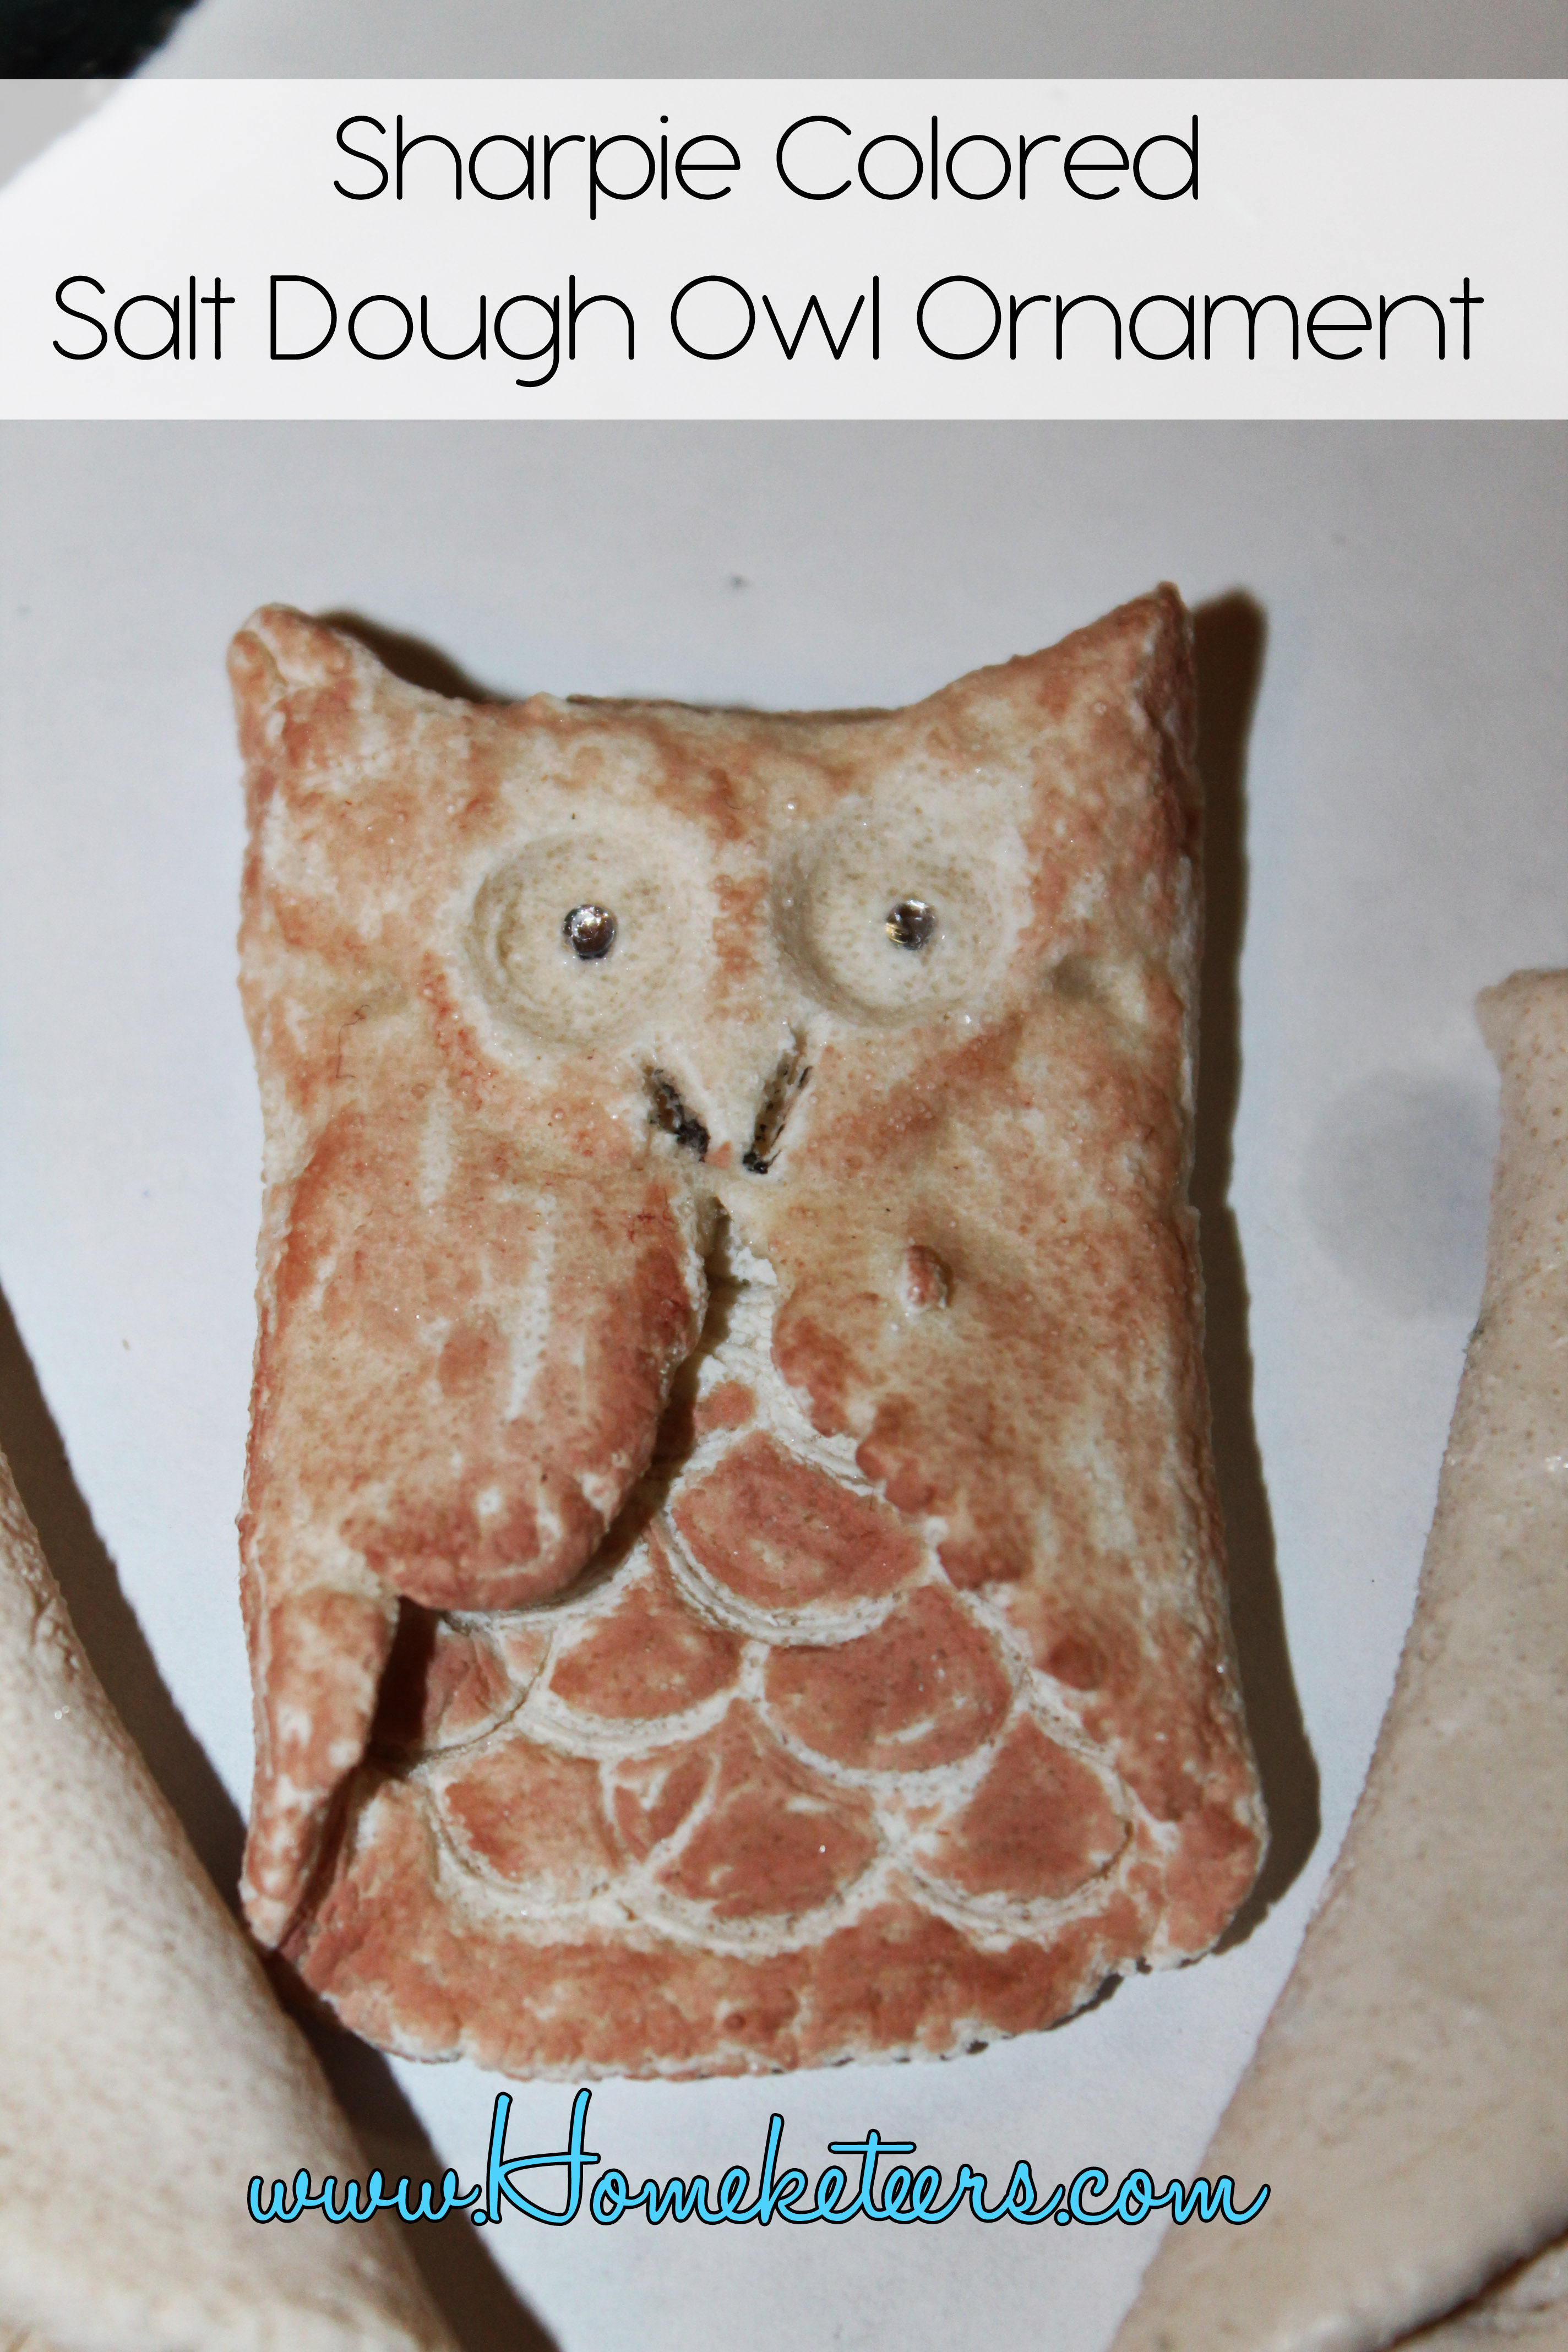
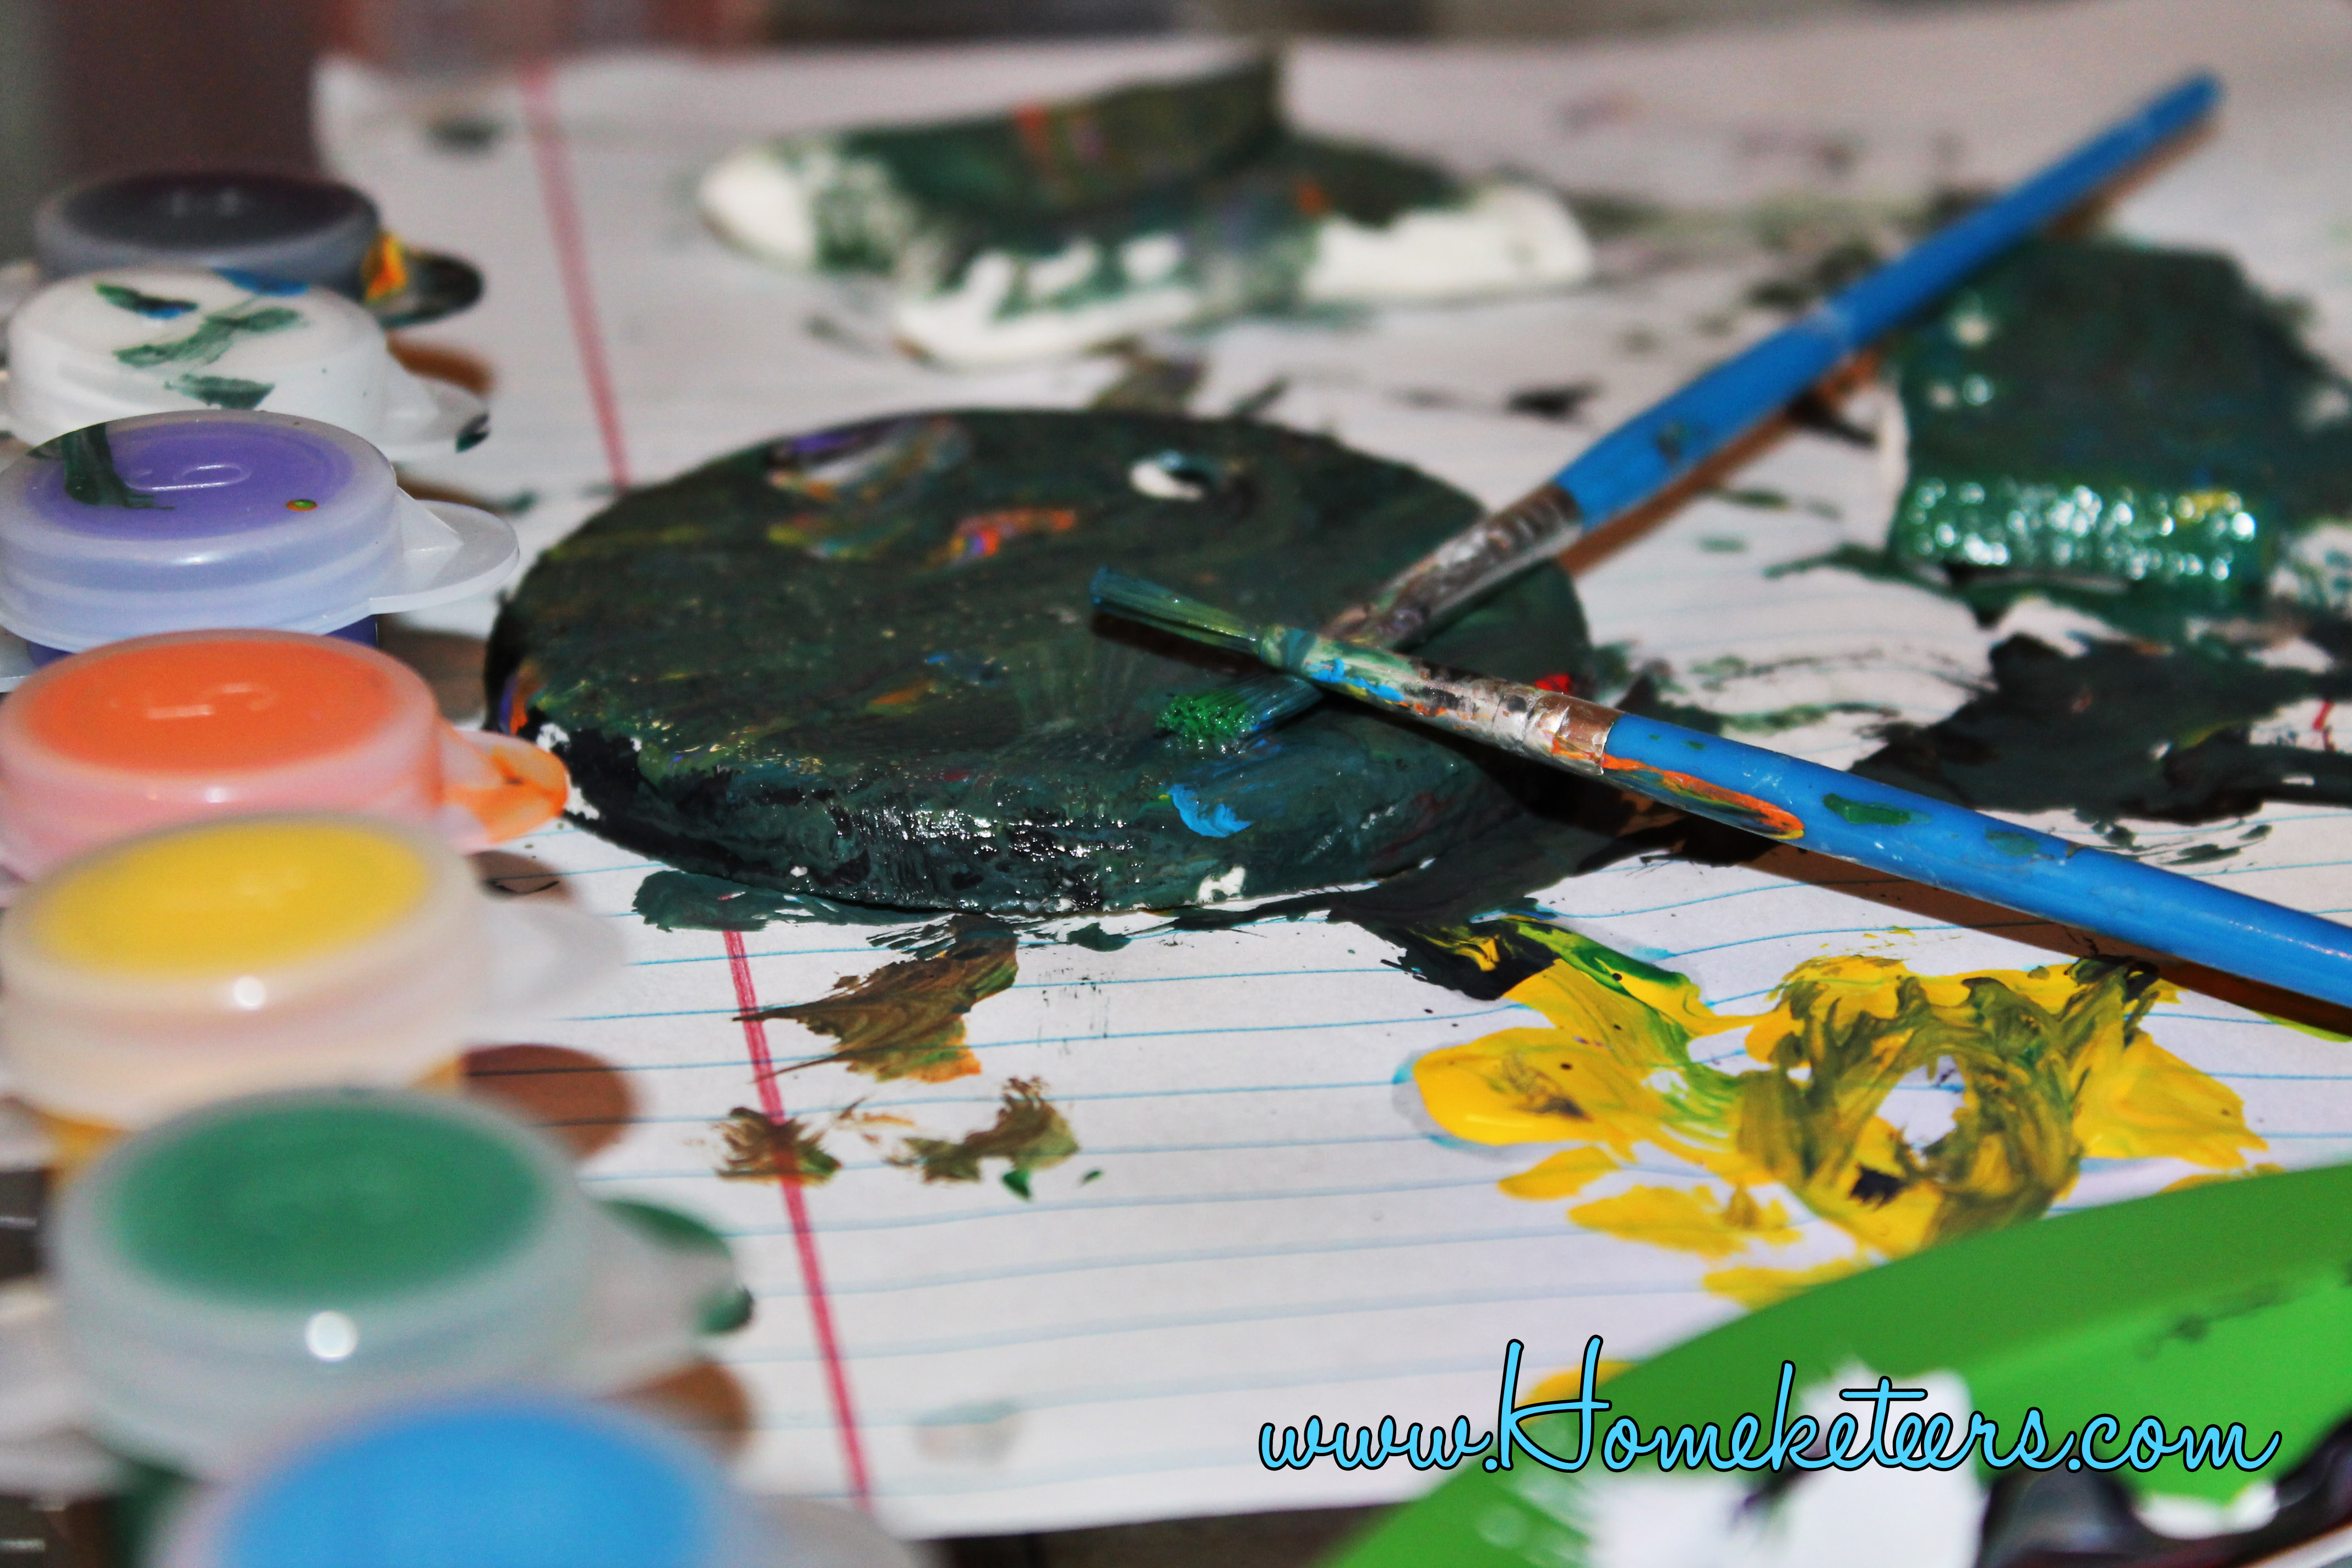
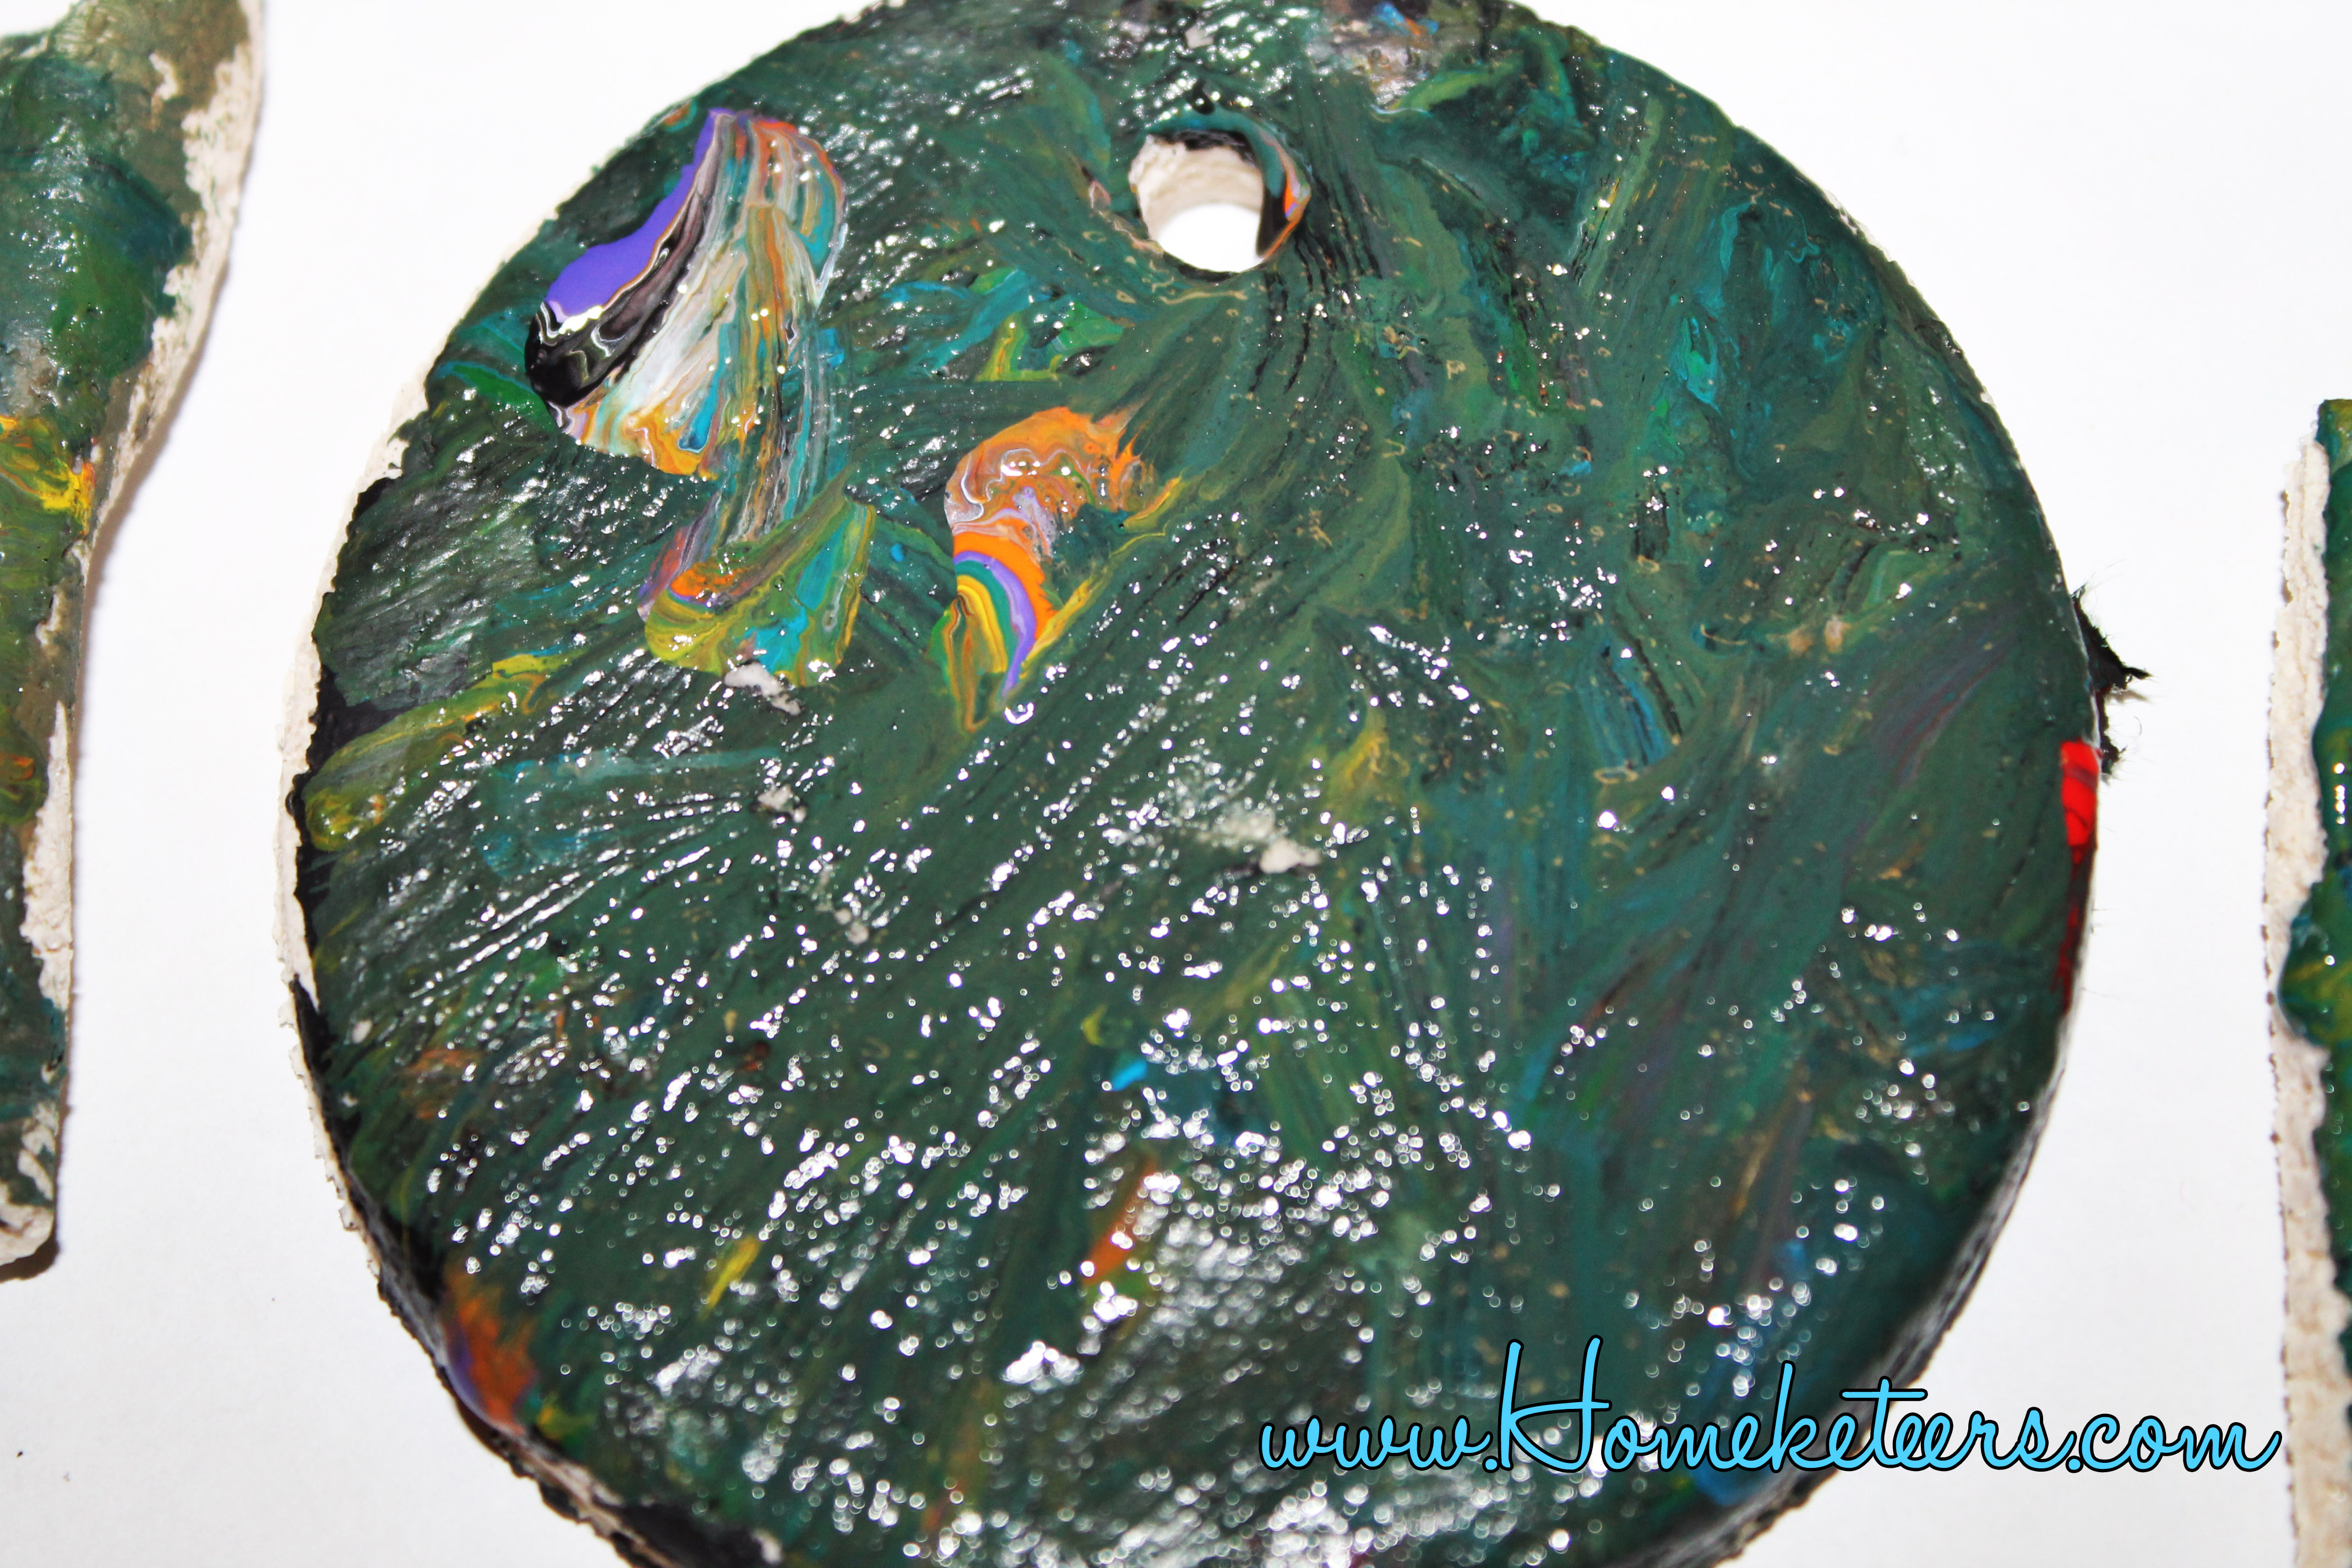
Painting on Salt Dough
This technique is fairly simply. Cut out your desired shape, bake, paint.
Baking Salt Dough
After you have all your designs done, then place your salt dough ornaments on a cookie sheet and place in a warm oven. My definition of “warm oven” is 200 degrees. I let my sit in there for 3 hours. Then turned the oven off and left them in there to cool. I didn’t start working on them until a full 24 hours had passed, as they get harder the longer they sit, but you can work on them as soon as they cool off from the oven.
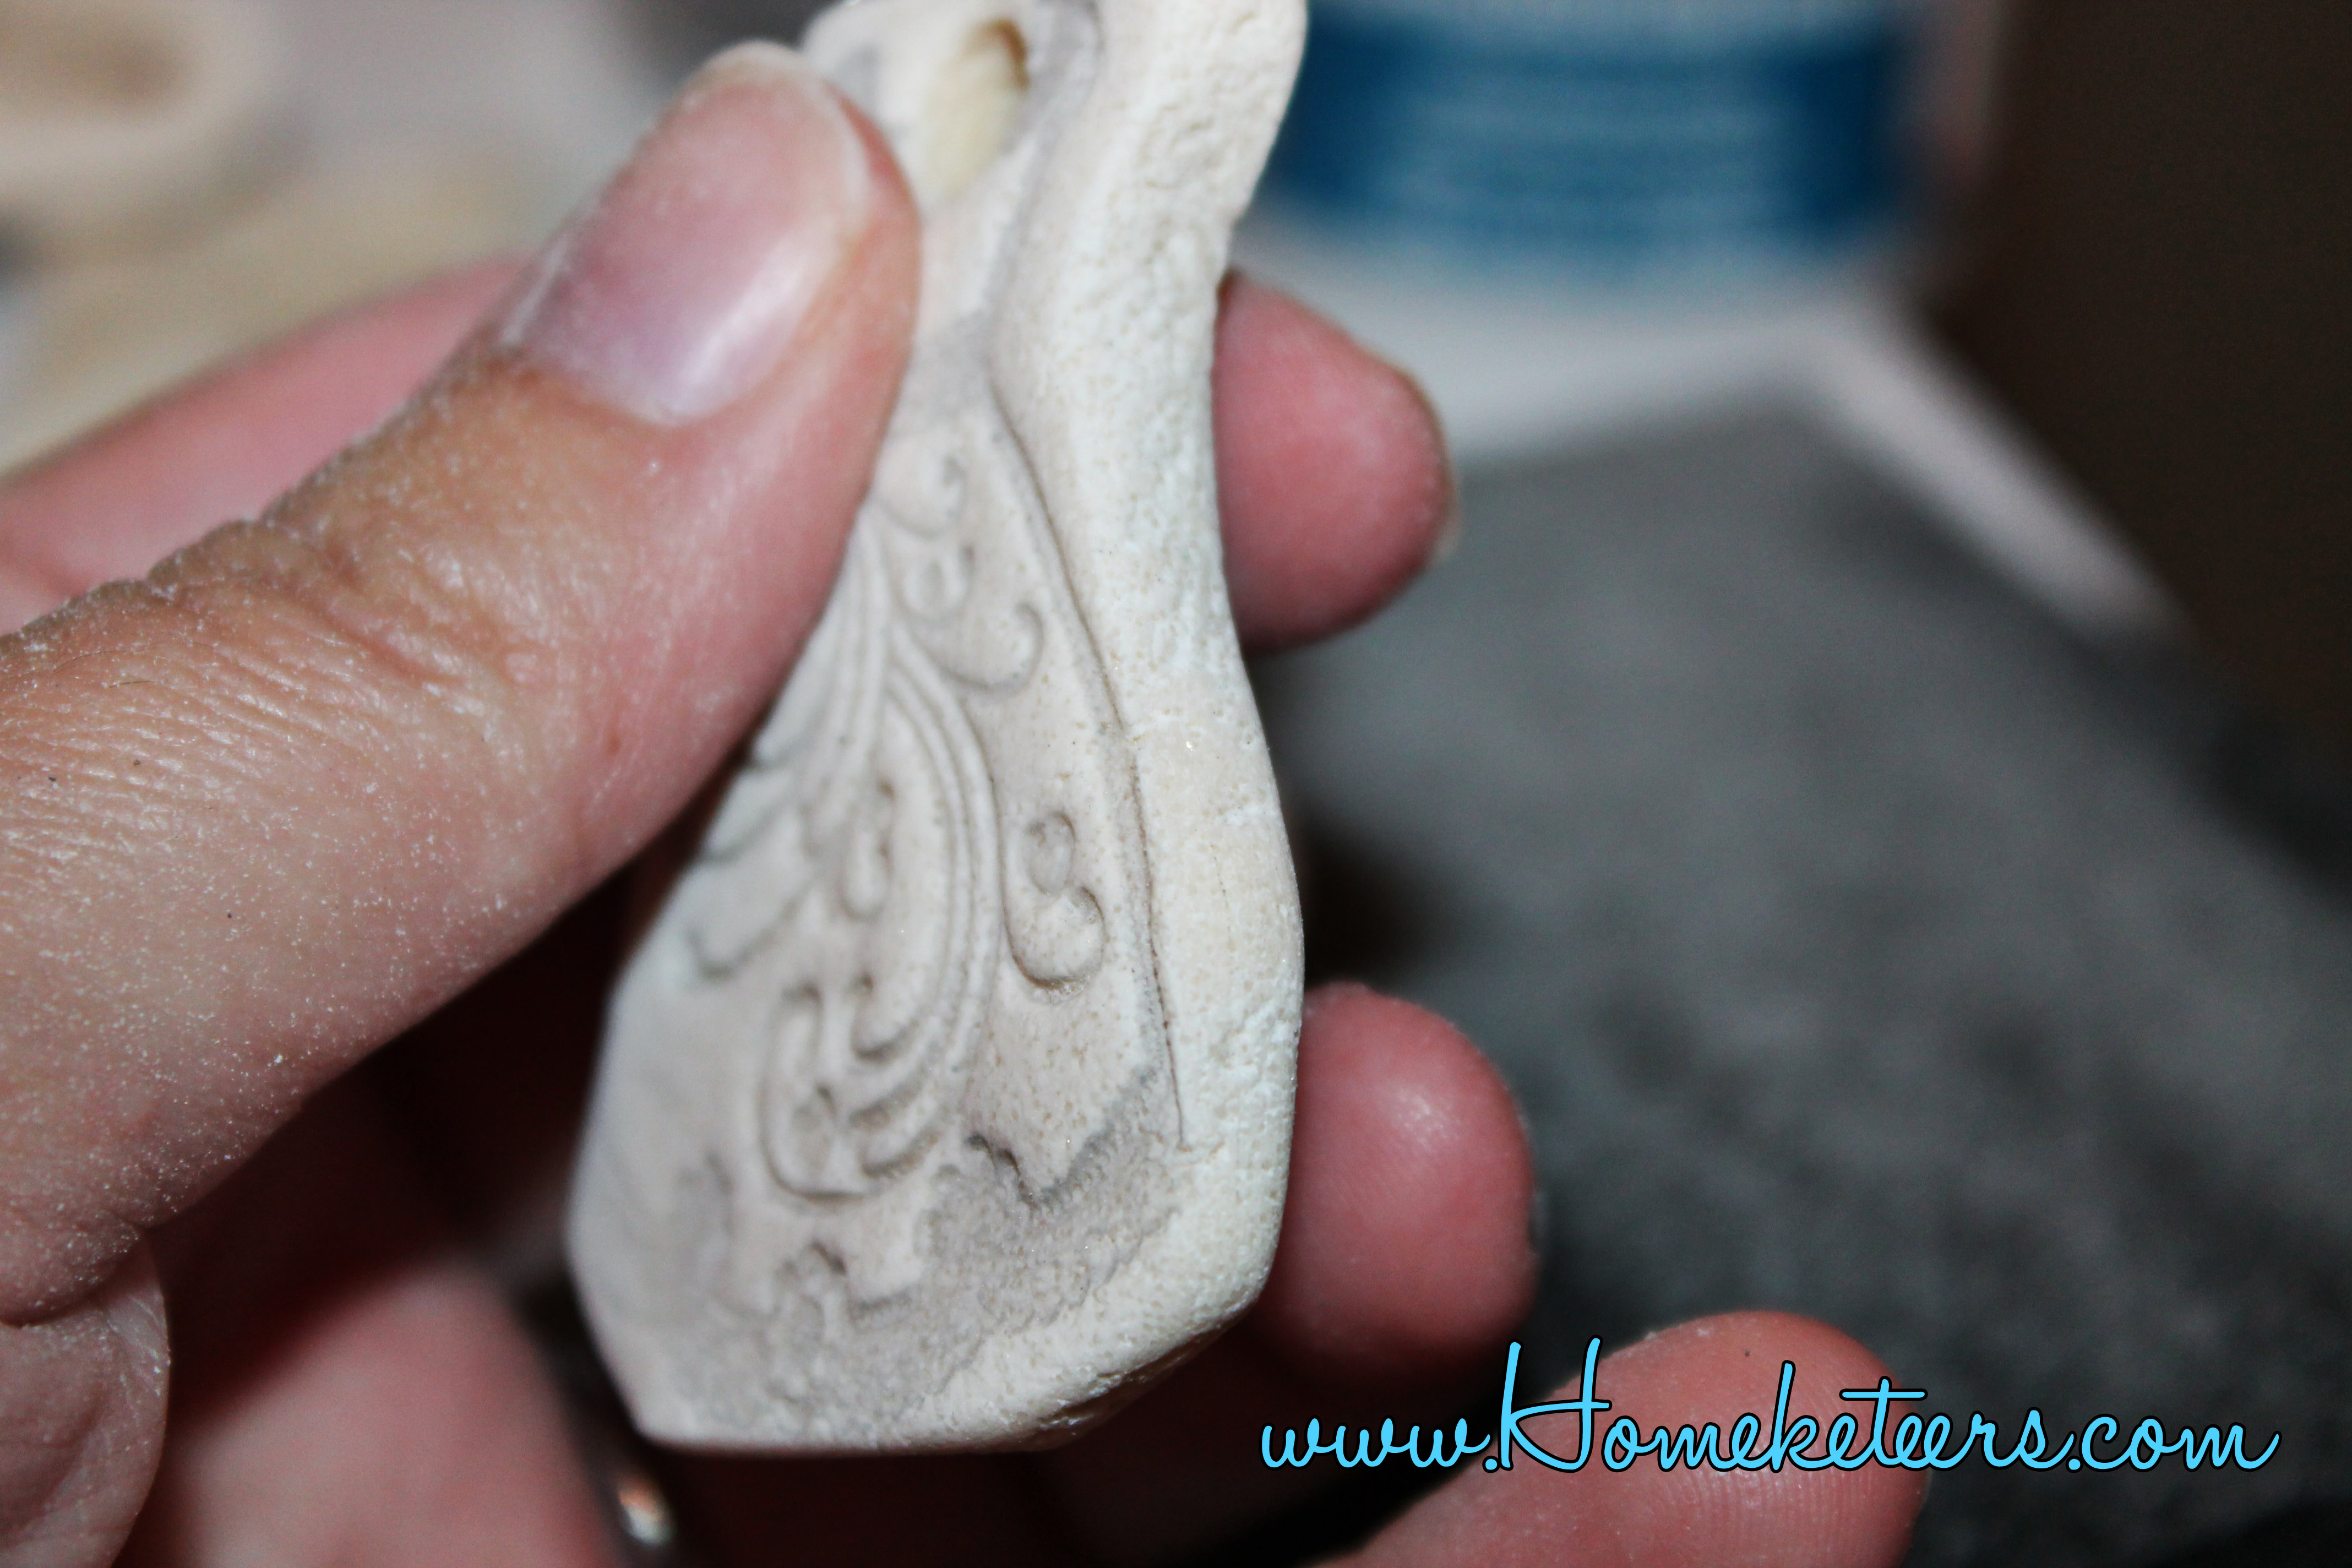
Finishing Options
Here are the results of several finishes we tried on our Salt Dough Owls and Ornaments
After they were done cooling, I took a sanding block and sanded all the edges of cutout ornaments I had made. I like how it gives them a stone look, but I really wanted my edges to be smooth and not jagged from the cutting.

Plain – Dried and straight from Oven – Mod Podge Only – Sharpie Colored

Stamped and I added a few little rhinestone embellishments.

Carson decided to get creative and help mommy make Christmas Ornaments too… he did this with Acrylic paints


Next week I will show you how to make Mickey Mouse Salt Dough Ornaments…. Whose excited for those????
One Response