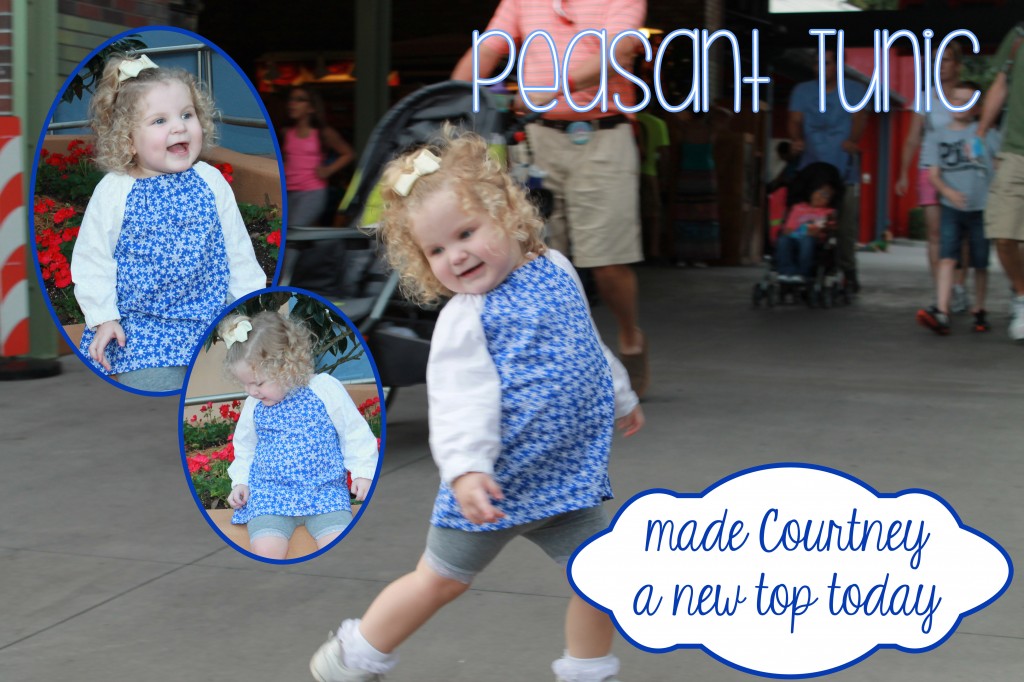
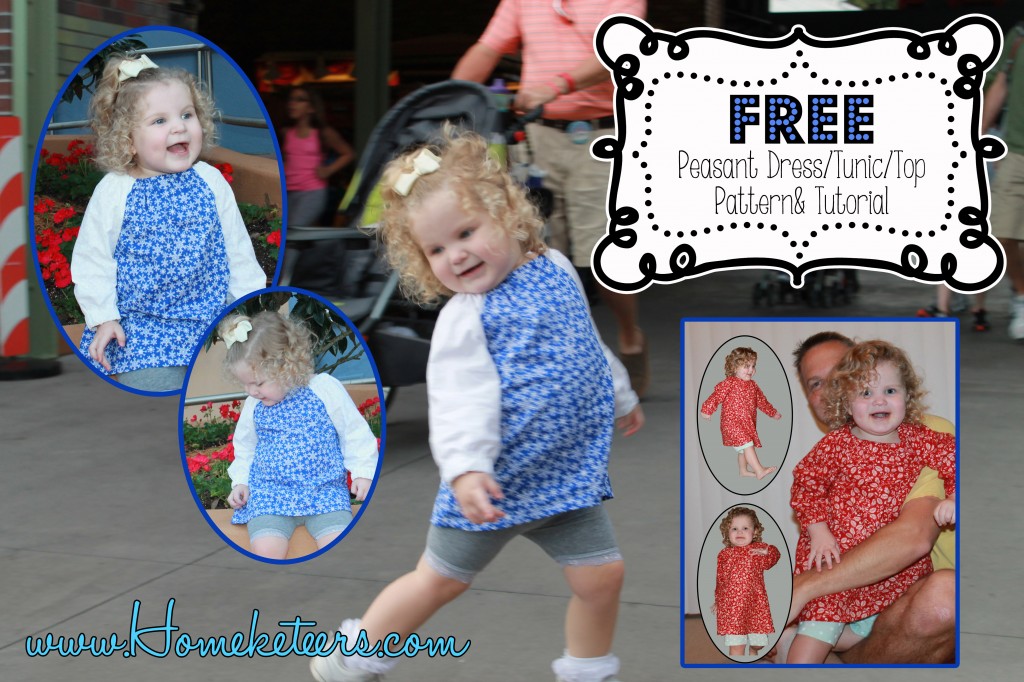
I was looking for a new pattern for Courtney the other day. I wanted something easy and quick, but had sleeves, since the Florida weather is now turning cold and I cam across a wonderful three in one Peasant Dress pattern. The reason it is a three one is because if you adjust the length you have the option between a top, a tunic or a dress and you can choose to do a ruffle neck, sleeves or tie neck. It looked easy enough and I had plenty of fabric, so I decided to go ahead and make two of them. One with fabric for daytime wear, and one with some cute flannel fabric I bought for making her a night gown.

So using my new Brother Runway Project XR9500 (which I LOVE) I set out to try this new pattern.
I download the pattern, printed it and cut out according to Courtney’s size. You see this Peasant Dress pattern goes from a 12m to 4t and Courtney is kind of between a 3t and 4t. So I cut the pattern in between the two sizes for a half size.
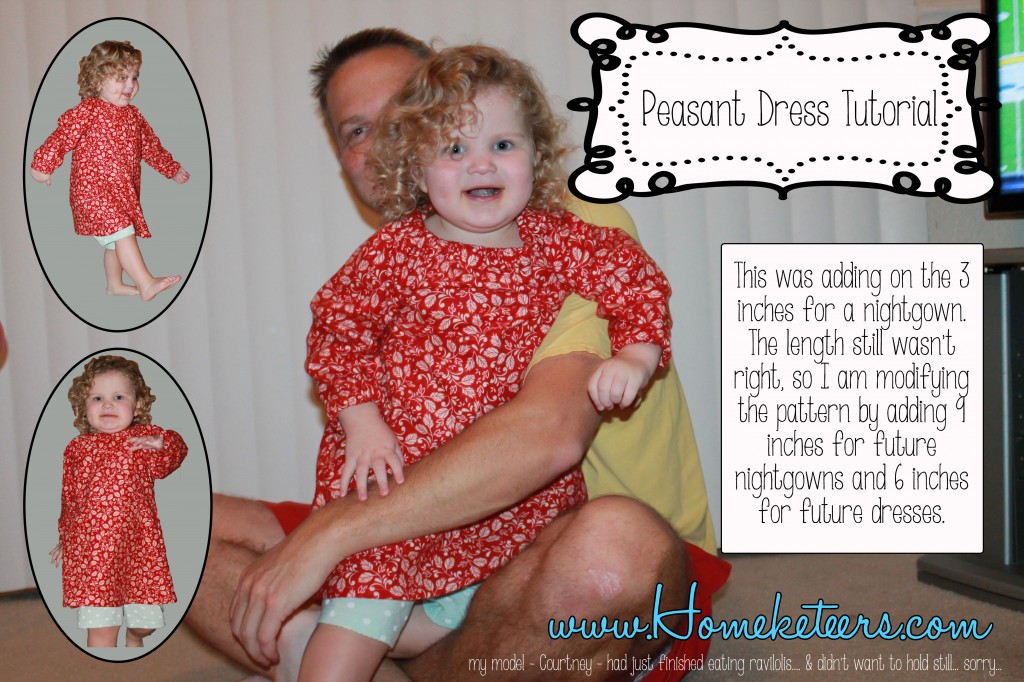
I pieced the pattern pieces together and laid it out on my fabric. I wanted the daytime one to be a dress, so without measuring my daughter, I went with the measurements on the pattern and cut away. For the nightgown, I cut the entire thing 1/4 of an inch larger and added 3 inches to the length, as I wanted it looser and longer {read below for my thoughts on her sizing}.
Pieces for a sleeved Peasant Dress – top or tunic: 2 Sleeves and 2 Body pieces
After I had everything cut out, I went to the website where I got the pattern to look for her instructions to see how sew together the pieces and well I wasn’t too impressed with her intial instructions and decided that I could figure it out myself…. So here is how I sewed everything together:
- I took one body piece laid it out, right side up
- Take one sleeve, unfold and lay with wrong side up (right sides facing) on top of the body piece. Matching the top and bottom corners to the top and bottom of body. The sleeve sits on a curve. Pin in place
- Repeat with other sleeve.
- Sew sleeves in place, notch curve and iron seam open
- Next I laid out the second body piece, right side up and matched up the sleeves with it. Pinned in place and sewed. (notch curves and iron seams)
- Fold Dress in half, right sides facing together. Pin and sew both side seams (from sleeve to hem)
Now for adding the casings here are her instructions (and I found her elastic measurements, right on)
Create Casings:
You will put elastic at both the neck and wrists so first create a casing. If you don’t serge first than turn under 1/4″ to hide your raw edge and then turn you fabric over 3/4″ to pull your elastic through. I used 3/8″ elastic. Remember to leave an opening to pull your elastic through!
I used a 14″ piece of elastic in the neckline and 6″ in the sleeves. My dress wearer is a bit of a peanut so you may need to adjust those. I recommend starting longer you can always trim your elastic after you’ve pulled it to fit. (I have found 16-17″ in the neckline and 7″ in the wrist makes a comfortable fit for 18-4T sizes. You will have a slightly larger neck opening than pictured in this tutorial. You can see examples HERE.)
Hem the bottom by turning under 1/4″and then 1/2″ and stitching along the fold line, and you’re DONE!

SOOOOOO {or SEW} – I wasn’t thrilled with the length…. the Blue and White dress ended up being way too short to be a dress, it was a Tunic and the nightgown is long enough to be a summer dress but not a nightgown. I found that the fit in the nightgown is by far MUCH better than the shirt, so I believe her sizing is more for “petite” little girls, while my little chunk is a 3t/4t I will create more tunics and dresses from this pattern with the following alternations:
- Adding an inch around the body {NOT sleeve length or width}
- Add 6 to 9 inches on the length for dresses and nightgowns

This pattern is SUPER easy and I have an idea to put together the Sally Pattern from Courtney’s Halloween Dress and this one for another dress… Yeah, I am pretty sure that is my next pattern.
We would LOVE to see any dresses or tops you make for your little girl! Be sure to share!.