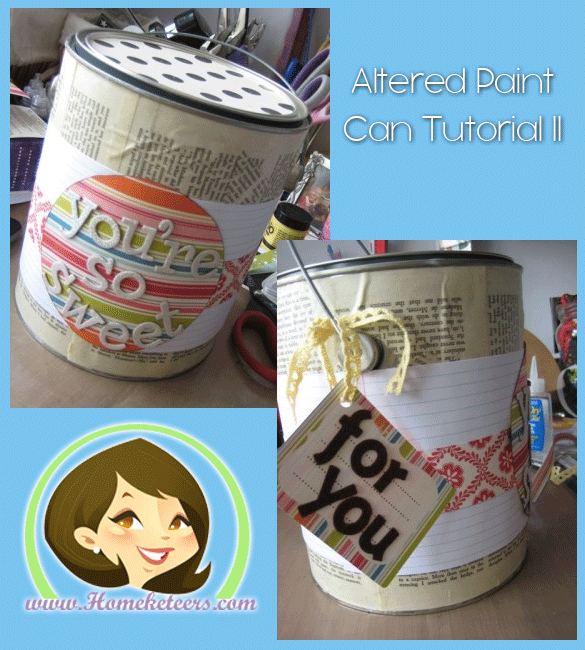
You will need:
– 1 Paint Can (please use a NEW one for this project, especially if you will be filling it with food related items): you can go to any paint store or home depot and just ask for a new empty can – they usually only cost a dollar or 2.
– Claudine Hellmuth Studio Multi Medium (if you don’t have this, try using mod podge)
– Foam brush
– patterned paper
– book paper
– embellishments, stickers


1. Liberally brush on the multi medium (I used gloss for this project – this stuff works great for so many things!), and stick on random pieces of the book paper. (I ripped it into various sized pieces). Brush over top of the paper with the medium as well. Continue untilt the entire paint can is covered.


2. Cut 2 strips of paper (I used lined paper by Scenic Route) so they measure 6 x 12″. Wrap each around the middle of the can and glue down. (so it fits as a band around the entire can)


3. Now cut 2 strips of paper 12 x 1.5″ out of a patterned piece of paper. (I used one of the new Cherry Hill papers from October Afternoon)

4. Wrap those strips around the middle of the lined paper and glue down.

5. Cut a circle out of a piece of patterned paper to fit the top of the paint can, then trace a CD and cut the circle out of another piece of patterned paper.

6. Add whatever title or saying you’d like to the circle. I also inked the edges of mine with Jumbo Java ink.

7. Stick the circle onto the front of the paint can – be sure to use a strong adhesive here (I used medium glue dots)

8. If you’d like to add a tag, an easy way is to use a journaling card. This one is also part of the Cherry Hill Line. I added some felt Thickers to the front of it, then punched a hole in the upper left corner and then attached it to the paint can handle with some lace.

