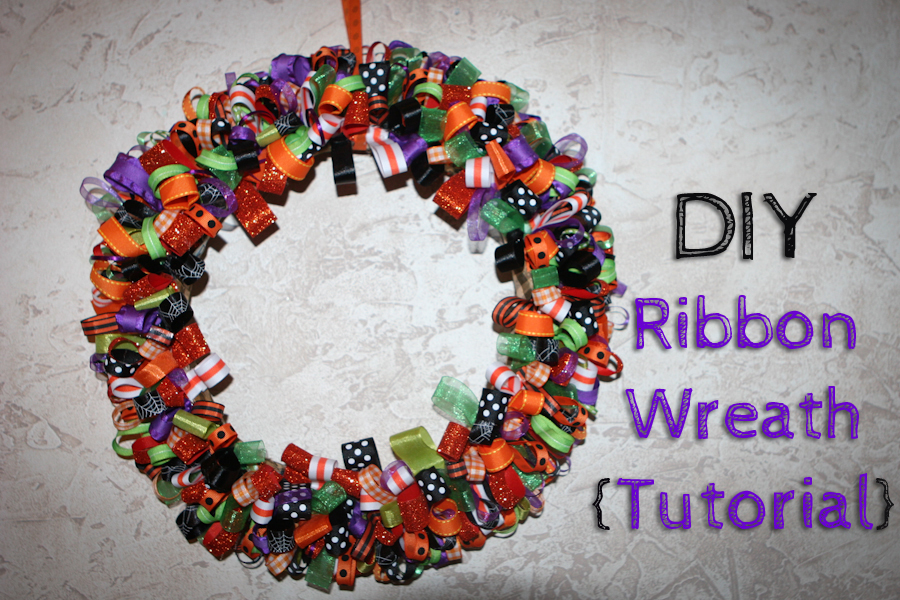
I love love love the look of these ribbon wreaths and knew when I saw one that I just had to make one for every season. Now I will start off by saying that this can be a costly project. However, I was able to find wreath frames and mini glue sticks refills for my hot glue gun at the dollar store. (Some dollar stores also carry ribbon). If you have a Hobby Lobby nearby you may be able to get all your ribbon when they have the 50% off sale as they seem to run that sale often.
You will need:
Glue gun
Refill glue sticks (I used almost an entire package)
Wreath Frame (any kind will work)
Scissors
Fabric
Ribbons (Use a variety of widths, colors and patterns that coordinate). I used 17 different styles but I had some left over.
Some sort of mat to work on to protect your table.

1. Cut your ribbons to about 4″ in length. I cut some of mine a little longer and some a little shorter to get a more varied look on my wreath.
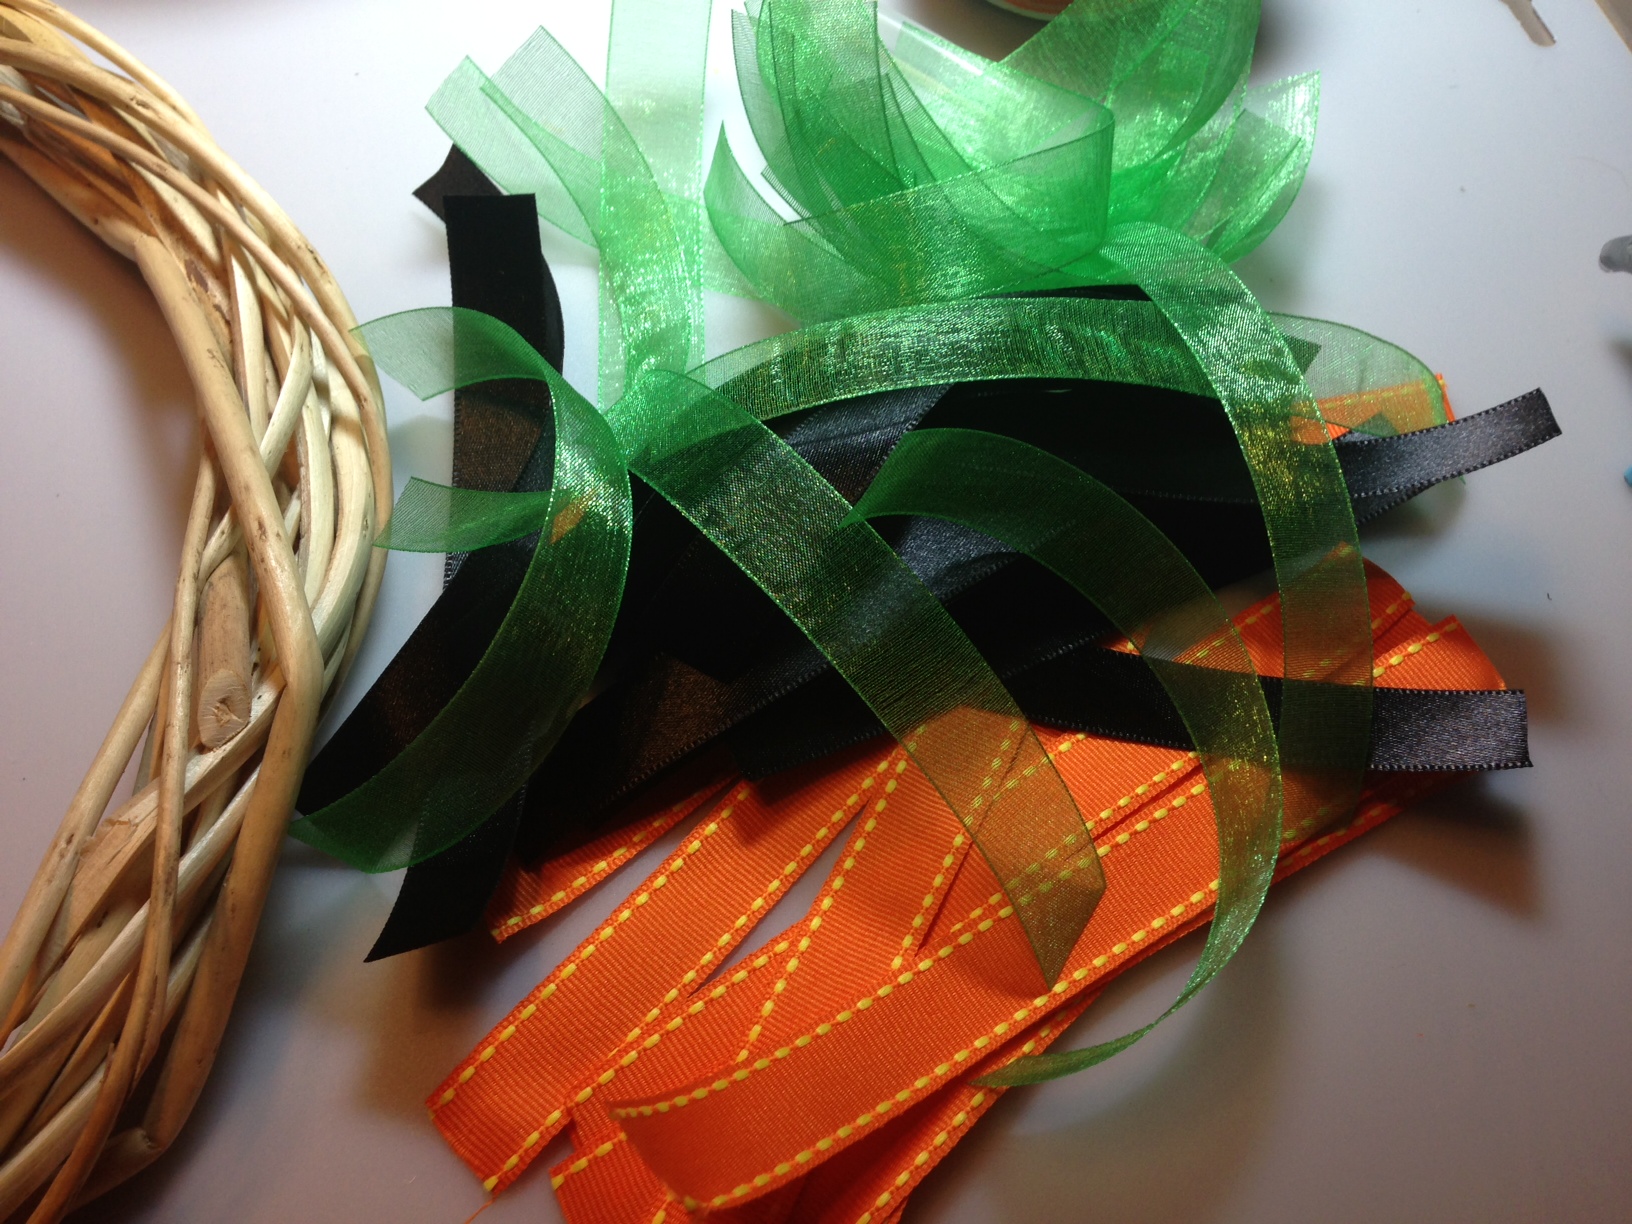
2. Glue your ribbon loops closed but leave about 1/4 inch from the bottom so you are able to spread those 2 ends of the ribbon apart. These ends are what you will be glueing to the wreath frame.


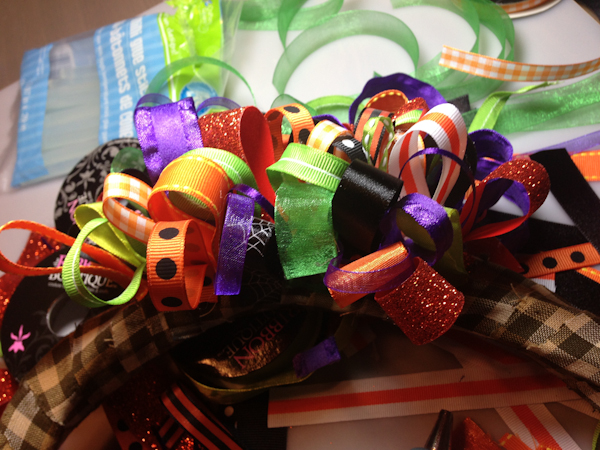
3. Take your piece of fabric and cut it into long strips about 2 inches wide. Wrap the fabric around the wreath frame, gluing it closed in several spots. Continue until the entire frame is covered.

4. Now is the tedious part! Start gluing all those ribbon loops to the wreath. This took me many hours so I watched a movie while doing so.


Really cute idea, and it comes out so pretty! I don’t know if I have the patience for the project, though.
Thanks Cheryl! Honestly I don’t know if I have the patience to make another of these! haha 🙂