


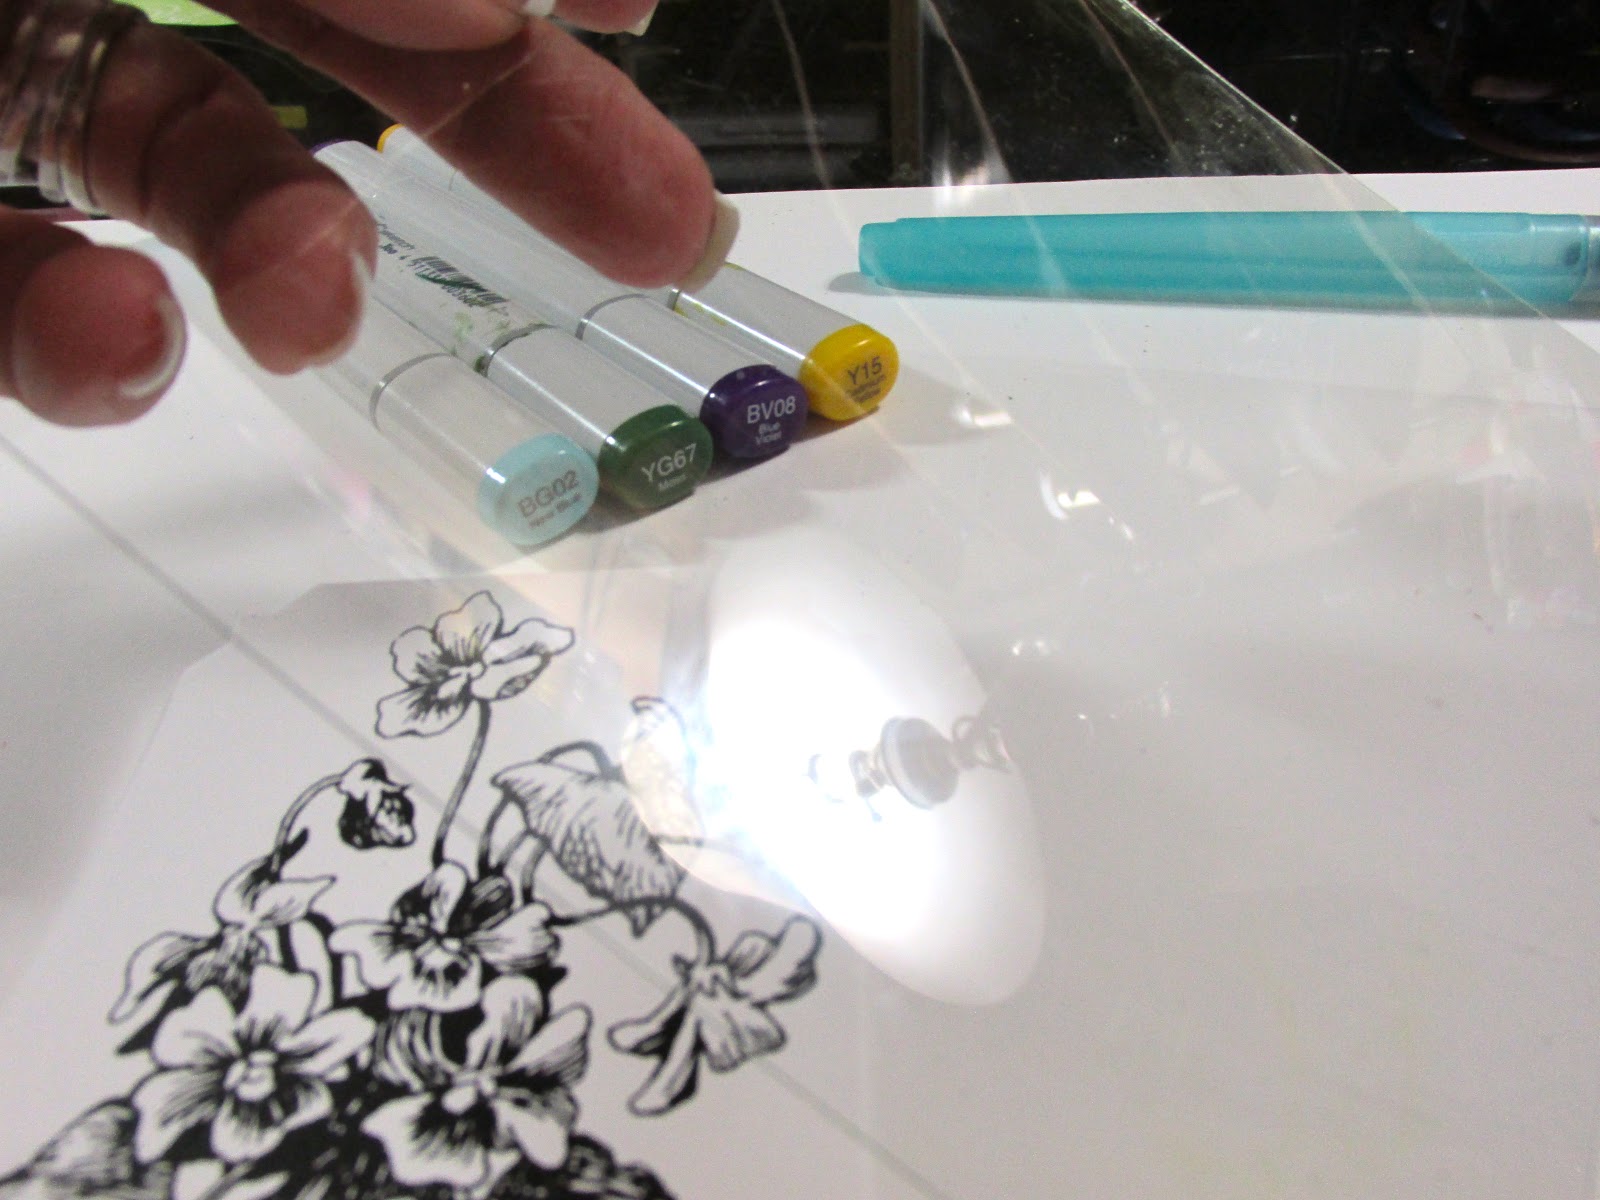
We will not be coloring but using a water brush filled with 99% Isopropyl Alcohol. (This is rubbing alcohol for most folks.) Next you will need a piece of acetate or plastic of any kind to use as your pallet. The perfect surface is to use your acrylic stamp handle. The Stampendous Jumbo Perfectly Clear Handle is ideal for stamping large stamps with great detail and as a palette on the go!
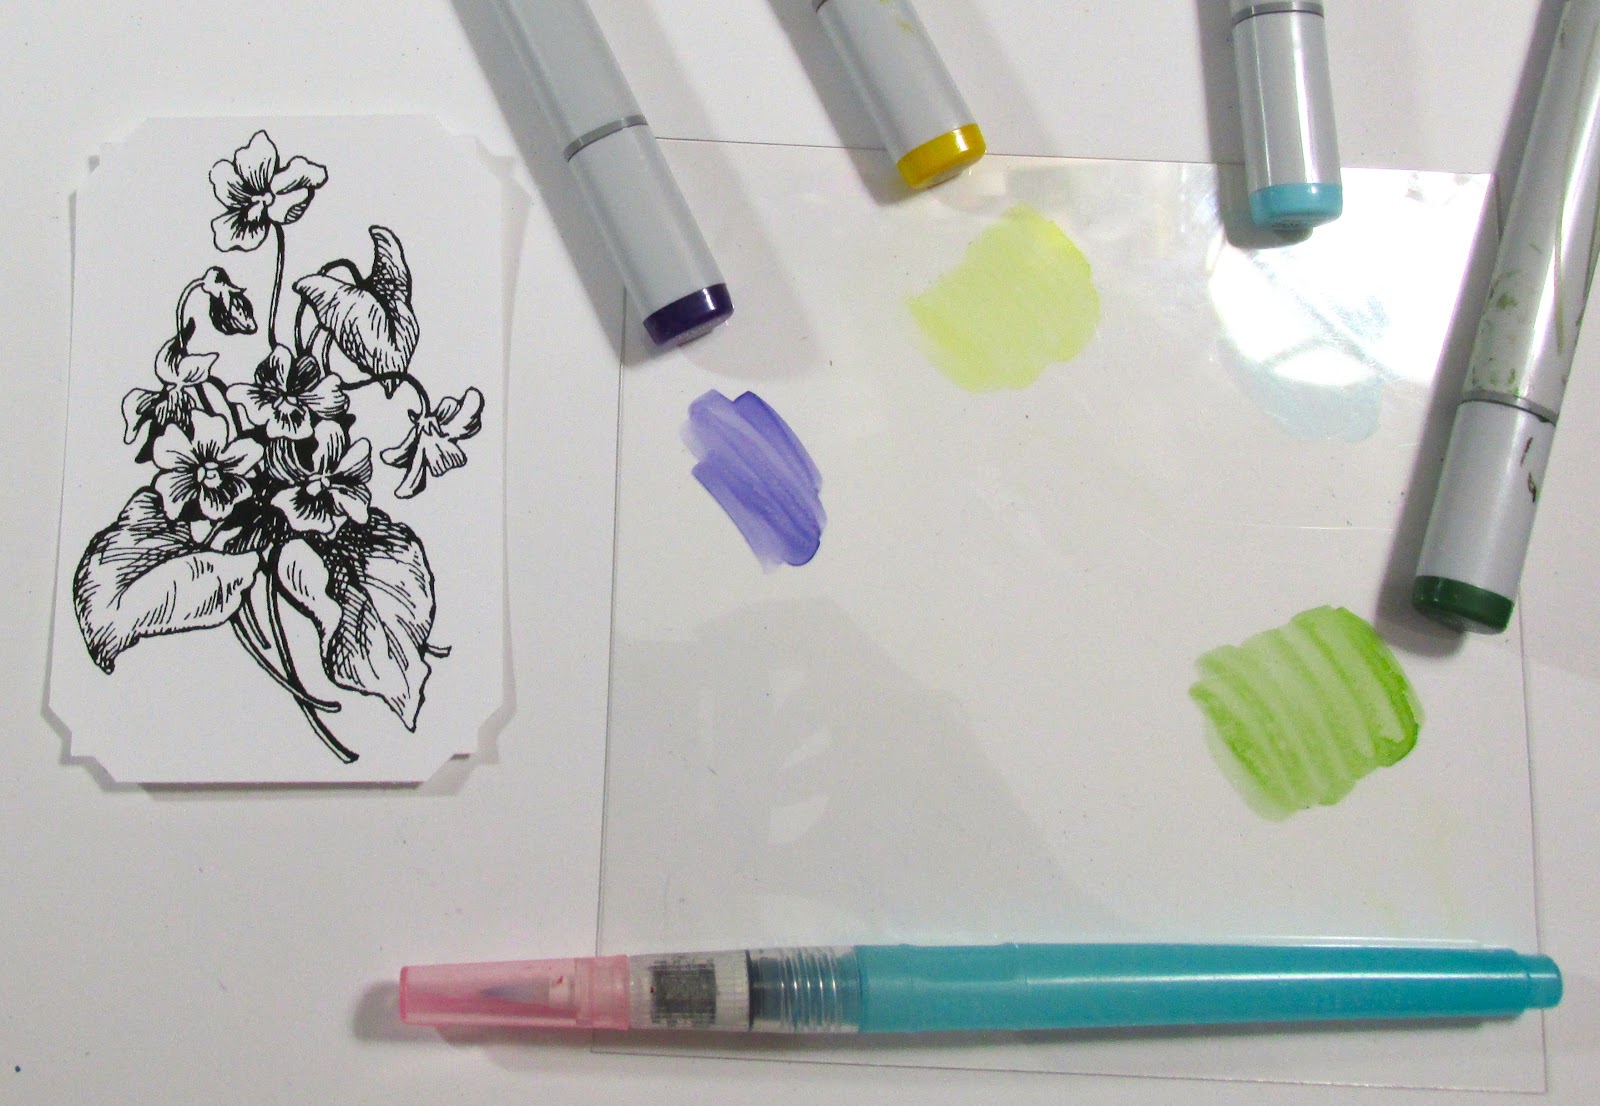
Color your chosen markers onto the acetate to create an artists palette. Now take the water brush filled with alcohol an touch the tip of the brush into the color needed.

Starting with the background place the tip of the brush next to the line with you want your darkest color . then smush and drag out ward. The lighter the color the less you will see the color until the alcohol dries. I added the contrast purple after the blue.
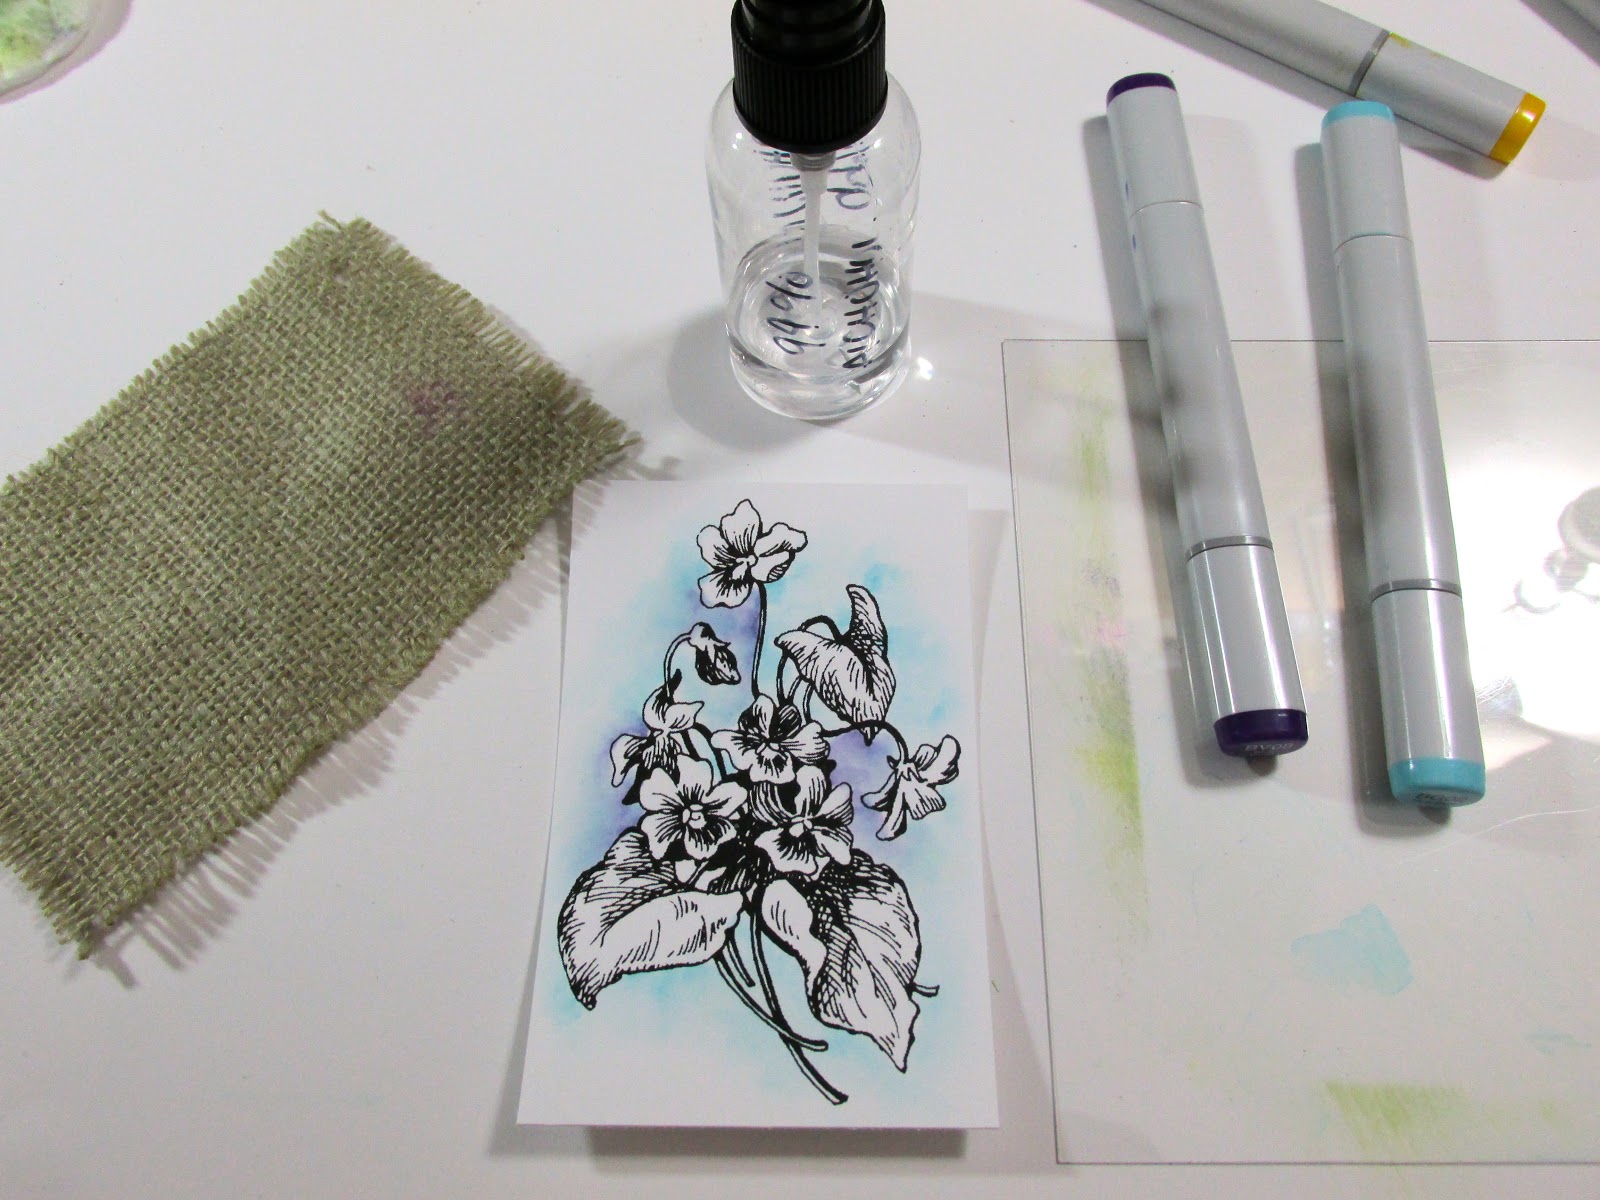
Want to put a little personality into your background? Fill a spritz bottle with the same alcohol your put in your brush. Make sure to label so you know 🙂 Also make sure to check the sprayer is away from your face. Oh sure, you are thinking….”Duh”….but I promise you will spray yourself only once and then you will check every time after that.
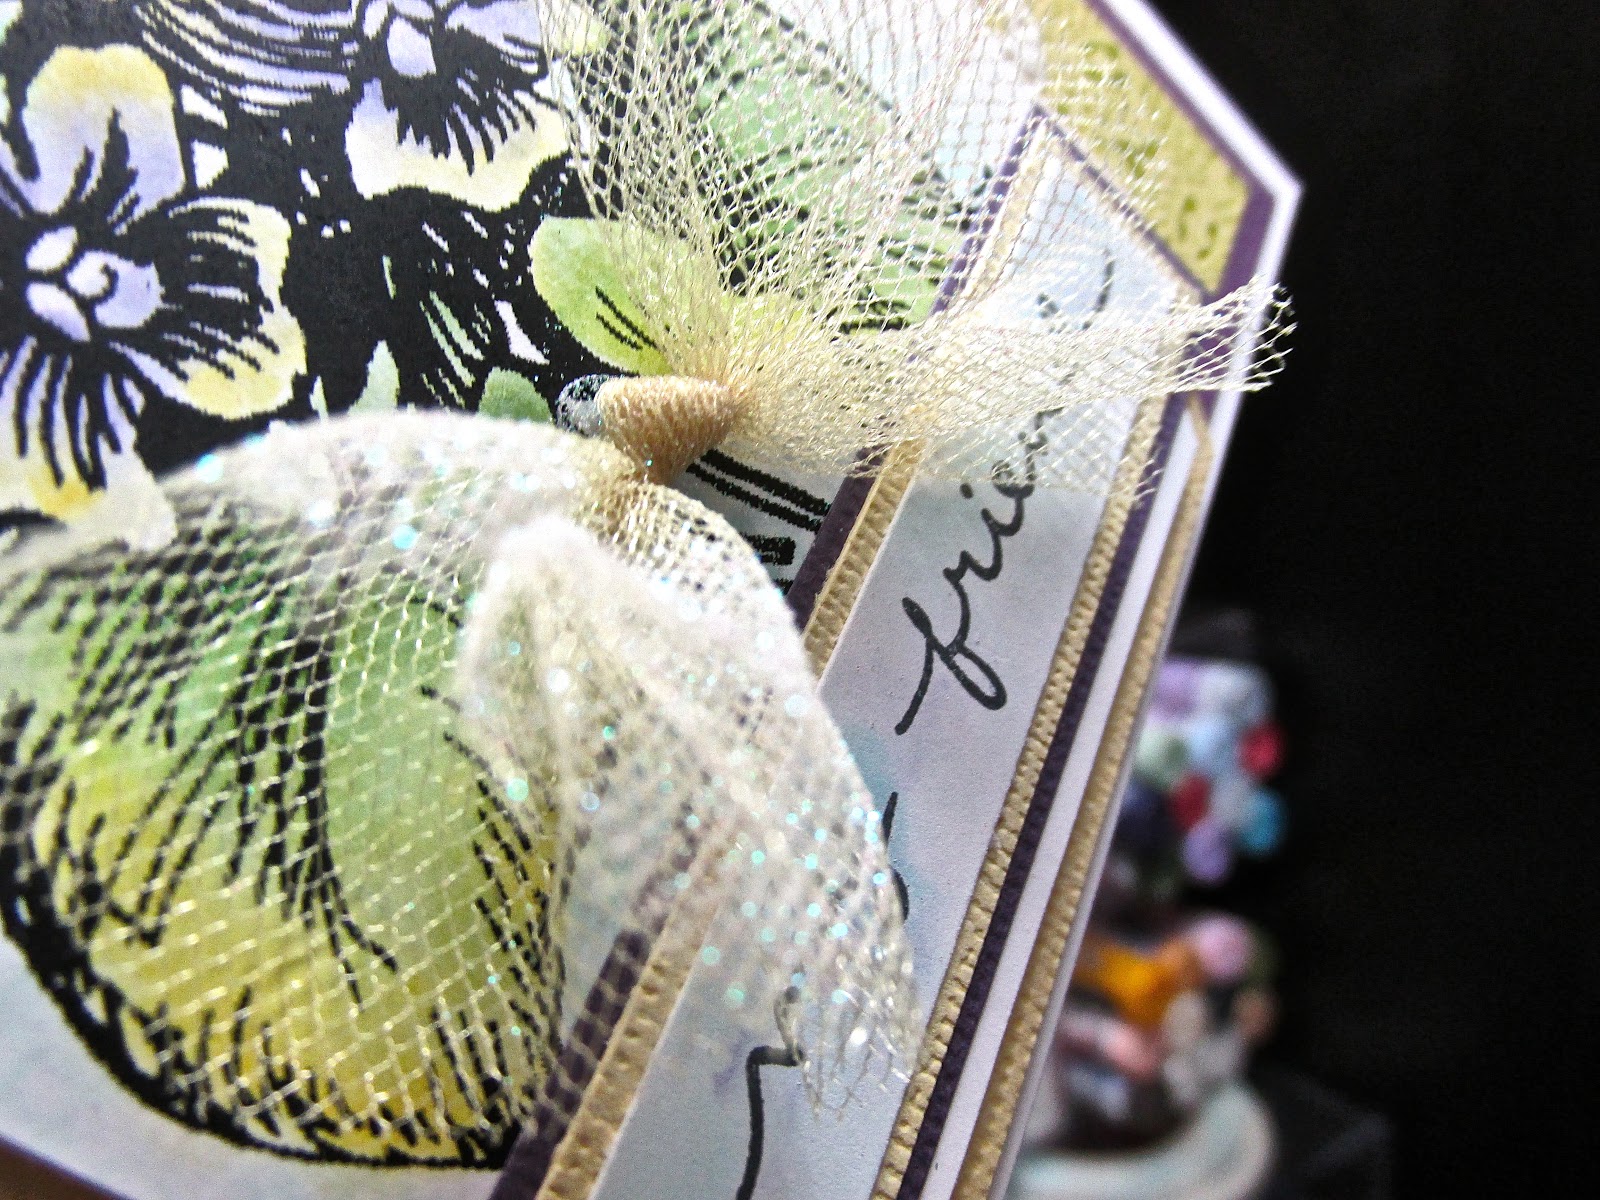
Spray a small area of burlap. Gently lay it on the background for only a few seconds. You will se it start to work right away. As it dries you will see the texture of the burlap.
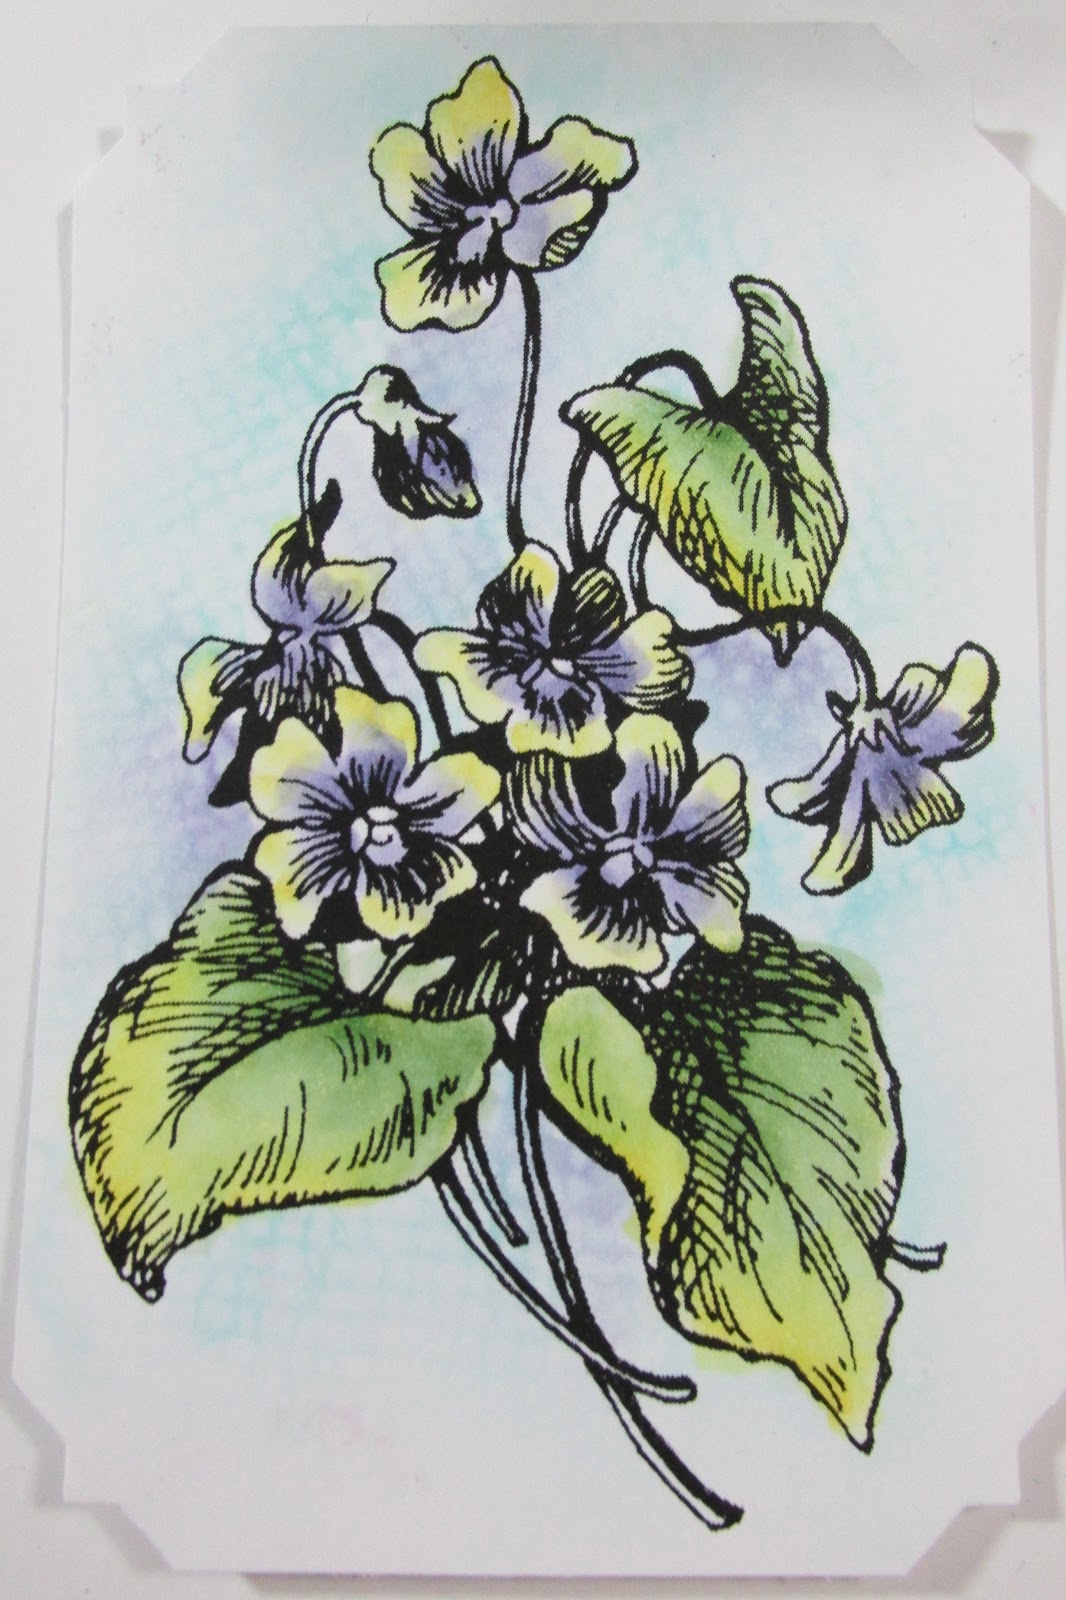
Double click on the photo to enlarge and see the texture from the burlap.


Don’t forget to Enter all the:
Spring Into Summer Giveaways

cards, scrapbook items, maybe find special ink and stamp an end table…that would be fun
I’m a liaison for my church for a portion of the parish. I’d use this to make cards for members of my parish members.
I would make cards and scrap book pages. These look amazing may I add!
I would love to make cards.
Thank you cards for my daughter elementary school, She is graduated this year!